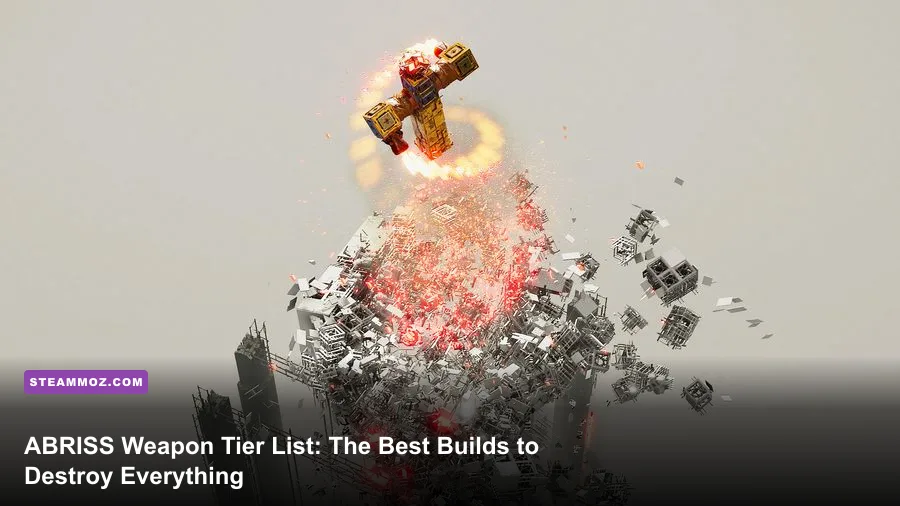
The best ABRISS equipment is the Rocket for reliable demolition, the Laser for precision targets, and the Hammer for close-range structural damage. Build around one primary weapon instead of scattering parts across five ideas, then use Connectors, Cabins, propulsion, and stabilizing pieces to keep that weapon pointed at the target. This tier list ranks the practical weapons and equipment for campaign clears, challenge objectives, and repeatable destruction—not merely the loudest parts in the sandbox.
ABRISS: build to destroy is a physics puzzle disguised as a vehicle builder. Your machine can look perfect in the assembly screen and still fold like cardboard the moment a projectile clips a wall. The winning question isn't “what does the most damage?” It's “what can deliver its damage after the build starts losing pieces?” That distinction drives every ranking below. For broader PC optimization habits, Steamoz's Dragonkin settings guide has the same useful performance-first mindset, but ABRISS needs an especially careful eye on physics stability.
ABRISS weapon tier list at a glance
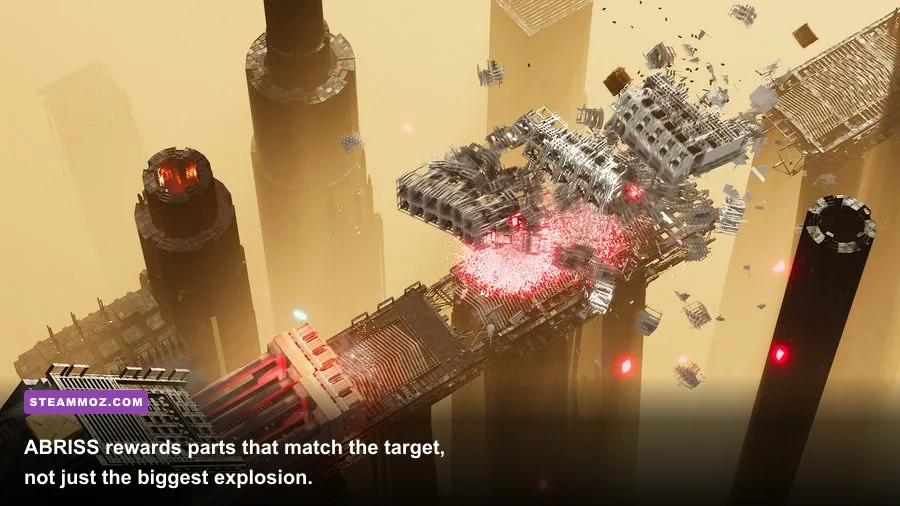
The table uses a practical score out of 10 rather than pretending every part has a permanent, universal damage value. ABRISS's destruction results depend on impact angle, momentum, structural connections, and whether the target's critical supports have already failed. A weapon that looks weaker in a test room can outperform a heavy hitter when it stays attached and reaches the correct impact point.
| Weapon or equipment | Tier | Practical score | Best use | Main weakness |
|---|---|---|---|---|
| Rocket | S-Tier | 9/10 | General demolition and chained impacts | Limited payload and vulnerable launch mount |
| Laser | S-Tier | 9/10 | Weak points, narrow targets, controlled cuts | Needs line of sight and a stable platform |
| Hammer | A-Tier | 8/10 | Supports, walls, and close structural strikes | Requires dangerous positioning |
| Bomb | A-Tier | 8/10 | Dense clusters and wide-area collapse setups | Easy to waste against open layouts |
| Mortar | A-Tier | 7.5/10 | Arcing shots over cover and indirect hits | Slow, imprecise follow-up shots |
| Crusher | B-Tier | 7/10 | Front-loaded ramming and compact structures | Bad approach angles can stall the build |
| Blade | B-Tier | 6.5/10 | Exposed parts and light structural cleanup | Short reach and poor results on thick cores |
Rocket and Laser share S-Tier because they solve different problems. Rocket offers forgiving burst damage and can turn one collision into a cascading collapse. Laser is the cleaner tool when the target has a tiny weak point or the objective demands controlled destruction. Hammer and Bomb are excellent A-Tier choices, but both punish imprecise driving more severely.
🎮 ABRISS - build to destroy
Looking to experience this game? Grab your digital key directly on our store for $5.99.
View on Steammoz Store →S-Tier equipment: Rocket and Laser
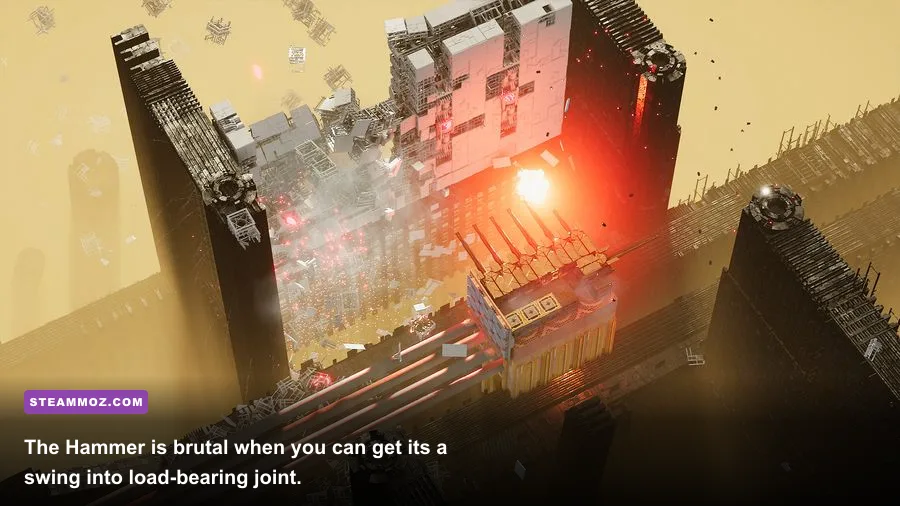
Rocket is the best all-round demolition weapon
Rocket belongs on your first serious campaign build because it converts a decent approach into a meaningful result. Fire at a joint, corner, or tightly packed support cluster rather than aiming at the broadest visible surface. The projectile's value comes from transferred force: if the impact breaks one connection while pushing a neighboring section sideways, the structure can destroy itself for you.
Mount the Rocket close to the main Cabin, with a short Connector chain and enough protection that a glancing collision won't remove it before firing. Long, decorative arms are a trap. They increase leverage, wobble, and the chance that the launcher becomes the first part to strike the environment. Put propulsion behind the weapon mass, keep the center of gravity low, and use a second Rocket only when the level's target density justifies the extra weight.
Rocket's best rotation is simple: approach slowly, fire the first shot at a load-bearing junction, wait for the initial collapse to expose the interior, then use the second shot on whatever remains structurally connected. Don't dump both projectiles into the same flat wall. ABRISS rewards sequencing, and the first explosion often changes the best target for the second.
Laser wins precision tests
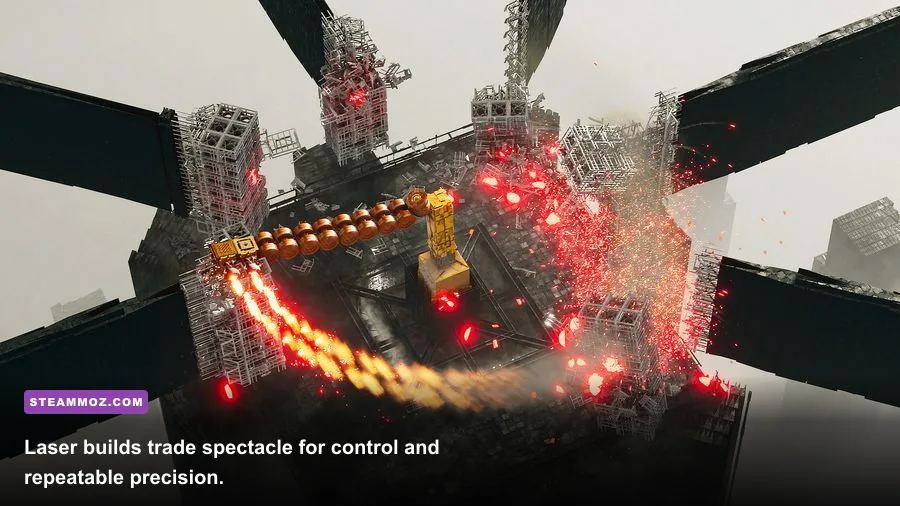
Laser is the better pick when a level asks you to reach a small target behind fragile scenery. It doesn't need the same explosive radius as Rocket, so you can cut through the relevant support without accidentally destroying the wrong objective. That makes it especially strong for challenge layouts where collateral damage or a specific destruction order matters.
The catch is stability. A Laser mounted on a long, flexible frame sweeps across the target as the machine vibrates, wasting its advantage. Build a compact chassis with the Cabin near the center, propulsion balanced left and right, and the Laser close to the front without extending it far beyond the body. Reverse into position if that gives you a steadier firing line. You want tiny corrections, not a dramatic final charge.
Laser also pairs well with a Rocket. Use the Laser to sever an outer brace, then send the Rocket into the newly exposed core. This combination costs more build space than a single-weapon machine, but it handles both precision and burst damage. If the stage gives you only one clear attack window, prioritize Laser's line of sight over raw armor.
A-Tier picks for heavy impact and awkward angles
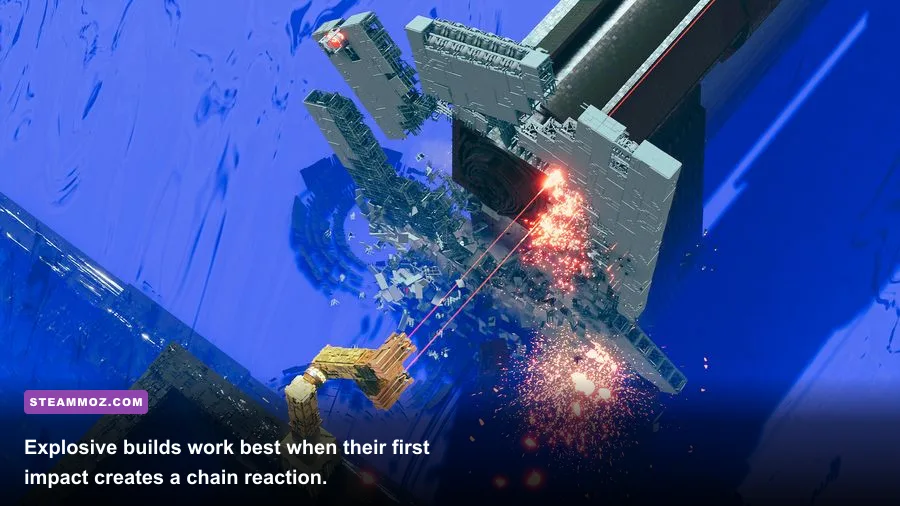
Hammer is the support-breaker
Hammer is the weapon for players who enjoy reading structure instead of simply launching ammunition. Its strength is concentrated physical force at close range. A clean hit on a vertical support or lower corner can do more useful work than a projectile striking the middle of a broad panel.
Use a short, reinforced front section and approach at a shallow angle. A straight-on charge often transfers too much recoil into your own build, while a slightly offset strike lets the Hammer slide into the joint and keep momentum. Keep propulsion behind the Cabin rather than hanging it at the far rear on a long chain. The shorter the machine, the less violently it pitches after impact.
Hammer falls below Rocket because it demands a committed approach. If the target has moving hazards, narrow lanes, or a support hidden behind debris, you may not get a second chance. It rises to near-S-Tier on compact maps where the key objective is exposed and reachable.
Bomb is spectacular but situational
Bomb earns A-Tier when several structures overlap in a tight area. Detonate it where floors, braces, and packed components meet, not on an isolated tower. The best bomb targets are “knots” in the construction: points where one blast can remove multiple connections and shift the center of mass across an entire section.
Bomb's splash is also why inexperienced builds waste it. A large open target may absorb the blast without creating a meaningful collapse. Save the explosive for the moment after you have used a Laser, Blade, or initial collision to open the structure. The more connected material the blast can push at once, the better its value.
Mortar controls targets behind cover
Mortar is the smart answer to height differences and blocked firing lanes. Its arcing trajectory lets you reach platforms that Rocket or Laser cannot see directly. The weapon is less comfortable for rapid correction, however, so identify the target before you commit to the shot.
Build Mortar platforms wide and low. Recoil and uneven propulsion can make the arc inconsistent, especially if the launcher sits on a narrow Connector branch. Mortar is strongest when the target is stationary and the level gives you room to set up. It is weaker in close quarters, where Hammer or Crusher can deliver force immediately.
B-Tier tools and the equipment that makes them work
B-Tier doesn't mean useless. Crusher and Blade can absolutely clear campaign stages, but each has a narrower job. Crusher shines when you can ram a compact target with a stable front end. It is less effective when the target requires a precise hit several meters above your approach path. Blade is excellent at trimming exposed parts and opening a route, but it lacks the broad structural authority of Rocket or Bomb.
| Build component | Recommended role | Placement rule | Why it matters |
|---|---|---|---|
| Cabin | Core and survivability anchor | Keep it near the center of mass | A separated Cabin can end the run before the weapon fires |
| Small Connector | Compact weapon mounting | Use the shortest route possible | Less flex means better aim and less recoil wobble |
| Medium or Big Connector | Load-bearing frame | Use for heavy front assemblies only | Supports weight without creating a giant lever arm |
| Propulsion | Approach speed and steering | Balance thrust across both sides | Uneven force makes precision weapons drift |
| Stabilizing parts | Landing and recoil control | Place close to the weapon's mass | Prevents the nose from pitching after impact |
Think of equipment as a delivery system for your weapon. A perfect Rocket on a bad chassis is still a bad build. If the machine loses its front Connector on contact, the weapon tier doesn't matter. Test the build by driving into a harmless edge at low speed. If the nose twists dramatically or the Cabin swings outside the frame, fix the structure before adding another weapon.
Keep spare parts in reserve instead of filling every available connection. ABRISS builds become more reliable when they have room to deform without immediately taking the Cabin with them. A compact two-weapon machine usually beats a crowded four-weapon machine because it remains controllable after the first collision.
The best campaign builds for different target types

Rocket demolition rig
Use a central Cabin, balanced propulsion, a short reinforced nose, and one or two Rockets mounted close to the centerline. This is the safest general-purpose setup. Fire one projectile at the lowest obvious support, then steer away from the falling structure. The escape matters: many failed runs come from winning the first impact and then being crushed by the collapse.
Laser precision cutter
Put the Laser at the front of a compact, symmetrical chassis. Avoid tall towers and side-heavy extensions. Approach with small steering taps, stop before the front touches the target, and hold the beam on the connection rather than sweeping across the building. This build is ideal for narrow weak points and objectives that punish indiscriminate destruction.
Hammer rammer
Build short, heavy, and low. Hammer goes at the front, with the Cabin immediately behind it and propulsion spread around the rear. Start with a controlled roll rather than maximum speed. You need enough momentum to break the joint, but too much speed can launch the machine into the target and expose the Cabin to the returning debris.
Hybrid breach build
For difficult stages, combine Laser and Rocket instead of stacking identical weapons. Laser opens the outer defense; Rocket finishes the dense interior. The trade-off is build complexity, so run this setup only when the target genuinely has two layers of problems. If you need a general guide-writing benchmark, Steamoz's Dungeons 3 tips guide also emphasizes adapting your build to the objective rather than forcing one favorite setup.
How to test builds without wasting attempts
Start in Sandbox and test one variable at a time. First check whether the machine drives straight. Next check whether the weapon remains attached after a low-speed wall bump. Then test the exact firing or striking distance. Only after those three checks should you judge damage. This process sounds slower than adding another weapon, but it saves entire campaign attempts.
Use a simple pass-fail checklist:
- Control: the machine should turn without one side dragging or lifting.
- Weapon survival: the primary weapon must remain connected after a glancing collision.
- Recovery: the Cabin should stay protected if the front assembly breaks.
- Objective reach: you should be able to line up the target without scraping away the weapon first.
- Debris escape: after firing, leave the collapse zone instead of admiring the first hit.
For stable performance, ABRISS is usually limited more by destruction physics than by its static scenery. If a large collapse causes stutter, lower resolution scaling and shadow quality before sacrificing the physics feel that makes the game special. Cap the frame rate to a level your PC holds consistently; a stable 60 fps is more useful for precision steering than an unstable uncapped number. Steamoz's PC fixes guide covers the same crash-and-performance basics, while Drawful 2's requirements breakdown shows why a clean baseline matters even for lighter-looking games.
Before chasing a perfect score, learn the target's failure pattern. Towers often reward attacks on their base or side braces. Suspended sections may need a top cut before a lower impact becomes useful. Dense cores favor Bomb or Rocket, while exposed single supports favor Laser or Hammer. ABRISS becomes dramatically easier once you stop attacking what looks important and start attacking what keeps everything else attached.
Final ranking and the loadout to choose first
If you want one recommendation, start with Rocket. It is powerful, flexible, and forgiving enough to teach ABRISS's collapse logic without demanding perfect alignment. Choose Laser when the stage presents a narrow weak point or a precision objective. Pick Hammer for compact, reachable supports, Bomb for dense structural knots, and Mortar when cover or elevation makes direct weapons awkward.
The strongest equipment ranking is ultimately a ranking of delivery reliability. Keep the Cabin central, shorten Connector chains, balance propulsion, protect the primary weapon, and leave yourself an escape route after impact. Don't confuse a bigger machine with a better machine. In ABRISS, the best build is the one that still has a weapon, a Cabin, and enough control to exploit the collapse it just created.
For official reference, check the ABRISS Steam page, the developer's official ABRISS site, and the game's Steam announcements for updates that can affect parts and challenge behavior. And if you enjoy games where careful planning beats button mashing, Steamoz's Dungeon Siege retrospective is a good next read after your latest demolition run.