11-11 Memories Retold’s hidden rewards are tied to optional Mementos and character-specific interactions, not a traditional loot system. To find them all, search every hub before triggering the next objective, switch between Harry and Kurt whenever the game allows it, and use chapter select to clean up anything you missed. The important locations are usually beside dead ends, abandoned rooms, vehicles, workbenches, letters, photographs, and animals rather than directly on the critical path.
This guide focuses on the secrets that matter for completion: Mementos, optional story objects, hidden character interactions, and the achievements or collection progress attached to them. The game does not give you a combat build, weapon stash, or currency reward for exploring. Instead, secrets expand the human story, unlock collectible records, add contextual scenes, and contribute toward the game’s completion achievements. That makes a blind playthrough especially easy to spoil for yourself: the levels look linear, but their small side spaces are absolutely worth checking.
How 11-11’s secrets actually work
11-11 Memories Retold is divided into story chapters that alternate between Harry Lambert and Kurt Waldner. A Memento is normally an optional object that can be examined when its interaction prompt appears. Some are obvious items such as letters or personal belongings; others blend into the environment and only become visible when you walk behind a structure or inspect a side room.
There are three rules that prevent most missed collectibles. First, clear the current area before following a highlighted objective or speaking to the person who moves the story forward. Second, check both sides of every large set piece. The game often places one interaction near the route in and another behind the route out. Third, remember that an object found by one protagonist is not necessarily the only secret in that section. Harry’s camera and Kurt’s engineering interactions can expose different optional moments.
Chapter Select is the safest cleanup tool. It lets you replay individual chapters without deleting your completed save. After collecting an item, allow the game to save before quitting. The title’s menus are better at recording chapter progress than at explaining exactly which room contains a missing Memento, so use landmarks rather than relying on a vague percentage bar.
| Secret type | How it appears | Typical reward | Best search habit |
|---|---|---|---|
| Memento | Object interaction prompt | Collection progress and achievement credit | Inspect side rooms and dead ends |
| Character interaction | Optional prompt near a person, animal, or prop | Extra dialogue or a short scene | Explore before advancing objectives |
| Photographic detail | Camera-focused environmental moment | Additional narrative context | Look for framed views and unusual silhouettes |
| Chapter reward | Progress recorded after a chapter event | Achievement or story completion credit | Finish the sequence after collecting |

🎮 11-11 Memories Retold
Looking to experience this game? Grab your digital key directly on our store for $4.49.
View on Steammoz Store →Chapter One secrets in the opening village
The opening chapter introduces Harry and looks deceptively straightforward. Before leaving the village area, walk around the starting buildings instead of immediately joining the marked route. Check the exterior walls, the space behind the first wagon, and the small domestic areas near the road. The game uses these locations to establish Harry’s pre-war life, and the optional prompts are easy to walk past because they resemble ordinary scenery.
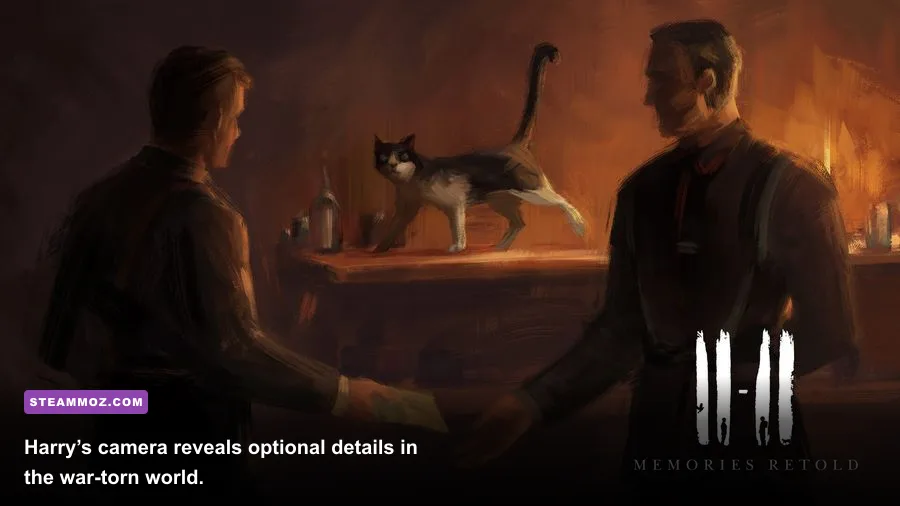
When Harry receives access to his camera, do not rush toward the next objective. Turn back through the area you just crossed and inspect the objects that now have stronger visual framing. The camera is not a free-roaming collectible scanner, but it does signal that the scene has an optional story detail worth noticing. At the village exit, search around the vehicle and the low fence before entering the next transition.
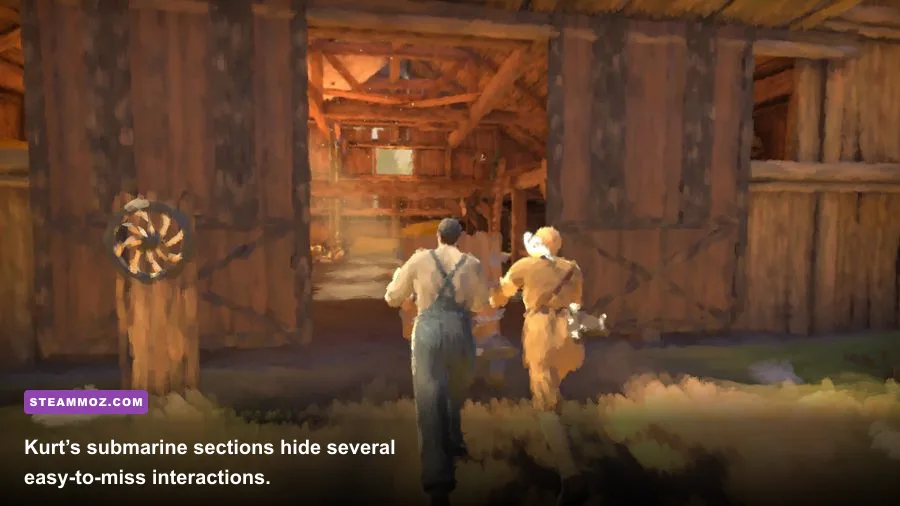
For Kurt’s early section, explore the submarine interior from both ends. Check bunks, lockers, control equipment, and the narrow passages behind the crew. The most common mistake is interacting with the obvious machinery first; that can trigger the next scene and remove access to the room. If the game highlights a console or hatch, sweep the surrounding deck before using it.
- Village approach: circle the first buildings, wagon, and fence line.
- Harry’s camera introduction: revisit the previous path and inspect framed objects.
- Village exit: search beside the transport and behind the low barriers.
- Kurt’s submarine: check bunks, lockers, rear corridors, and machinery before operating the marked console.
The reward here is mainly context. These early Mementos make later decisions hit harder, and they also establish the pattern used by every later chapter: explore first, advance second.
Chapter Two secrets around the trenches
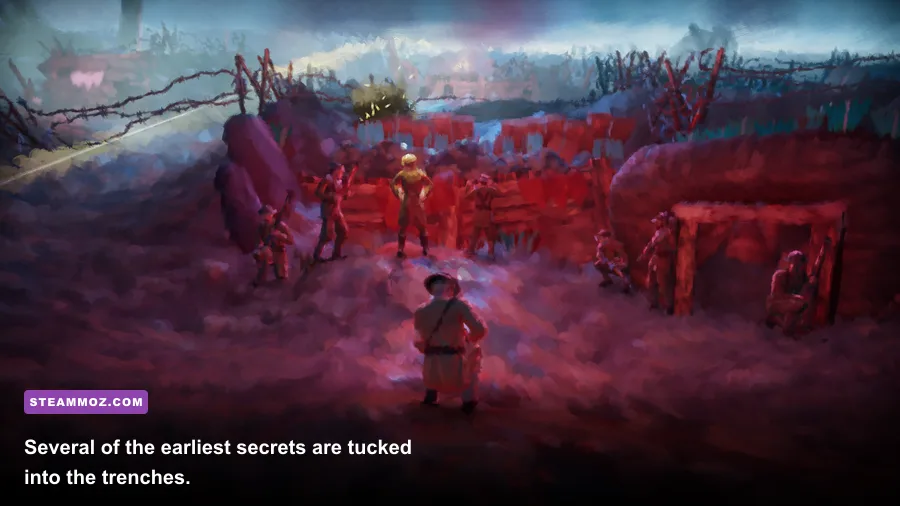
The trench chapter contains some of the easiest secrets to miss because the battlefield pushes you forward with explosions, orders, and narrow cover. Stay close to the trench walls and inspect every recess that is not part of the main climb. Search near ammunition crates, dugout entrances, collapsed timber, and the areas beside stationary equipment.
Harry’s section has optional details close to the communication route. Before climbing toward the next objective, check the dugout interior and the wall opposite the obvious ladder. If a character begins speaking, let the dialogue finish before moving on; several interactions only become available after the short conversation ends. Do not assume a cleared room is empty just because the prompt disappeared during the scripted event.
Kurt’s battlefield route uses machinery and debris as visual cover. Inspect damaged vehicles, supply containers, and the side of the trench facing away from the objective marker. One particularly reliable rule is to walk toward the apparent dead end before turning back. 11-11 frequently places an optional object at the end of a short branch, then returns you to the critical path.
| Area | What to inspect | Missable trigger | Cleanup advice |
|---|---|---|---|
| Forward trench | Crates, dugout corners, timber supports | Climbing the marked ladder | Search both trench walls first |
| Communication route | Equipment beside the message path | Starting the next conversation | Wait for dialogue to end, then rescan |
| Battlefield debris | Vehicles, supply boxes, collapsed cover | Following the objective marker | Walk to every apparent dead end |
| Rear position | Side rooms and barriers behind the route | Entering the next transition | Turn around before leaving |
These discoveries feed the game’s Memento progress and can also unlock small environmental payoffs. They are not power-ups, so the value is narrative rather than mechanical, but the trench material is among the strongest optional writing in the game.
Chapter Three secrets in the flooded and underground areas
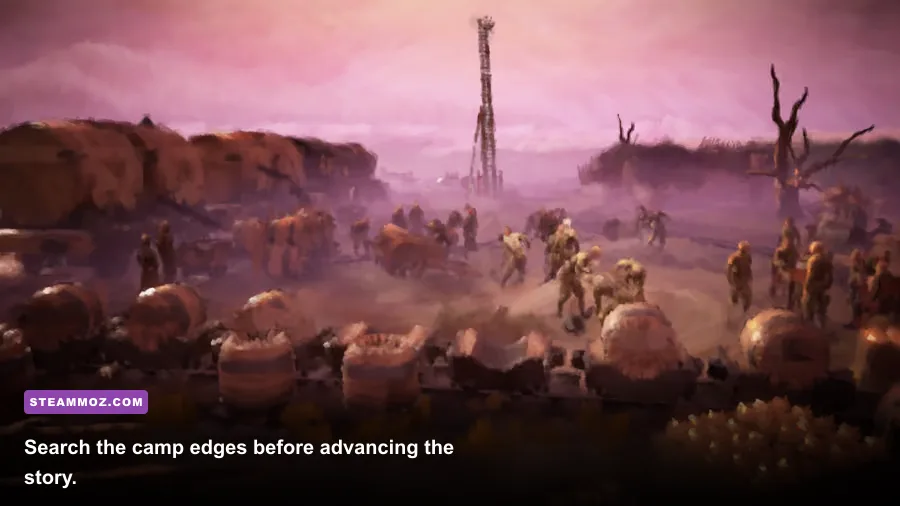
The flooded sections are where a lot of players lose track of completion. Visibility is lower, paths overlap, and the level’s machinery creates natural distractions. Move slowly around ladders, pumps, railings, and storage platforms. If you can see a narrow walkway leading away from the objective, take it immediately; returning later is not always possible.
For Kurt, inspect the submarine’s side compartments before repairing or operating major systems. Look behind pipes, beside worktables, under stair platforms, and around the rear of large machinery. The game’s interactable objects often sit at waist height and can be hidden by the yellow-brown industrial palette. Rotate the camera rather than relying on the center of the screen.
Harry’s equivalent route places optional story moments near damaged structures and flooded passages. Search the area before crossing the first major hazard, then check the landing after crossing it. A useful rhythm is “near side, far side, objective.” Do not activate a lever until both sides of the room are clear.
The hidden reward in these areas is often a fuller explanation of what the characters are doing and why the mission has become dangerous. That context is easy to dismiss on a first playthrough, but it gives the later escape and reunion scenes much more weight. If your chapter summary shows incomplete Memento progress, replay the entire section rather than assuming the missed item is at the end.
Chapter Four secrets in the propaganda and civilian areas
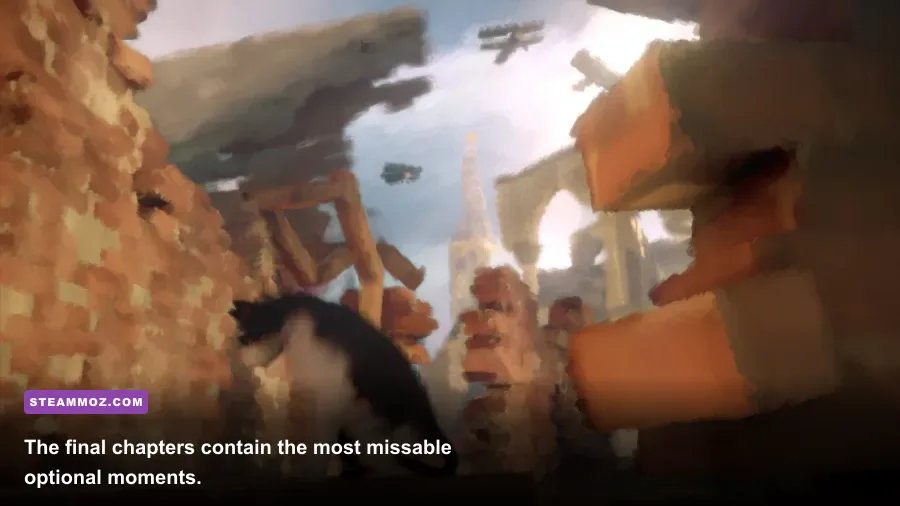
The propaganda-focused chapter shifts the tone from battlefield survival to public performance. Search desks, display boards, offices, and side rooms before participating in the obvious public event. Posters and formal documents are especially important here because they look like set dressing but can become optional interactions when approached from the correct angle.
Harry’s route rewards careful exploration around photography equipment, staged scenes, and backstage spaces. Check behind curtains, beside tripods, and around the edges of the set. If a crowd gathers, walk the perimeter before joining the center. The game wants you to feel the pressure of the performance, but that pressure also hides the side paths.
Kurt’s sections are more industrial. Search offices, storage rooms, and corridors near the main work area. Inspect the opposite side of doors and staircases, especially after a scripted interruption. Some locations appear empty until a conversation or animation finishes, so pause for a moment after entering instead of immediately leaving.
This chapter’s optional material is valuable because it contrasts public messages with private fear. The reward is not a new gameplay ability; it is additional historical and personal context recorded through the Memento system. For achievement hunters, this is also the point where a fast, objective-only run commonly creates the first noticeable gap.
Chapter Five secrets in the prisoner camp
The prisoner camp has a larger-feeling layout than the earlier chapters, and its fences make the boundaries easy to misread. Walk the perimeter before speaking to the character who advances the story. Check the corners of barracks, the space between fences, storage piles, wash areas, and the side of the camp opposite the watch route.
Do not confuse a locked door with a useless space. Locked rooms are normally genuine boundaries, but the surrounding wall may still contain a prompt. Look beside entrances rather than repeatedly trying the same door. In the camp’s central area, move around groups of characters after conversations finish. Optional interactions can be hidden behind people, tables, or stacked supplies.
Kurt’s prison-related scenes benefit from a full sweep before any escape sequence begins. Search personal belongings, work surfaces, and the edges of sleeping areas. Harry’s side of the chapter is more likely to hide details near documents, camera viewpoints, and civilian objects. If the screen begins emphasizing a route out, stop and check the room behind you before following it.
| Camp zone | Search pattern | Main danger | Best approach |
|---|---|---|---|
| Barracks | Perimeter, beds, storage corners | Leaving after a conversation | Wait, then inspect every interior edge |
| Central yard | Circle the crowd and tables | NPCs obscuring prompts | Revisit after dialogue completes |
| Fence line | Walk both sides where possible | Assuming boundaries are empty | Check corners and stacked supplies |
| Work areas | Benches, documents, personal objects | Starting the escape route | Clear the room before the objective |
The camp’s hidden interactions are among the most emotionally important rewards in 11-11 Memories Retold. They show the people behind the uniforms and make the game’s central anti-war message feel specific rather than abstract.
Chapter Six and Seven secrets during the escape
Escape chapters are the least forgiving because scripted chases can close off rooms. Before the first obvious escape prompt, search the starting area completely. During the chase itself, prioritize survival and forward movement; the game rarely expects you to stop in a danger zone for a collectible. The safer method is to replay the chapter after finishing it and explore the route without pressure.
In Chapter Six, inspect damaged vehicles, temporary shelters, and the spaces behind large props before crossing each major checkpoint. When Harry and Kurt are separated, treat each character’s route as its own mini-level. A Memento found with Harry does not substitute for one available during Kurt’s sequence.
Chapter Seven’s travel sections hide secrets near transitions. Before entering a tunnel, vehicle, doorway, or snowy path, turn around and inspect the last open area. This “last look” catches more missed objects than any other habit in the game. Also check the far side of bridges and platforms immediately after crossing them; returning can be blocked by a cutscene.
If you are chasing achievements, replay one chapter at a time and keep a written checklist. The game’s narrative structure makes it tempting to jump randomly between chapters, but a linear cleanup route prevents duplicate searches and makes it obvious which character’s section remains incomplete.
Final chapter secrets and hidden ending context
The final chapter contains the most important reason to collect Mementos: they deepen the meaning of the conclusion rather than changing it into a different ending. Search the snowy exterior, interior rooms, and final staging areas before approaching the final objective. In particular, check behind the starting position, beside abandoned equipment, and along the edges of the final route.
Do not sprint through the final sequence once the game starts emphasizing reunion or escape. Several optional interactions are placed just outside the dramatic center of the scene. Explore the room or landscape first, then trigger the marked event. After the last story beat, let the credits and save process finish so your final progress is recorded.
There is no conventional secret weapon or bonus chapter waiting in a hidden chest. The hidden rewards are deliberately understated: extra conversations, remembered objects, environmental observations, and achievement progress. That restraint fits the game, but it also means a collectible can feel “unrewarded” if you expect a pop-up item. The payoff is the completed portrait of Harry, Kurt, and the people caught between them.
The fastest way to clean up missing secrets
Start from Chapter Select and replay the earliest incomplete chapter. Use a two-pass method. On pass one, follow the story while checking every room, dead end, and vehicle. On pass two, revisit only locations where a conversation or scripted event changed the environment. This is faster than repeatedly replaying the whole campaign at random.
- Finish the chapter once if you have not already done so.
- Open Chapter Select and identify the chapter with incomplete collection progress.
- Search the opening area before touching the first objective.
- After every conversation, rescan the nearby room and the route behind you.
- Search both Harry’s and Kurt’s sections separately.
- After finding the missing interaction, allow an autosave or finish the chapter.
For PC players, a stable frame rate helps more than maximum image quality. The painterly visuals are attractive, but motion blur and aggressive post-processing can make small prompts harder to notice. At 60 frames per second, keep texture quality high, reduce motion blur if available, and use a moderate brightness level so objects do not disappear into dark interiors. If the game stutters, see Steamoz’s low-FPS settings advice or the PC fixes guide for Beacon Pines; the same basic troubleshooting—fullscreen mode, updated drivers, and capped frame rate—can make collectible hunting smoother.
| Cleanup goal | Recommended route | Why it works |
|---|---|---|
| One missing Memento | Replay the chapter from the beginning | Prevents a locked transition from hiding the item |
| Several missing items | Use a room-by-room sweep | Matches the game’s linear structure |
| Character-specific gap | Replay only that protagonist’s section | Harry and Kurt have separate interactions |
| Progress not recorded | Finish the scene or chapter after collection | Forces the save and chapter update |
What the hidden rewards are really for
Collecting every secret in 11-11 Memories Retold is less about completionist bragging rights and more about seeing the campaign’s full emotional architecture. Mementos turn unnamed background figures into people with routines, fears, and relationships. Optional camera moments show how propaganda edits reality. Kurt’s technical spaces reveal the machinery behind decisions that otherwise seem purely political, while Harry’s discoveries expose the personal cost hidden behind patriotic images.
That is why the best route is not simply “follow a collectible map.” Search like an inhabitant of each place. Check where people sleep, work, wait, hide, and leave possessions behind. The game’s strongest secrets are rarely flashy. They are the letter beside a bunk, the object behind a crate, the quiet corner beyond a fence, or the photograph that reframes a scene you thought you understood.
For more narrative-adventure recommendations after finishing the campaign, browse Steamoz’s picks for games like 10 Second Ninja X and story-driven games like F.E.A.R. 2. For the official release details, check the 11-11 Memories Retold Steam page, the DigixArt official site, and Bandai Namco’s game page.
Bottom line: sweep every area before advancing, revisit rooms after dialogue, search both protagonists’ routes, and use Chapter Select for cleanup. Once you adopt that routine, the hidden Mementos in 11-11 Memories Retold stop feeling random—and the game’s quietest rewards become some of its most memorable scenes.