The best starting build in The Cions of Vega is a no-combat exploration setup: prioritize stable performance, headphones, brightness you can actually read, and a methodical route through every environment. There are no character classes, weapon trees, stat points, skill slots, armor sets, or conventional RPG builds here. Your useful upgrades are practical ones: reliable movement, sharp observation, frequent manual notes, and the patience to inspect doors, paths, buildings, and landmarks before moving on.
That distinction matters because searching for a damage build or a stamina build will send you in the wrong direction. The Cions of Vega is a first-person narrative adventure from developer Tonguç Bodur, released on PC in 2021. You play a father searching for his missing daughter, exploring rural spaces shaped by mystery, memory, and unsettling atmosphere. The game is closer to a walking simulator than an action RPG, so the strongest beginner strategy is about avoiding missed clues and preventing technical distractions from breaking the mood.
Before starting, check the game's official Steam page for the current build, supported languages, and system information. For a useful performance mindset, our guide to fixing crashes and low FPS in Beacon Pines covers the same kind of practical PC preparation that helps narrative adventures run cleanly.
What the best starting build really means
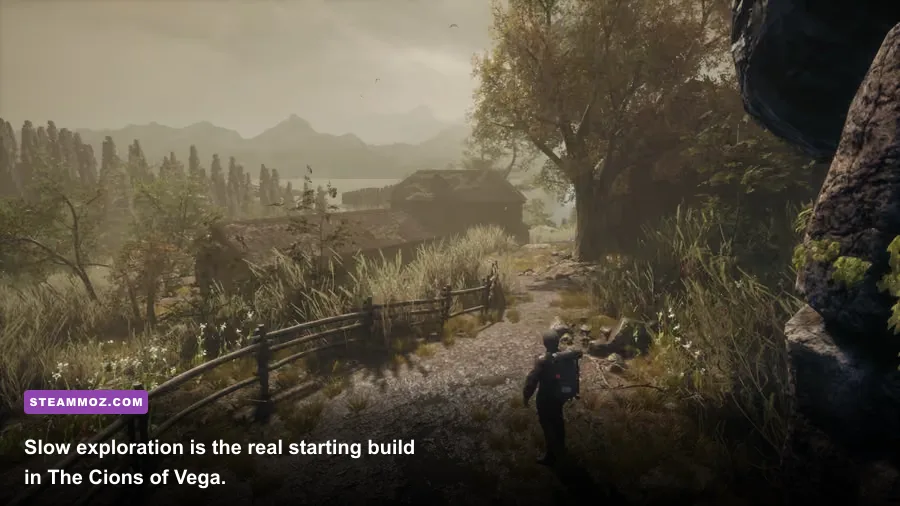
In a game with no combat statistics, “build” means the way you configure yourself and your playthrough. The most reliable beginner setup has four parts: a stable frame-rate target, audio that preserves environmental cues, a sensible brightness level, and an exploration routine that prevents backtracking.
Start with headphones or a decent stereo headset. The Cions of Vega uses atmosphere, distance, silence, and environmental sound to create tension. You don't need a competitive surround preset, and aggressive bass can actually make quiet details harder to separate. A neutral profile is better than a cinematic one that buries subtle audio under rumble.
Next, choose consistency over maximum visual quality. A locked 60 frames per second is a strong target on a modern gaming PC, while a stable 30 FPS can still be perfectly playable on older hardware. Sudden stutter is more damaging than a slightly softer shadow or reduced foliage setting because it makes camera movement feel uneven and can cause you to miss a small visual detail while turning.
| Starting setup | Recommended choice | Why it helps | Who should use it |
|---|---|---|---|
| Display target | Stable 60 FPS | Smoother camera movement and easier landmark reading | Most PC players |
| Older hardware | Stable 30 FPS | Reduces stutter from unstable frame pacing | Integrated graphics or older laptops |
| Audio | Headphones, neutral EQ | Preserves quiet environmental sounds | Players focused on atmosphere |
| Brightness | Raise only until dark detail is visible | Keeps the mood without hiding paths | Players with dark displays |
| Input | Mouse sensitivity slightly below default | Makes slow inspection and deliberate turns easier | Mouse-and-keyboard players |
Think of this as a “clarity build.” You are not trying to move quickly through the game. You are trying to see the route the developer wants you to notice. Keep the camera movement comfortable, disable any display effect that causes eye strain, and avoid changing settings halfway through a tense sequence unless performance becomes genuinely distracting.
If you want a broader PC optimization reference, Steamoz's Bionic Dues settings guide explains why frame pacing and targeted reductions usually beat blindly selecting the lowest preset.

🎮 Cions of Vega
Looking to experience this game? Grab your digital key directly on our store for $1.99.
View on Steammoz Store →The ideal first-hour route for beginners
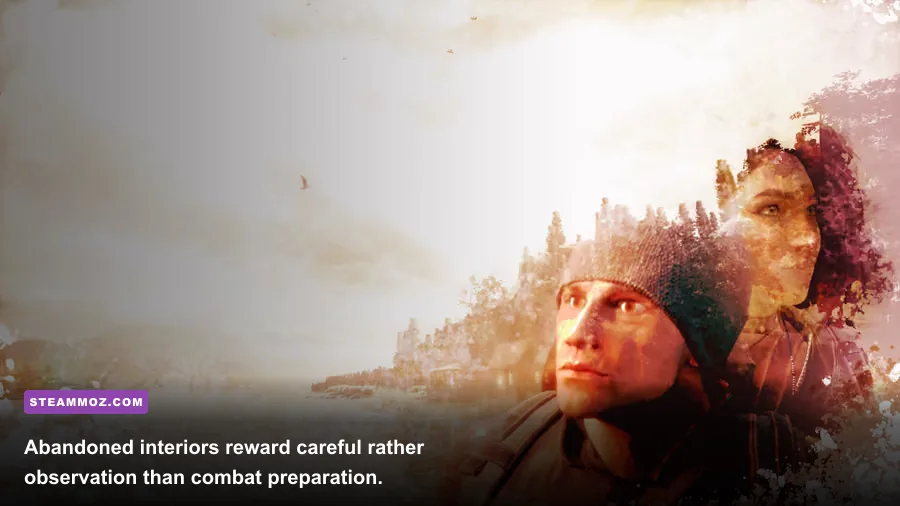
The first hour is where new players most often create unnecessary confusion. They walk quickly, assume every path is decorative, and then realize they didn't properly inspect the last structure or fork in the road. Don't play Vega like a race. Use a fixed sweep pattern.
Step 1: Establish a landmark before moving
At the beginning of a new area, stop and identify three things: the route you arrived from, the most obvious structure ahead, and any unusual object that breaks the scenery. This takes seconds and gives you a mental map. The game does not rely on a dense minimap or a quest log full of objective markers, so your own landmark system matters.
Step 2: Sweep left to right
When you reach a fork, choose one side and inspect it fully before committing to the other. A left-to-right sweep is simple enough to remember and prevents the classic walking-sim mistake of circling randomly. Look for openings, changes in lighting, tracks, isolated props, and paths that appear to terminate at a building or natural obstacle.
Step 3: Check the edge of every explorable space
Important environmental storytelling often sits just outside the center of the path. Walk along the outer boundary of a clearing, yard, or room, then cross through the middle. This approach is slower than following the brightest route, but it gives you a better chance of noticing a side entrance or visual clue that blends into the scenery.
Step 4: Return to the last landmark after every dead end
Don't keep pushing forward because you feel committed to a direction. If a route becomes clearly empty, turn around and return to the last landmark you recognized. This is faster than wandering deeper into similar-looking terrain, and it keeps your mental map intact.
| Situation | Beginner action | Common mistake | Better result |
|---|---|---|---|
| New clearing | Pause and identify three landmarks | Running directly toward the brightest route | You retain a reliable return point |
| Path fork | Complete one branch before the other | Switching directions every few seconds | Less repetition and fewer missed side areas |
| Abandoned structure | Inspect its perimeter, entrance, and interior | Assuming locked or dark spaces are irrelevant | More environmental context |
| Dead end | Return to the last known landmark | Continuing deeper without a reference point | Faster route correction |
There is no shame in taking screenshots for your own notes. A quick capture of a fork, building, or distinctive tree can be more useful than trying to remember a location after ten minutes of similar terrain. You shouldn't need a full external walkthrough on a first playthrough, but a tiny visual breadcrumb system makes the experience far less frustrating.
How to read Vega's environments without getting lost
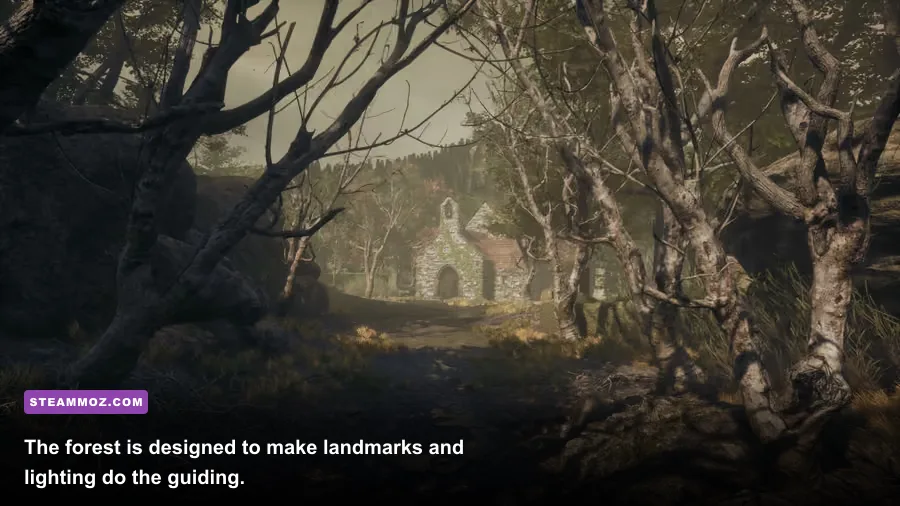
The Cions of Vega doesn't hand you a traditional build menu because its progression is environmental. The game expects you to read composition: where the path narrows, where a light source sits, which structure is framed by the terrain, and which object looks deliberately placed. These are not RPG stats, but they are the game's equivalent of ability checks.
Use lighting as a guide, not an automatic command. A lit doorway or bright clearing often signals a route, but you should still scan the darker edges before entering. Conversely, an apparently empty path can be worth checking if it continues beyond a recognizable landmark. The goal isn't to follow a glowing trail blindly; it's to understand how the scene is directing your attention.
Buildings deserve a complete inspection. Approach from the outside first. Check windows, fences, side walls, and the ground around the entrance. Then inspect the interior slowly, turning your view across shelves, corners, doorframes, and unusual objects. Narrative games frequently communicate through placement rather than collectible pop-ups, so a fast central-camera sweep is not enough.
Use the following priority order whenever you enter a new location:
- Orientation: identify the way back and the largest visible landmark.
- Boundaries: trace the outer edge for alternate entrances and visual context.
- Structure: inspect rooms, doorways, windows, and prominent objects.
- Continuation: follow the clearest route only after the current space feels understood.
- Confirmation: look back once before leaving so the location becomes memorable.
This method also protects you from overthinking. Not every prop is a secret and not every dark corner contains an interactable. Spend extra time on objects that are isolated, framed by light, positioned near a path junction, or visually inconsistent with their surroundings. If an area has no obvious interaction, move on after a sensible sweep instead of searching every pixel.
Players who enjoy ranking weapons should reset their expectations here. Unlike Atomic Heart: Annihilation Instinct or Borderlands 3: Bounty of Blood, Vega has no weapon economy to optimize. Your strongest “gear choice” is simply a comfortable input setup that lets you turn slowly, stop cleanly, and examine scenes without fighting the camera.
Performance settings that preserve the atmosphere
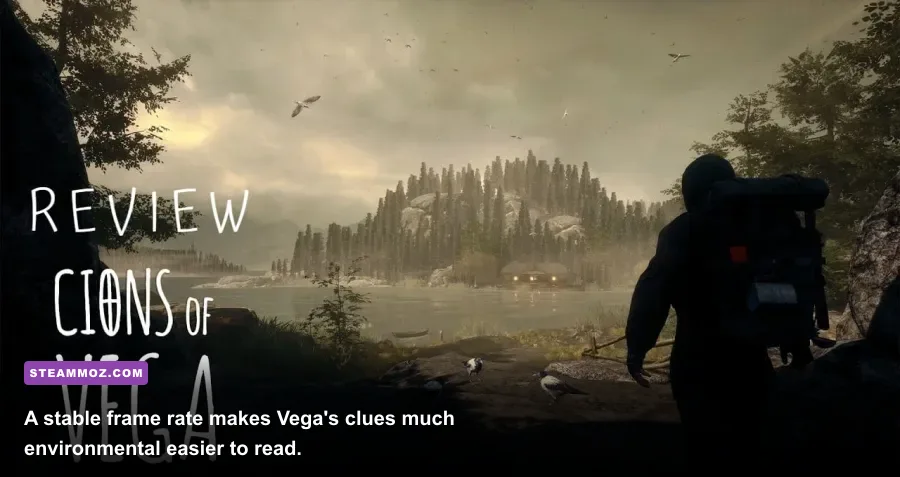
Vega's visual identity depends on fog, foliage, lighting, and large outdoor views. Cutting everything to Low may improve performance, but it can also flatten the very details that help you navigate. Instead, reduce expensive settings in a deliberate order and keep the image readable.
| Setting or profile | Recommended starting value | FPS impact | Visual trade-off |
|---|---|---|---|
| Resolution | Native resolution first | High if reduced | Lower resolution softens distant landmarks |
| Shadows | Medium | Medium to high | Lower settings reduce depth around buildings and trees |
| Foliage or vegetation | Medium | Medium | Lower density can make routes easier to read but less natural |
| Effects and post-processing | Medium | Low to medium | Lower values may reduce atmospheric depth |
| View distance | High if available | Medium | Lower distance removes distant landmarks |
| Anti-aliasing | Medium or the game's default | Low to medium | Lower values create shimmer on foliage and fences |
| V-sync or frame cap | Use a stable cap matching your display | Usually negligible | Reduces tearing and uneven pacing |
For a balanced profile, keep resolution native, set shadows and foliage to Medium, leave view distance at High if your hardware can manage it, and cap the frame rate at a number your PC holds consistently. If performance still dips, lower shadows before resolution. Shadows cost a lot, while native resolution preserves the small visual differences that make an outdoor route readable.
On a laptop, plug in the charger, select the high-performance power mode, and close browser tabs or overlays that compete for memory. Avoid judging performance from a single quiet room. Test your settings in an outdoor area with foliage and long sightlines, since that is where the rendering workload is more demanding.
Don't overdo brightness. Raising it far above the display's natural black level can wash out the atmosphere and make every scene look gray. Adjust until you can distinguish dark shapes from the background, then stop. If the game offers a calibration screen, use that rather than guessing from a bright desktop.
The beginner mistakes that waste the most time
The biggest mistake is expecting a conventional game loop. There are no enemies to defeat for experience, no loot drops to compare, and no skill tree that eventually solves navigation. If you sprint through the opening searching for a quest marker, you’ll miss the purpose of the design.
Don't search for an imaginary inventory system
Vega is not asking you to hoard supplies or combine items. If you find yourself checking every corner for a crafting ingredient, reset your approach. Look for a visual relationship instead: an object near a doorway, a path that continues behind a structure, or a change in the environment that suggests the next beat.
Don't assume every locked-looking route is a puzzle
Some spaces exist to establish mood or suggest a wider world. Inspect them once, confirm whether the game provides a clear interaction, and continue if nothing responds. Repeatedly pressing against every door is rarely productive.
Don't use speed as your default movement
Fast movement makes the scenery blur and increases the chance that you pass a turnoff. Walk during investigation, sprint only when you've already understood the route or want to return through familiar ground. Lower mouse sensitivity if you keep overshooting objects while looking around.
Don't spoil the first playthrough too early
A walkthrough can solve a navigation problem, but it can also remove the uncertainty that gives the story its tension. Try the landmark sweep first. If you are stuck, consult only the section of a guide that covers the current area, not a complete plot summary.
Finally, remember that The Cions of Vega is deliberately compact and focused. The goal isn't to grind toward a stronger character; it’s to absorb the journey and notice how the environments carry the story. If you approach it as a short atmospheric adventure instead of a systems-heavy RPG, the absence of weapons, stats, and upgrades stops feeling like a limitation.
For a final PC checklist, compare your setup with Steamoz's crash and low-FPS troubleshooting guide. Then launch Vega with headphones, a stable frame-rate cap, sensible brightness, and the left-to-right exploration routine. That's the best starting build: not powerful, but observant, comfortable, and impossible to derail with needless backtracking.
You can also find the developer's information through Tonguç Bodur's official website and track community updates through the game's official Steam community hub. Neither changes the core advice, though. Vega rewards the player who slows down, reads the scene, and lets the mystery unfold at its own pace.