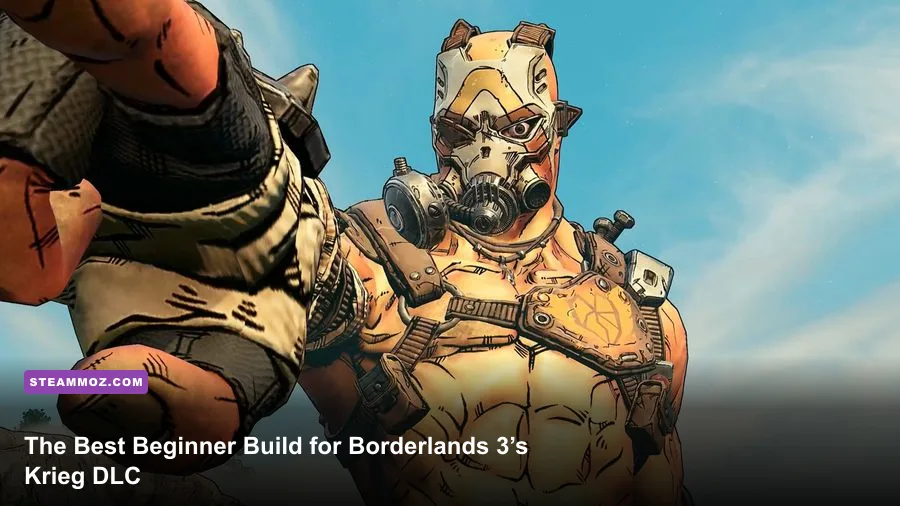
For a first run through Borderlands 3: Psycho Krieg and the Fantastic Fustercluck, use Moze with a Demolition Woman splash build, Iron Bear as your panic button, and a loadout built around a reliable assault rifle, a corrosive weapon, and a Transformer shield. It is the safest beginner setup because explosive damage clears Krieg’s crowded arenas, Vampyr restores health through grenades, and Iron Bear can erase a bad fight without demanding perfect aim.
This guide assumes you own the DLC and are entering with a level 60-or-higher Moze, although the campaign scales around your character in normal play. The exact gun damage printed on level-scaled weapons will change, so the important targets are skill points, anointments, elemental coverage, and the way your gear supports Moze’s splash loop.

Why Moze is the best starting pick

Psycho Krieg’s DLC throws you into tight combat spaces, surreal platforming sections, and enemy groups that often arrive from several angles. Moze handles that pressure better than a precision-dependent build. Her Demolition Woman tree boosts splash damage, generates grenades, and lets Iron Bear contribute meaningful damage instead of functioning as a brief escape animation.
The key interaction is simple: Fire in the Skag Den adds incendiary damage to Moze’s splash attacks, Means of Destruction can return grenades and ammunition, and Vampyr restores health when a grenade hits enemies. You throw a grenade into a cluster, gain healing, refill resources, and keep shooting. That loop remains effective even when your aim is messy or your shield is down.
Moze also gives new players a safety net through Iron Bear. Entering the mech grants a fresh health bar, prevents you from being immediately downed, and gives you time to wait for a shield recharge or revive a teammate. If you are playing solo, that extra life-like layer is invaluable during the DLC’s boss encounters.
| Vault Hunter | Beginner Strength | Why Moze Wins Here |
|---|---|---|
| Moze | Explosions, healing, Iron Bear | Forgives missed shots and crowded arenas |
| Amara | Elemental control and crowd grouping | Excellent damage, but needs tighter elemental matching |
| Zane | Speed, cloning, and gun bonuses | Strong once gear and action-skill timing are understood |
| FL4K | Critical hits and pet revival utility | High single-target damage but less forgiving when surrounded |
If you want a broader look at how to approach a new character, Steamoz’s DeltaZeal starting build guide uses the same useful principle: establish a dependable core before chasing specialized endgame gear.

🎮 Borderlands 3: Psycho Krieg and the Fantastic Fustercluck
Looking to experience this game? Grab your digital key directly on our store for $10.04.
View on Steammoz Store →Moze skill setup from level 60 to 72
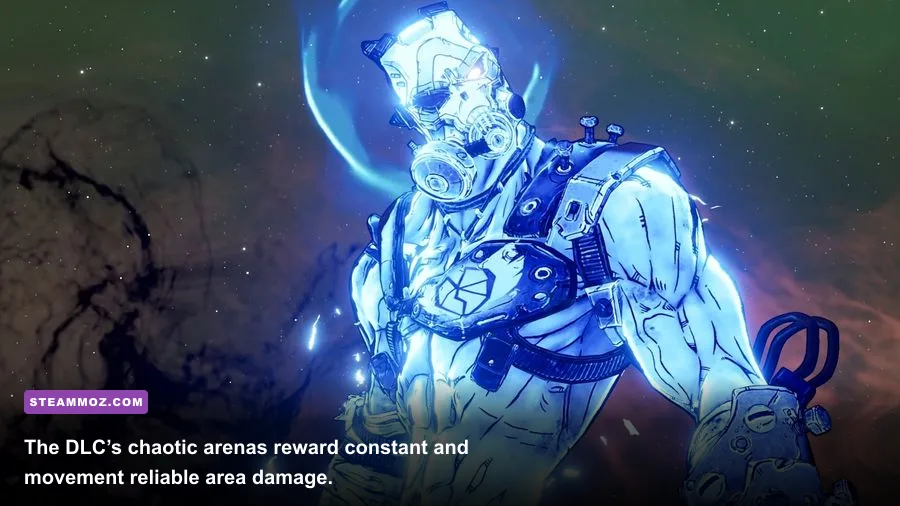
At level 60, you have 60 skill points. Start in Demolition Woman and build toward Short Fuse, Moze’s capstone. Short Fuse gives gun and Iron Bear weapon hits a chance to trigger an additional explosion, creating another layer of splash damage. At level 72, you have 72 points, so the final version can add more survivability and ammo utility.
Level 60 priority
- Fire in the Skag Den 5/5: adds incendiary splash damage. This is your first major damage multiplier against flesh targets.
- Means of Destruction 3/3: gives splash damage a chance to return grenades and ammunition. Three points are enough for the build to feel consistent.
- Torgue Cross-Promotion 5/5: increases splash radius and creates larger chain-reaction explosions. Watch your footing around explosive barrels and ledges.
- Pull the Holy Pin 3/3: lets grenades critically hit. It is cheap damage and improves grenade-based healing through Vampyr.
- Auto Bear 1/1: leaves Iron Bear behind for a short period after you eject. This adds free damage and draws attention away from you.
- Vampyr 5/5: the survival engine. Grenade hits restore a percentage of missing health, with multiple enemies making each throw more valuable.
- Why Can’t I Carry All These Grenades? 1/1: raises your grenade capacity, giving you more healing attempts between ammo drops.
- Stainless Steel Bear 5/5: increases Iron Bear armor and damage-related bonuses. It makes the mech much less disposable.
- Explosive Punctuation 5/5: reduces Iron Bear cooldown when Moze deals splash damage, keeping the action skill available more often.
- Short Fuse 1/1: take this as soon as possible. It is the payoff for the entire splash-damage route.
Spend the remaining points in Security Bear 1/1 for extra Iron Bear armor, Grizzled 5/5 for cooldown reduction, and Deadlines 3/3 if you frequently run out of fuel. If you are dying before Iron Bear comes back, move points into the Shield of Retribution tree and take Armored Infantry 5/5 plus Drowning in Brass 3/3.
Level 72 finish
With the extra twelve points, add Experimental Munitions 1/1 if you are using critical-hit weapons, then invest in Click, Click… 3/3 from Bottomless Mags for stronger guns as magazines run low. The final points can go into Redistribution 1/1 and Scrappy 3/3. These are not mandatory for the DLC campaign, but they make the build smoother during repeat runs and Mayhem levels.
| Skill Tier | Recommended Investment | Combat Purpose |
|---|---|---|
| Core damage | Fire in the Skag Den 5/5, Short Fuse 1/1 | Converts ordinary gunfire into splash explosions |
| Resource loop | Means of Destruction 3/3, Vampyr 5/5 | Returns grenades and heals through grenade hits |
| Iron Bear | Auto Bear 1/1, Stainless Steel Bear 5/5 | Adds armor, damage, and distraction value |
| Cooldown | Explosive Punctuation 5/5, Grizzled 5/5 | Gets the mech back after splash-heavy fights |
Weapons, shield, grenade, and class mod
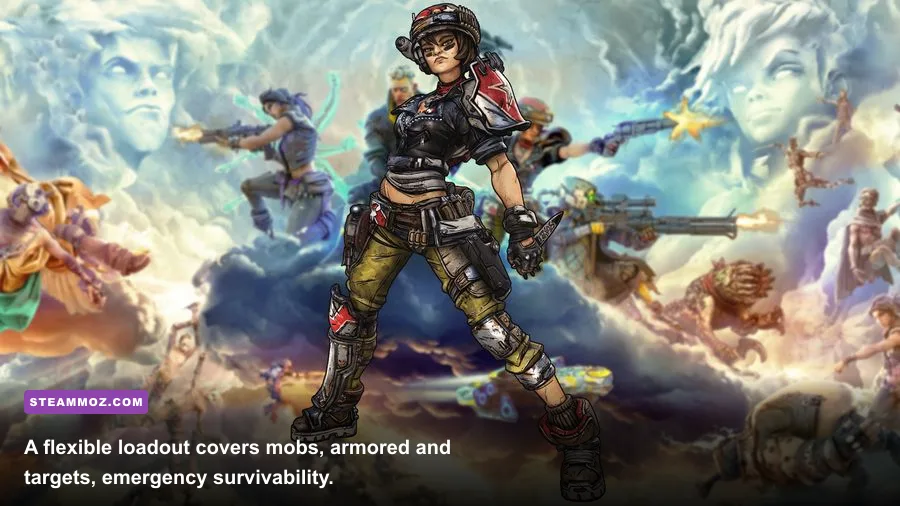
Don’t wait for a perfect legendary before starting the DLC. A well-rolled purple weapon with the right element is more useful than an under-leveled legendary. Replace guns whenever their damage falls noticeably behind your current enemies, especially if you are playing above Mayhem 3.
- Primary gun: use a Vladof assault rifle such as the Lucian’s Call for sustained fire, or a splash-friendly weapon such as the Flipper when you find one. The Flipper rewards close-to-mid-range tracking and can produce multiple elemental projectiles.
- Armor breaker: carry a corrosive weapon, ideally the Hornet pistol or a corrosive assault rifle. Krieg’s DLC includes armored enemies, and relying only on Moze’s default incendiary splash makes those targets unnecessarily slow.
- Boss weapon: the Unkempt Harold delivers huge close-range explosive burst, while the Plaguebearer is excellent for Mayhem-level mobbing if you already have access to it. Use the Harold carefully; its projectiles punish careless positioning.
- Shield: the Transformer converts shock damage into shield recovery and reduces shock damage taken. It is especially useful when an arena fills with electric attacks, but swap to a high-capacity shield if enemies are dealing mostly fire or corrosive damage.
- Grenade: use a recurring or homing grenade with the Cloning Maddening Tracker as a strong endgame target. For the story, any grenade that reliably hits several enemies works with Vampyr.
- Class mod: a Blast Master boosts splash damage while you avoid reloading, making it ideal for sustained mobbing. A Mind Sweeper is explosive and powerful but creates micro-grenades that can hurt you, so Blast Master is the friendlier first choice.
- Artifact: choose a Victory Rush for general damage and movement bonuses, or an Otto Idol if you need extra health recovery after kills. Elemental damage bonuses are valuable, but survivability wins while learning the DLC.
| Slot | Beginner Choice | Upgrade Target | Reason |
|---|---|---|---|
| Assault rifle | Vladof or Dahl rifle | Lucian’s Call or Flipper | Reliable sustained damage against groups |
| Elemental backup | Corrosive Hornet | Dedicated corrosive legendary | Breaks armor without wasting explosives |
| Shield | Transformer | Transformer with useful anointment | Shock resistance and shield recovery |
| Grenade | Homing or recurring grenade | Cloning Maddening Tracker | Multiple hits activate Vampyr |
| Class mod | Blast Master | Blast Master with splash bonuses | Rewards continuous fire and fewer reloads |
For more build-focused reading, compare this setup with Steamoz’s Don Duality beginner build and Dungeons 2 beginner build guide. The games are wildly different, but both reinforce the same lesson: prioritize a repeatable combat loop over flashy gear.
The combat rotation that keeps Moze alive
Open fights at medium range with your assault rifle, then throw a grenade when three or more enemies are grouped. The goal is not merely damage; you want grenade impacts to trigger Vampyr and Means of Destruction. Once enemies are softened, finish the most dangerous target first, usually a badass, an elemental attacker, or anything carrying a launcher.
When your shield breaks, don’t automatically sprint for cover. Toss a grenade into the nearest cluster and keep moving sideways. Vampyr can refill your health while your shield begins recharging. If the room is too open or the enemy group has multiple heavies, activate Iron Bear immediately rather than waiting until you are in Fight for Your Life.
Use Iron Bear’s weapons according to the target. The V-35 Grenade Launcher is excellent for groups and benefits from splash-focused skills. The Railgun is better for armored targets when fitted with a corrosive augment. Keep Auto Bear active after ejecting so the mech continues firing while you reposition or collect ammunition.
There are two important safety rules. First, don’t spam explosives at point-blank range unless you know the weapon’s self-damage behavior. Second, stop firing briefly when an enemy enters a downed state if your projectiles can kill nearby targets; you need a living enemy for a Second Wind revival. In chaotic DLC arenas, careless splash damage can remove your only revival target.
Psychoreaver and DLC performance tips
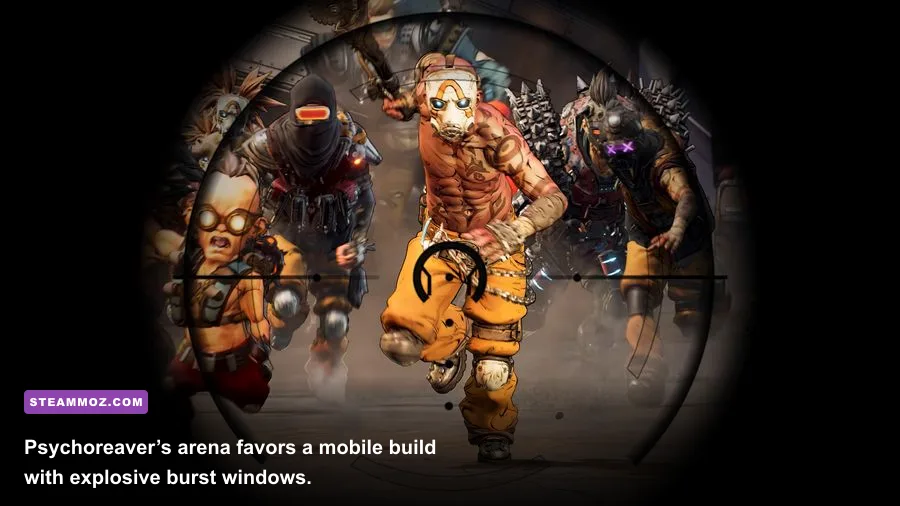
The Psychoreaver fight is much easier when you treat the arena as a movement test rather than a damage race. Watch for his large wind-ups, keep circling the outer space, and avoid standing directly in front of him when he raises his weapon. His attacks are heavily telegraphed, but the arena’s visual noise can hide the danger if you tunnel on critical hits.
During the encounter, use Iron Bear when the boss starts controlling the center of the arena or when adds begin boxing you in. Focus on staying alive through the transition instead of burning every cooldown immediately. Grenades are most valuable when side enemies spawn because Vampyr turns those groups into mobile health stations.
| Encounter Problem | Danger Signal | Counter | Best Tool |
|---|---|---|---|
| Psychoreaver closes distance | Large weapon wind-up | Sprint sideways around the arena edge | Iron Bear or explosive burst |
| Several adds spawn | Multiple red health bars appear | Group them, grenade, then heal through Vampyr | Recurring grenade |
| Armor-heavy enemies | Yellow health bar | Switch to corrosive damage | Corrosive Hornet or Railgun |
| Shield breaks repeatedly | Moze enters low-health state | Grenade the nearest group and keep strafing | Vampyr plus Transformer |
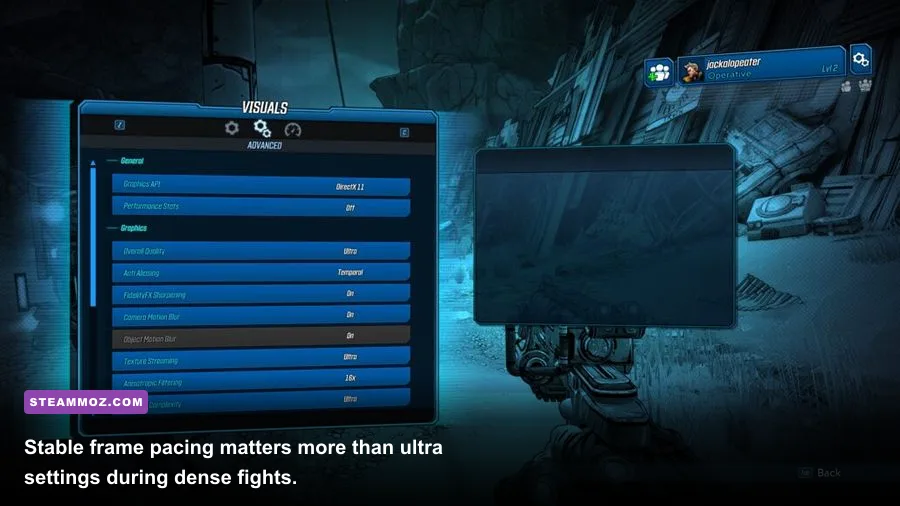
On PC, prioritize a stable frame rate over cosmetic detail. Borderlands 3 can become CPU-heavy during explosions, volumetric effects, and large enemy groups. Start with the High preset, lower volumetric fog and screen-space reflections first, and use a 60 FPS cap if your system cannot hold a higher rate. The official Steam page lists the baseline hardware requirements, while Borderlands’ official site provides current game information.
| Setting | Recommended Starting Value | FPS Impact | Visual Trade-Off |
|---|---|---|---|
| Volumetric Fog | Medium | High | Less dense haze in dramatic areas |
| Screen Space Reflections | Medium | Medium | Reduced reflections on wet or shiny surfaces |
| Texture Streaming | High if VRAM allows | Low to medium | Sharper textures and possible VRAM spikes |
| Draw Distance | High | Medium | More distant detail and stronger CPU load |
Finally, use the Gearbox Borderlands 3 page for patch and platform information, and check Steamoz’s PC fixes guide if performance problems extend beyond the DLC. With the build above, your priorities are straightforward: keep enemies grouped, make grenade hits count, swap to corrosive damage for armor, and press Iron Bear before panic sets in. That is enough to make Krieg’s beautiful nightmare feel far less chaotic.