
New to the Far Cry 6 Game of the Year Upgrade Pass? Start with the base campaign, unlock a reliable armor-piercing rifle, upgrade your camp before chasing every side activity, and treat Yara's ammo and gear systems as tactical tools rather than decoration. These 10 tips will get Dani Rojas stronger quickly while also helping you get more from the Vaas, Pagan Min, Joseph Seed, and Lost Between Worlds content included in the upgrade.
The upgrade pass is an add-on, not a standalone copy of Far Cry 6, so make sure your library already includes the base game. You can verify the package on the official Steam page and compare included content through Ubisoft's Far Cry 6 site. The advice below focuses on the campaign first, because that is where your resources, weapons, and camp upgrades snowball fastest.
1. Fix your ammunition setup before upgrading everything
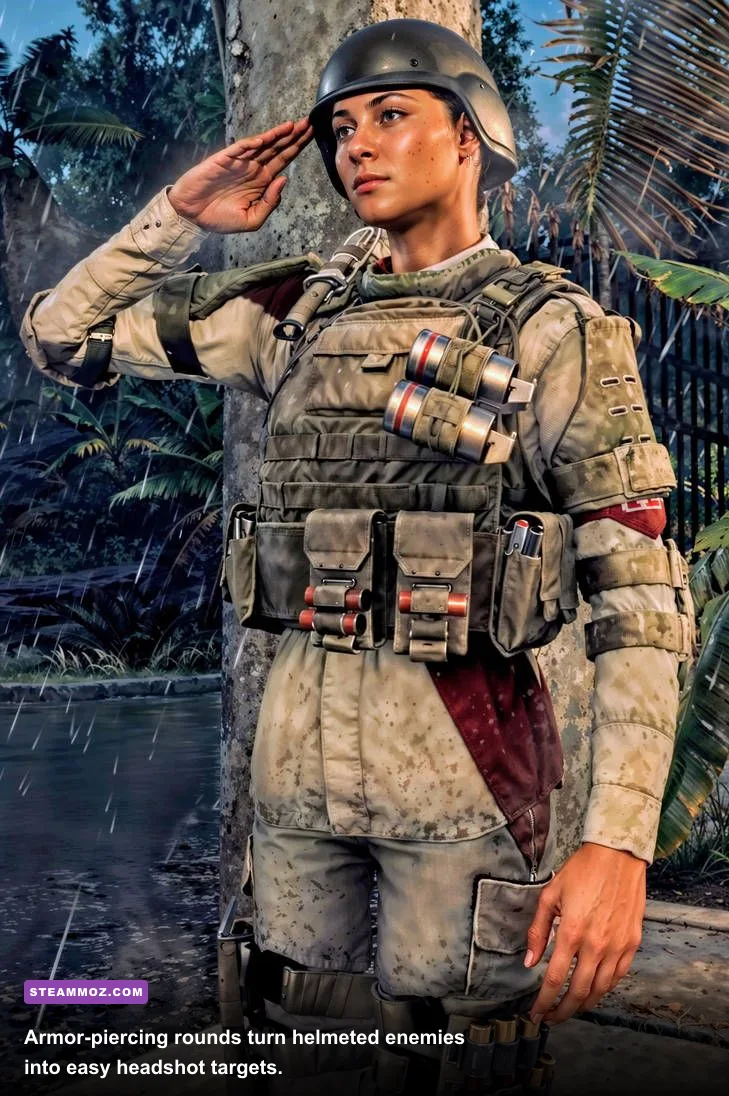
Far Cry 6's biggest early mistake is carrying one ammunition type and hoping raw damage will solve every encounter. It won't. Enemies wear different protection, and the correct round matters more than a small weapon-stat increase. Armor-piercing rounds are the best general-purpose choice because they let you punch through helmets and consistently reward headshots. Soft-target rounds are useful against unarmored soldiers, while blast rounds are better for fragile targets and certain vehicles. Poison ammunition can create chaos, but it is less dependable when you need a clean kill.
Put armor-piercing rounds in your main rifle as soon as a workbench allows it, then pair that weapon with a silencer. The silencer overheats if you fire too rapidly, so pace your shots instead of emptying the magazine. A suppressed rifle with armor-piercing ammunition can remove officers, alarms, and machine gunners before an outpost becomes noisy.
| Weapon role | Recommended choice | Why it works | Best target |
|---|---|---|---|
| Primary rifle | Armor-piercing rounds plus suppressor | Reliable helmet penetration and stealth | Officers, snipers, regular soldiers |
| Close-range backup | Shotgun with soft-target or blast rounds | High burst damage when stealth breaks | Heavy units and clustered enemies |
| Anti-vehicle slot | EMP weapon or rocket launcher | Disables or destroys vehicles quickly | Tanks, helicopters, patrol trucks |
| Quiet sidearm | Suppressed pistol | Fast emergency takedowns | Isolated guards and alarms |
Don't obsess over owning every weapon early. One dependable rifle, one close-range option, and a tool for vehicles cover almost every mission. This is the same principle behind smart loadout planning in our weapon tier-list breakdown: a focused kit beats a bloated inventory.
🎮 Far Cry 6 - Game of the Year Upgrade Pass
Looking to experience this game? Grab your digital key directly on our store for $14.99.
View on Steammoz Store →2. Build your first camp around mobility and healing
When you unlock the first guerrilla camp, spend resources on facilities that improve the way you move through Yara rather than chasing cosmetic benefits. The Hideout Network is a strong early purchase because it unlocks fast-travel hideouts and makes the enormous map much easier to cross. The Bandidos Barracks expands your recruit and gear options, while the Infirmary improves healing and survivability.
You won't have enough medicine, metal, gasoline, and medicine supplies to build everything immediately. That's fine. Pick one camp facility, upgrade it when the required materials appear, and loot every military crate you pass. A hideout network changes the campaign's pacing: instead of driving across the entire island for a mission, you can fast travel nearby and arrive with a full supply of gadgets.
Use camp facilities as a progression loop. Complete a nearby ambush, raid a checkpoint, loot the area, and return to upgrade. This is much more efficient than sprinting through story missions while your equipment stays underdeveloped. If you enjoy optimization-heavy progression, the resource rhythm is worth comparing with our fast-leveling and gold-farming guide.
3. Learn the stealth alarm loop before attacking checkpoints
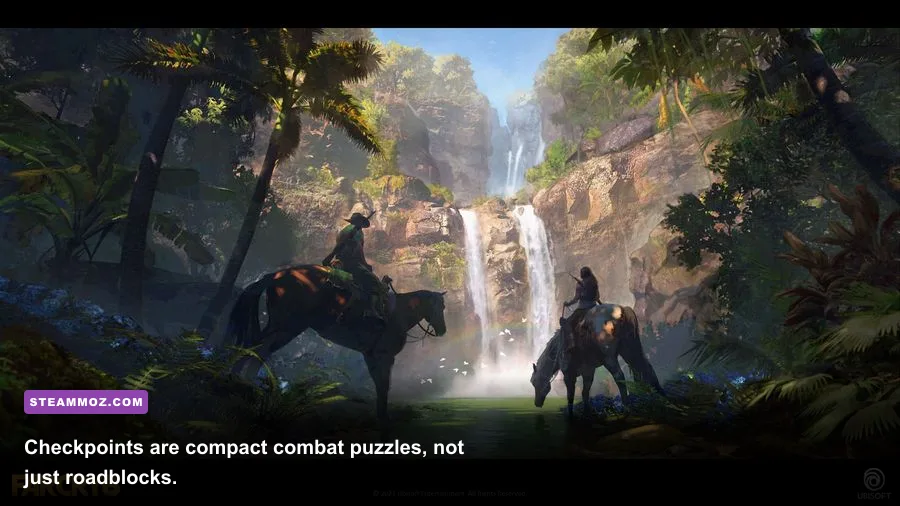
Every checkpoint and outpost becomes easier once you identify the alarm box, its operator, and the nearby cameras. Tag enemies with your phone first, then locate the alarm before firing. A single surviving soldier can call reinforcements if the alarm remains active, turning a tidy capture into a prolonged firefight.
There are three reliable approaches. Shoot or sabotage the alarm before the first body drops, use a silent takedown on the operator, or deliberately trigger the alarm and destroy the box while enemies rush toward your position. The first option is safest, but the third can be faster when the alarm sits in an exposed location.
Don't automatically kill every soldier. Distract guards with rocks, use poison rounds to make patrols attack one another, and move bodies away from roads. A suppressed headshot is only valuable if the next guard can't see the corpse. If stealth collapses, change position immediately; enemies search the location of your last known shot, not your current hiding place.
4. Use the right Supremo for the fight, not the inventory screen

The Exterminador is the best first Supremo for most new players. Its volley of homing rockets is simple, powerful, and excellent against groups, helicopters, and heavy targets. Activate it when several enemies are exposed, not against one ordinary soldier. The recharge comes from kills and combat actions, so wasting it on a weak target slows your next opportunity.
Later options reward more specialized play. Volta's EMP blast disables electronics and can hijack vehicles, making it brilliant for tank theft and stealthy checkpoint approaches. The Medico Supremo supports healing but reduces your offensive pressure, while Fantasma creates a more aggressive poison-focused style. Triador is especially valuable for players who enjoy supernatural shooting angles during its associated treasure-hunt progression.
| Supremo | Best use | Pair it with | Main drawback |
|---|---|---|---|
| Exterminador | Early all-purpose destruction | Armor-piercing rifle and rocket launcher | Overkill against isolated enemies |
| Volta | EMP stealth and vehicle capture | Suppressed weapons and repair torch | Lower direct damage |
| Medico | Surviving long firefights | Shotgun and healing-focused gear | Less burst damage |
| Triador | Hitting enemies through cover | Resolver weapon from the associated quest | Requires extra exploration to unlock |
Resolver weapons follow the same rule. The Volta's Discos Locos can distract and shoot, the Pyrotechno launches fireworks, and the Zeusito uses EMP energy. They are fun, but they shouldn't replace a conventional rifle. Keep at least one weapon in your loadout that solves ordinary enemies quickly.
5. Stack gear perks around one clear combat identity
Far Cry 6 has no traditional skill tree. Instead, Dani's specialization comes from gear perks, weapon mods, and Supremo bonuses. This means you should stop treating every equipment slot as an isolated upgrade. Build around a purpose.
For stealth, use gear that improves movement, reduces detection, or supports suppressed weapons. For direct combat, health and defense perks help you survive while the armor-piercing rifle handles helmets. Parkour gear is excellent for exploration because faster movement and stamina recovery reduce downtime between objectives. The best setup is usually a hybrid: stealth head and chest gear, movement-focused legs, and a defensive wrist or foot slot.
Weapon mods can also change how a gun feels. Extended magazines reduce reload interruptions, while improved optics help with long-range headshots. A suppressor is not automatically correct on every weapon; some loud weapons are designed for panic and burst damage. Check the weapon's role before spending gunpowder at the workbench.
6. Steal tanks and helicopters instead of fighting them head-on
Yara's vehicles look intimidating, but they are often opportunities. Shoot the driver through the windshield when possible, use an EMP device to disable the vehicle, or attack the rear hatch of a tank and perform the hijack prompt. After taking a tank, use it to flatten roadblocks and capture military targets, then drive it to a friendly vehicle pickup point to permanently add it to your collection.
Against helicopters, the EMP Supremo or EMP grenades can create a clean opening. A rocket launcher works, but rockets are expensive and their lock-on can alert everyone nearby. If you must destroy an aircraft, aim for the pilot or rotor system instead of wasting shots on armored sections.
Keep a repair torch available when driving captured vehicles. Vehicle durability falls quickly under sustained fire, and abandoning a tank just before it reaches a pickup point is one of Yara's most irritating avoidable failures.
7. Make Amigos part of your actual strategy

Amigos are more than collectible pets. Guapo is the early-game brawler: he draws attention, regenerates after taking damage, and can revive himself. Chorizo is built for distraction and is superb when you want guards looking away from an alarm box. Chicharron is an aggressive attack companion who works best when you have already accepted a loud fight.
Use the Amigo command deliberately. Send Guapo toward a heavy enemy while you flank the position, or let Chorizo pull a patrol away from a locked room. Keep your companion close during stealth missions if you need a distraction, but dismiss them when a silent approach depends on absolute control. Their behavior can expose you if you order an attack too early.
Complete each Amigo's associated ability challenges rather than ignoring them. These unlocks make the companion more useful over time and give you another reason to vary your combat routine. The broader lesson is familiar from our new-player tips for Death Note: Killer Within: learn what each tool is designed to do before asking it to cover every situation.
8. Hunt anti-aircraft cannons before exploring the whole island
Anti-aircraft sites restrict fast travel and air travel across parts of Yara. Destroying them early opens the map and makes later missions dramatically less tedious. You can blow up the cannon with explosives, sabotage it, or use a vehicle weapon if you approach with enough cover.
Don't sprint directly into the base. Scan the perimeter, mark soldiers, identify the alarm, and look for an elevated firing angle. A sniper rifle with armor-piercing rounds can remove the gunner and nearby officers before you enter. Once the cannon is destroyed, loot the military materials and inspect the surrounding area for depleted uranium, crates, and hidden side objectives.
Depleted uranium is especially important because Juan or one of his vendors uses it to sell Supremo backpacks and Resolver weapons. Buy your first Supremo before spending uranium on novelty gear. The arsenal grows quickly, but your ability to travel freely is the upgrade you feel for the entire campaign.
9. Handle the DLC as a separate tactical game
The Vaas: Insanity, Pagan: Control, and Joseph: Collapse episodes don't play like ordinary Yara missions. Each is built around a mindscape, repeatable runs, escalating danger, and temporary power growth. You begin with limited strength, earn cash during a run, and decide whether to bank your progress or push deeper and risk losing it after death.
Start by learning the map and identifying extraction routes instead of chasing the highest-value objective immediately. Buy a dependable weapon first, then improve damage or survivability. A flashy purchase that leaves you unable to heal is usually a bad deal. The goal is not merely to reach a difficult encounter; it is to arrive with enough resources to recover from mistakes.
Use the DLC to practice enemy recognition. Vaas rewards aggressive movement, Pagan punishes careless positioning, and Joseph's episode emphasizes pressure from multiple directions. The Lost Between Worlds expansion adds a more arcade-like structure with shard-based progression and different challenges, so don't judge it by the same standards as the main campaign.
10. Tune performance before blaming your aim
Far Cry 6 can look excellent, but high-resolution textures, ray tracing, and dense foliage can make aiming feel inconsistent on mid-range hardware. Start with a stable frame rate, then add visual quality. On PC, use the game's benchmark after changing settings and compare minimum frame behavior, not just the average number.
| Setting | Recommended starting value | Performance impact | Visual trade-off |
|---|---|---|---|
| Ray-traced reflections and shadows | Off unless using a powerful GPU | High | Less reflective detail and shadow accuracy |
| HD texture pack | Install only with sufficient VRAM | High memory use | Sharper surfaces and weapons |
| Volumetric fog | Medium | Medium | Some loss of atmospheric depth |
| Geometry and vegetation | High | Medium to high | Less distant foliage and world density |
| Motion blur | Off for precise aiming | Minimal FPS gain | Cleaner camera movement |
| Adaptive resolution | On for unstable performance | Improves consistency | Image softness during heavy scenes |
On consoles, prioritize the performance mode when available if you value gunplay responsiveness over extra resolution. If the game stutters, lower texture quality only when VRAM is the problem; lowering every setting at once can make Yara look worse without fixing the real bottleneck. Our low-FPS troubleshooting guide covers the same diagnostic mindset, while the settings guide for Dragonkin: The Banished explains why stable frame pacing matters more than headline FPS.
The smart first ten hours in Yara
For a clean opening route, complete the early tutorial missions, unlock your first camp facility, install armor-piercing rounds, and capture a few nearby checkpoints. Destroy at least one anti-aircraft cannon, buy or earn a useful Supremo, and recruit an Amigo whose behavior matches your preferred approach. Then explore treasure hunts and special operations instead of rushing every main objective.
Keep spare gunpowder for silencers and ammunition mods, trade excess resources only when a workbench upgrade is clearly useful, and save your best explosives for tanks or helicopters. Far Cry 6 becomes much more flexible once your loadout can answer three questions: can I remove a helmeted target quietly, can I survive when stealth fails, and can I stop a vehicle? Build for those answers and the Game of the Year Upgrade Pass content becomes a playground rather than a checklist.
For official troubleshooting, account, and DLC entitlement information, use Ubisoft Support. For broader hardware planning, our PC specifications guide offers another useful reference point.