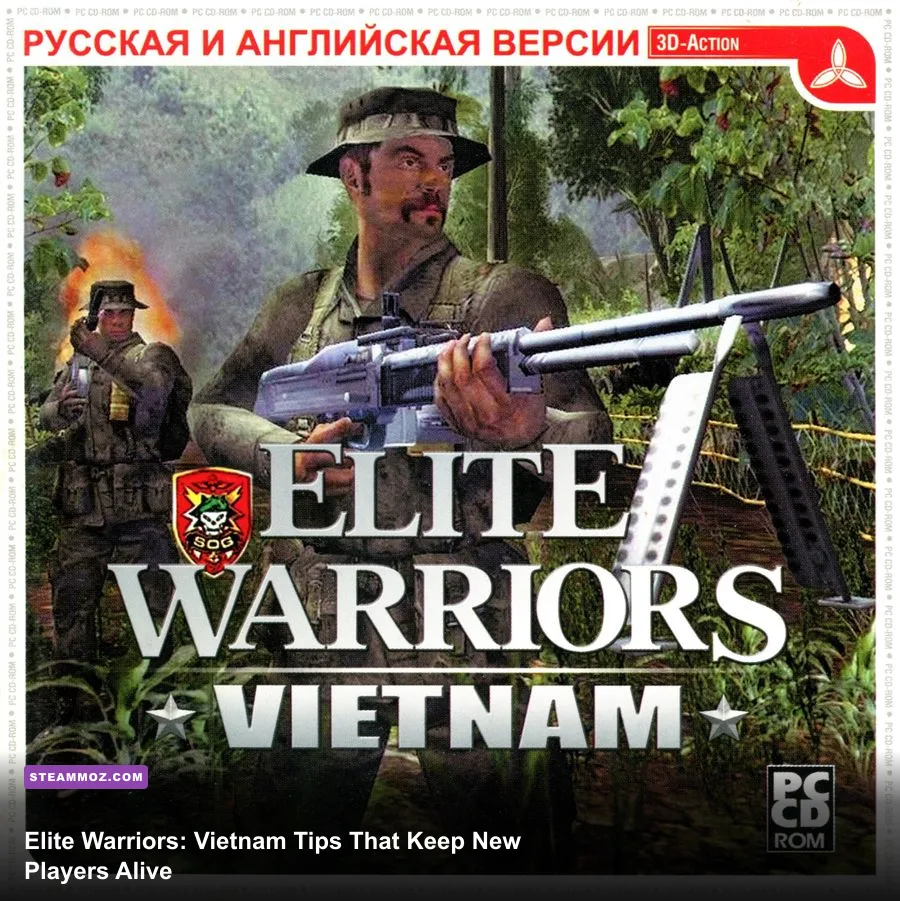
The fastest way to improve in Elite Warriors: Vietnam is to slow down. New players who control stamina, fire in short bursts, scan likely ambush angles, and keep one emergency magazine in reserve will survive dramatically longer than players who sprint from objective to objective. Start with the M16A1, learn the M79's safe ranges, use the M60 from cover, and treat every tunnel entrance as a deliberate room-clearing problem.
These Elite Warriors: Vietnam tips and tricks focus on the habits that matter during the opening missions: reading terrain, managing ammunition, choosing a useful loadout, and understanding why apparently quiet jungle paths are often the most dangerous parts of a map. If you're coming from a run-and-gun shooter, expect a rough adjustment. The game rewards preparation far more than twitch aim.
1. Stop sprinting before the fight starts
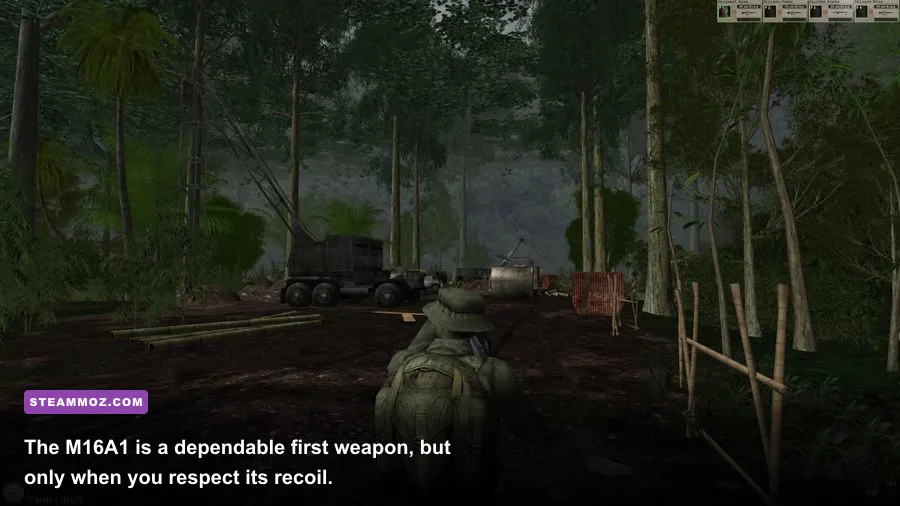
Sprint is useful for crossing exposed ground, but it should not be your default movement mode. Running drains stamina, increases your chance of arriving at an objective without a full magazine, and makes it harder to react to a muzzle flash in the tree line. Move in short sections: sprint between cover, stop, reload if necessary, then scan before advancing again.
Your first scan should cover three areas: the next piece of hard cover, the upper foliage line, and the nearest flank route. Bushes and rice paddies can hide enemies at surprisingly short range, so don't stare only at the objective marker. If the path looks suspiciously empty, assume the game wants you to check the sides.
A useful rhythm is five to eight seconds of movement followed by a two-second pause. That pause lets stamina recover and gives you time to listen for automatic fire, footsteps, or grenade cues. It also prevents the classic beginner mistake of reaching a checkpoint with no stamina and no plan.

🎮 Elite Warriors: Vietnam
Looking to experience this game? Grab your digital key directly on our store for $1.99.
View on Steammoz Store →2. Build your first loadout around reliability
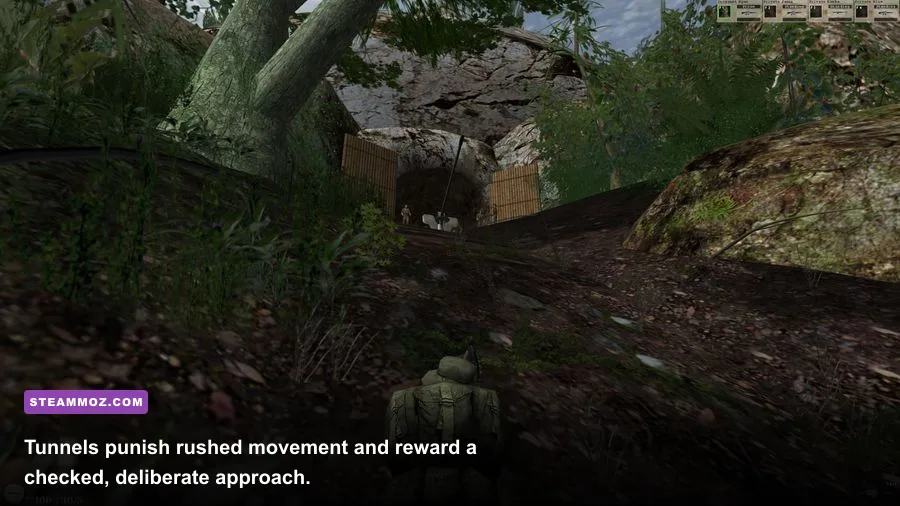
The M16A1 is the best learning rifle because it gives you a practical balance of accuracy, magazine capacity, and controllable recoil. Use it for medium-range fights and keep the M1911 as an emergency sidearm rather than a primary weapon. The AK-47 hits hard, but its heavier recoil makes hurried follow-up shots less forgiving. The M60 has excellent sustained fire, yet its weight and reload time make it a poor choice for players who haven't learned positioning.
Carry an M79 when the mission gives you access to it. One grenade can clear an occupied window, dugout, or bunker entrance without forcing you to expose your whole body. Aim slightly short rather than directly at a target on uneven ground; a grenade that lands behind cover may do nothing, while one that skips into the opening can solve the encounter instantly.
| Weapon | Best Range | Main Strength | Beginner Warning |
|---|---|---|---|
| M16A1 | Medium | Accurate controlled bursts | Automatic fire climbs quickly |
| AK-47 | Short to medium | Strong damage per hit | Recoil punishes panic spraying |
| M60 | Medium to long | Sustained suppression | Slow handling and reloads |
| M79 | Short to medium | Clears clustered enemies | Dangerous at point-blank range |
| M1911 | Close | Fast emergency draw | Limited damage and capacity |
3. Fire in bursts, not emotions
The M16A1's automatic mode is tempting, especially when an enemy disappears behind vegetation. Resist it. Fire three- to five-round bursts, then reset your aim. The first rounds usually stay close to the sight picture; the later rounds climb and turn a manageable engagement into wasted ammunition.
At close range, a longer burst is fine if the target is clearly visible. At medium range, tap the trigger and aim for the upper chest. Headshots are valuable, but chasing a tiny head through leaves often costs more time than it saves. Center-mass hits also make it easier to transfer onto a second target.
For the AK-47, use two- or three-round bursts unless you're inside a room. The weapon's damage makes it excellent for finishing exposed enemies, but its sight picture becomes unreliable if you hold the trigger while standing. Crouching helps, though hard cover matters more than posture.
4. Treat ammunition as a mission resource
Don't reload every time you've fired a few rounds. A tactical reload is sensible when you're behind cover, but reloading in the open is how ambushes turn into wipes. Before entering a new area, check your magazine and reserve ammunition. If you're below half capacity and the area is quiet, reload before advancing.
Keep one full magazine for the next contact and avoid spending the M79 on a single enemy unless that enemy is blocking your only safe route. Grenades are most valuable against groups, entrenched defenders, and enemies who refuse to leave cover. The same logic applies to the M60: use it to lock down a lane or protect a retreat, not to blindly empty the belt into vegetation.
Search safe corners after a fight, but don't loot while the battlefield is still active. A body near a trail may be bait for the second wave. Clear the immediate area, listen for movement, then collect supplies.
5. Learn the ambush telegraphs
Most ambushes feel unfair only the first time. Repeated routes usually reveal clues: a narrow path bordered by thick brush, a suspiciously convenient objective marker, a body placed in the center of a trail, or a sudden absence of ambient sound. These are signals to stop sprinting and prepare your crosshair.
When automatic fire starts, don't immediately turn toward the loudest weapon. First identify the direction of the nearest threat, move behind hard cover, and then locate the shooter by muzzle flash. Return fire in short bursts. Suppression is useful, but it isn't a substitute for knowing where your bullets are going.
If the first burst comes from the front, check both flanks before pushing forward. Vietnam-style jungle encounters frequently use a frontal distraction while another shooter attacks from a shallow side angle. A two-second flank scan can save more health than a fast reload.
6. Clear tunnels one body length at a time
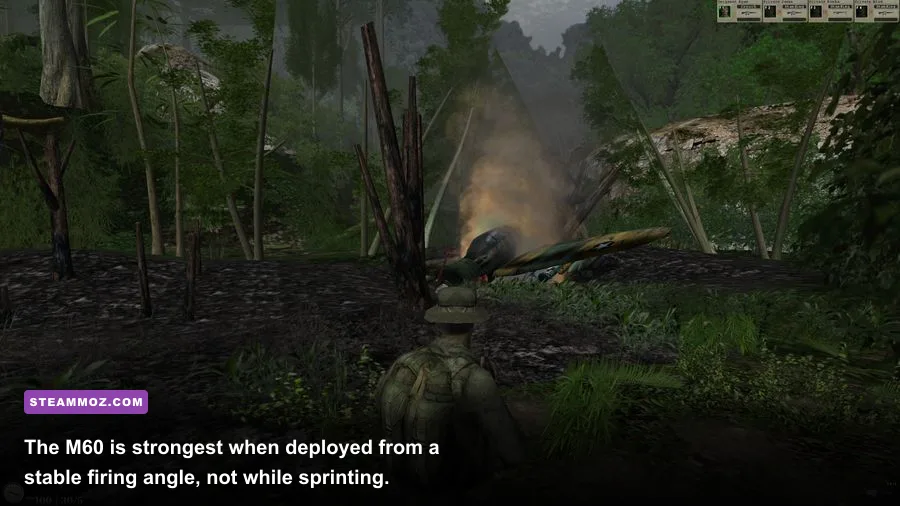
Tunnel sections are where impatient players lose the most progress. Switch to your sidearm or the weapon with the fastest ready speed, lower your movement tempo, and keep your crosshair at head height. Don't throw a grenade into an unknown tunnel unless you have enough distance to avoid the blast.
Use a simple sequence: stop at the entrance, listen, lean or peek if the game allows it, check the first corner, then advance only after the corner is safe. Never reload while crossing an intersection. Back into the previous section, reload there, and return with a full magazine.
If an enemy retreats around a bend, don't chase immediately. Tunnel fights often hide a second defender just beyond the first corner. Hold the angle for a moment, toss a grenade only when the geometry is safe, and advance after the explosion rather than during it.
7. Use the M60 as a position, not a personality
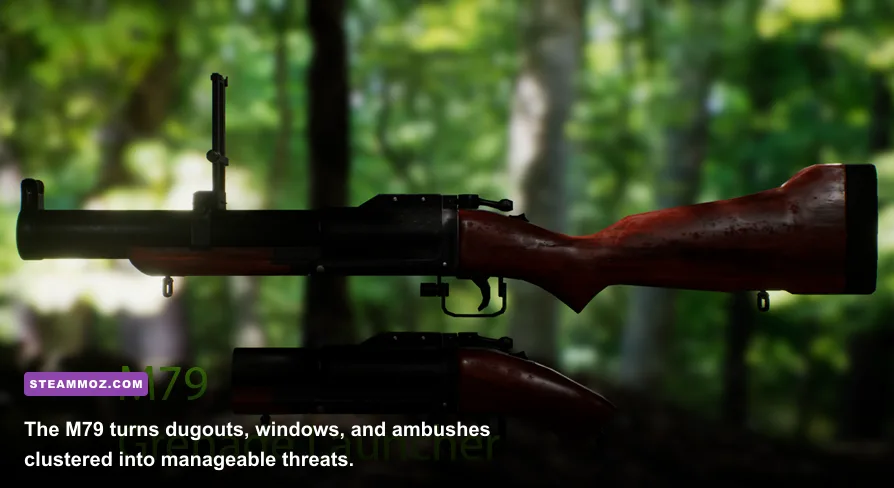
The M60 is powerful because it controls space. Set it up behind a wall, sandbag, tree trunk, or ridge where only your upper body is exposed. Fire in six- to ten-round bursts when enemies cross a lane, then release the trigger to preserve accuracy and ammunition.
Its biggest weakness is mobility. If the objective moves or enemies begin flanking, abandon the firing position early. New players often stay on the weapon because the first position worked; that turns a strong defensive tool into a trap. Have a fallback position before you open fire.
In co-op situations, the M60 player should communicate the lane being covered. Teammates can then focus on the opposite side instead of duplicating fire. If you're playing alone, use the M60 for defense and switch to a lighter weapon before entering buildings or tunnels.
8. Spend grenades on geometry
Grenades are easiest to use when you think about spaces rather than individual targets. Throw them into doorways, bunker mouths, trench corners, and the far side of cover. A grenade aimed at a visible enemy can miss; a grenade aimed at the only place that enemy can stand is much more reliable.
Frag grenades need a safety buffer. Don't bounce one off a nearby wall and expect to survive. Smoke is even more valuable when crossing an exposed rice paddy or reviving a teammate. Place smoke between you and the likely shooter, not directly on your own feet. You want to break the enemy's sightline while preserving your ability to see the landing zone.
9. Optimize performance before chasing visual quality
Jungle foliage and shadows can make targets difficult to read, and unstable frame pacing makes recoil control feel worse. Start with a stable 60 frames per second if your PC can manage it. Lower shadows, foliage density, and post-processing before reducing resolution. Those settings usually deliver the clearest performance gain while preserving the weapon sight picture.
| Setting | Recommended Start | Performance Impact | Visual Trade-Off |
|---|---|---|---|
| Resolution | Native resolution | High if reduced | Keep native for clean sights |
| Shadows | Medium | Medium to high | Less depth in foliage |
| Foliage | Medium | High in jungle areas | Cleaner target silhouettes |
| Textures | High if VRAM allows | Low to medium | Sharper terrain and weapons |
| Post-processing | Low or medium | Medium | Less blur and glare |
| Motion blur | Off | Small | Much clearer turns |
Use the game's official Steam listing and Steam community search to check current patches and player-reported performance issues. If the game supports an FPS limiter, cap slightly below your monitor's refresh rate for steadier frame times.
10. Progress by mastering one role at a time
Don't change weapons after every failed mission. Spend your first few runs learning one dependable pattern: M16A1 for general combat, M1911 for emergencies, grenades for grouped enemies, and smoke for exposed movement. Once you can finish a mission while preserving ammunition, experiment with the AK-47 or M60.
Track what actually killed you. Was it a missed flank, an empty magazine, a tunnel corner, or an overlong sprint? That answer matters more than your final kill count. Players who review their deaths build useful habits quickly; players who blame random accuracy usually repeat the same mistake.
For broader tactical inspiration, Steamoz's Desperados III stealth analysis and Dins's Curse survival tips both reinforce the same lesson: information and positioning beat reckless speed. The game's official Steam war-game catalog is also useful if you want comparable tactical shooters.
A simple first-mission routine
Before deployment, choose the M16A1, confirm your grenade count, and decide which weapon handles close quarters. During the opening minutes, stay near cover and learn the map's likely contact points. After the first firefight, reload only from safety and check your reserve ammunition. At every objective, scan the exits before interacting with the marker.
When the game gives you a choice between speed and safety, choose safety unless a timer forces your hand. Cross open ground with smoke, hold a fallback position, and never enter a tunnel with a damaged magazine and no sidearm plan. That routine sounds conservative because it is—but conservative play is exactly what turns Elite Warriors: Vietnam from a frustrating ambush simulator into a tense, readable tactical shooter.
If you enjoy methodical progression, compare that approach with Steamoz's Dragonkin performance settings guide and Deltazeal's starting-build breakdown. The details differ, but the principle remains: establish a reliable baseline first, then optimize around your strengths.