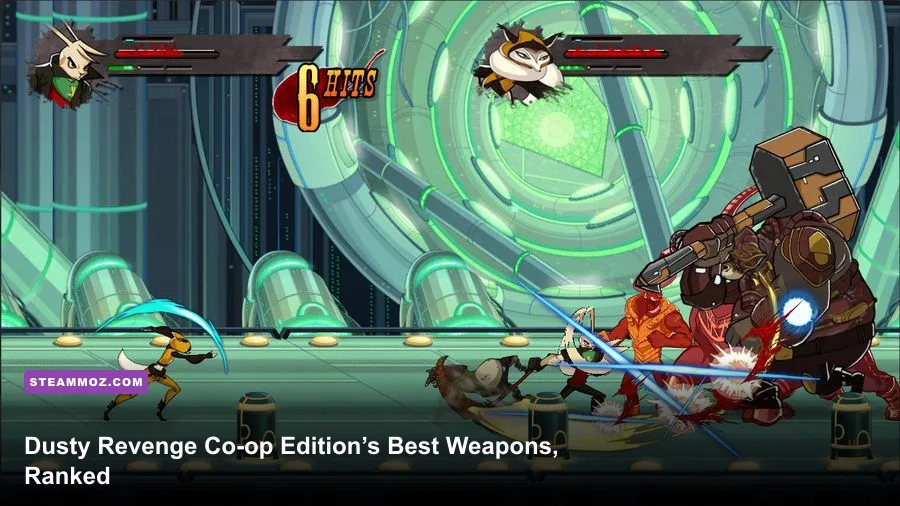
The Sword is Dusty Revenge: Co-op Edition’s S-tier weapon, while the firearm sits just behind it as the best tool for spacing, interruption, and boss-safe damage. The game doesn’t use a modern loot system with dozens of randomly rolled guns, so this ranking focuses on the actual combat tools—melee attacks, ranged fire, aerial attacks, and throwable explosives—and how they perform in solo and two-player stages.
That distinction matters. You aren’t hunting for purple drops or replacing a low-level blade every ten minutes. Dusty Revenge: Co-op Edition is a compact 2D action platformer built around learning enemy patterns, chaining attacks, and picking the right moment to spend your ranged options. If you’re expecting a conventional RPG inventory, you’ll be disappointed. If you want a sharp little brawler where every attack has a job, the weapon system is far more interesting than its small menu suggests.
Dusty Revenge weapon tier list at a glance
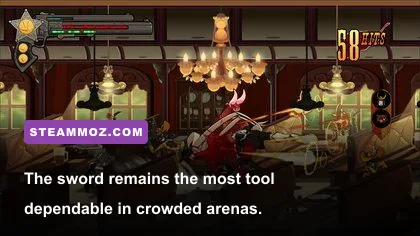
The practical ranking below treats “weapon” as an offensive tool rather than pretending the game has a full equipment screen. The Sword takes the top spot because it handles groups, confirms knockdowns, and converts openings into reliable damage. The firearm ranks second because its value is situational: it is fantastic against fliers and dangerous elites, but it can’t replace the sword’s crowd control.
| Tier | Weapon or tool | Best strength | Biggest weakness |
|---|---|---|---|
| S-Tier | Sword | Reliable crowd control and close-range damage | Requires committing to enemy range |
| A-Tier | Firearm | Safe pokes, aerial targets, and interruption | Less effective when enemies surround you |
| A-Tier | Aerial attack | Excellent approach and juggle starter | Whiffs badly if used without spacing |
| B-Tier | Throwable explosive | Emergency area damage and boss disruption | Limited opportunities and awkward timing |
| B-Tier | Unarmed movement attacks | Useful for repositioning and maintaining momentum | Low finishing power on their own |
There are no developer-provided damage numbers displayed in the game’s HUD, and the Co-op Edition doesn’t present a transparent weapon-stat screen. That means claims such as “the shotgun has 47 damage” or “the sword gains 12 percent scaling” are not reliable. This list uses repeatable combat results: hit coverage, stun potential, recovery time, and usefulness across normal encounters and bosses.

🎮 Dusty Revenge: Co-op Edition
Looking to experience this game? Grab your digital key directly on our store for $2.99.
View on Steammoz Store →S-Tier: why the Sword carries most encounters
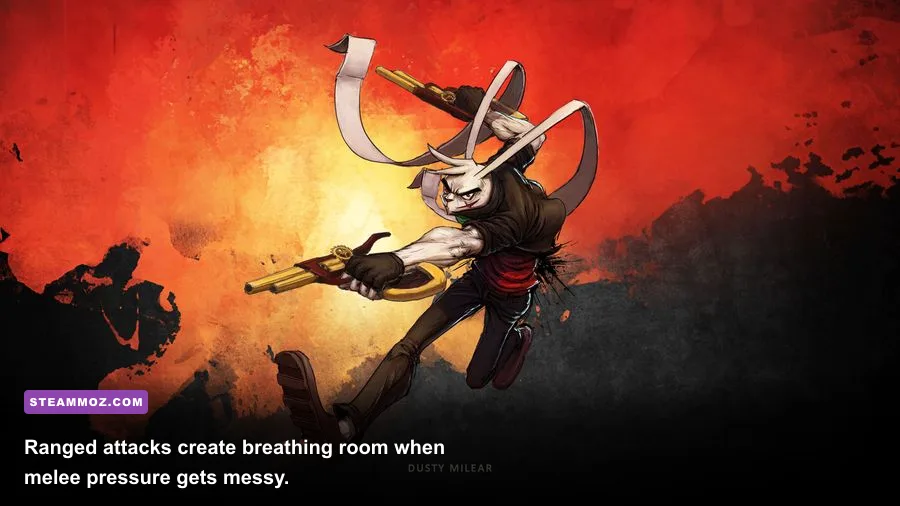
The Sword is the default answer whenever the screen fills with ground-based enemies. Its wide horizontal coverage lets Dusty catch multiple targets without carefully lining up every hit, and its knockback creates the breathing room needed to continue a chain. The important trick is not simply mashing the attack button. Start with a grounded slash, watch for the enemy’s recoil, then either finish the string or disengage before a second attacker reaches you.
Against shielded or heavily armored opponents, the Sword is still your best option, but the rhythm changes. Don’t stand directly in front of the target and trade hits. Bait the forward swing, step around its recovery, and punish from the side. In co-op, one player can hold the enemy’s attention while the other attacks the exposed flank. This is much safer than both players attacking from the same direction and accidentally pushing the target out of every follow-up.
The Sword also wins because it remains useful while moving through the platforming sections. You can clear a landing zone, remove a small enemy before it becomes a projectile threat, and immediately continue forward. That consistency is why it outranks the firearm even though the gun is safer in isolated situations.
Best Sword habits
- Open against groups with a grounded slash instead of jumping into the center.
- Use the edge of the attack’s range to hit without standing inside an enemy’s body.
- After a knockback, reposition before restarting the attack string.
- In co-op, avoid opposite-side attacks that send targets away from your partner.
Players who enjoy weapon rankings in other games should also check Steamoz’s Crashout Crew weapon tier list. It’s a very different combat system, but the same principle applies: reliable control usually beats flashy burst damage.
A-Tier: the Firearm is your spacing tool
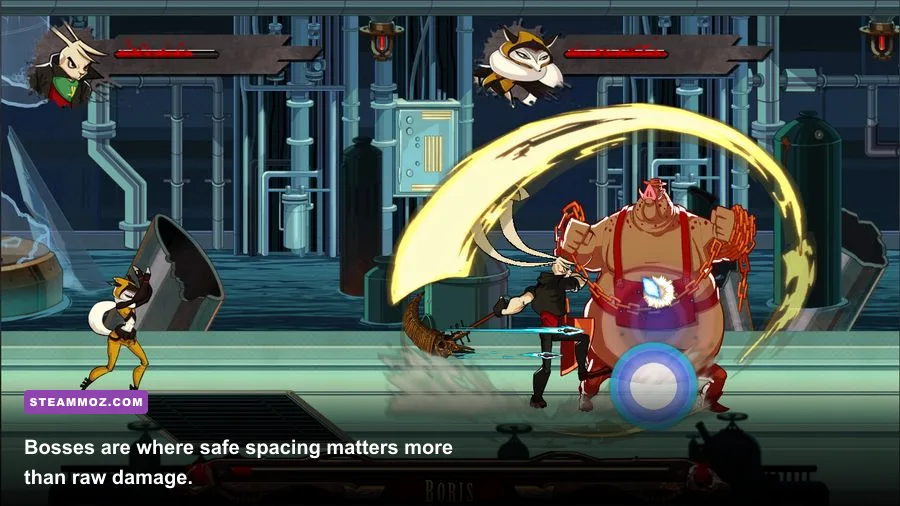
The Firearm is the Co-op Edition’s best answer to enemies you don’t want to approach. Use it to tag airborne targets, interrupt a charging enemy, or finish a weakened opponent while your sword animation would leave you exposed. Its real damage value comes from safety. A hit that prevents an enemy attack is worth more than a theoretically stronger strike that gets Dusty clipped during recovery.
Don’t burn every ranged shot the moment an enemy appears. The firearm is most valuable when a target is outside sword range or when two threats are approaching from different elevations. Fire once to force a reaction, then close the distance while the target is recovering. Treat it as a bridge into melee, not a replacement for melee.
Its ranking drops in crowded rooms. Several enemies can absorb or ignore the interruption, and firing while surrounded usually leaves Dusty with fewer options than a quick sword sweep. In those situations, slash your way to open space first, then use the firearm against the enemy that refuses to enter melee range.
| Combat situation | Preferred tool | Reason | Common mistake |
|---|---|---|---|
| Three or more ground enemies | Sword | Wide coverage and knockback | Firing while surrounded |
| Single flying enemy | Firearm | Reliable vertical reach | Jumping before reading its path |
| Charging elite | Firearm, then Sword | Interrupt first, punish second | Starting a long melee string too early |
| Boss recovery window | Sword | Best damage conversion at close range | Wasting the opening on a panic shot |
| Emergency retreat | Firearm | Creates space without turning around | Backing into a platform edge |
A-Tier and B-Tier tools that change the matchup

The Aerial attack deserves a higher position than many first-time players give it. It is not a primary damage engine; it’s an approach tool. Use it to cross a gap, start pressure on a separated enemy, or avoid a ground hazard while moving toward the next platform. The danger is predictable: jumping without checking the enemy’s attack cycle turns a useful opener into free damage for the opponent.
In a solo run, the Aerial attack works best after a firearm interruption. In co-op, it becomes stronger when your partner forces a target to face the wrong direction. Aim to land beside the enemy rather than directly on top of it, then use the Sword once Dusty touches the ground. That small adjustment prevents many counter-hits.
Throwable explosives occupy B-Tier because their impact is excellent but their availability and timing are less dependable. Save them for a packed group, a boss transition, or the moment when both players need an emergency reset. Throwing one at a single weak enemy is usually wasteful, especially if the target can simply walk out of the blast area.
The game’s movement attacks are also better understood as utility than as equipment. A dash, jump, or repositioning strike can preserve a run when the Sword and Firearm are temporarily unsafe. They don’t finish encounters efficiently by themselves, but they keep Dusty alive long enough to return to the tools that do.
Best solo and co-op loadout strategy
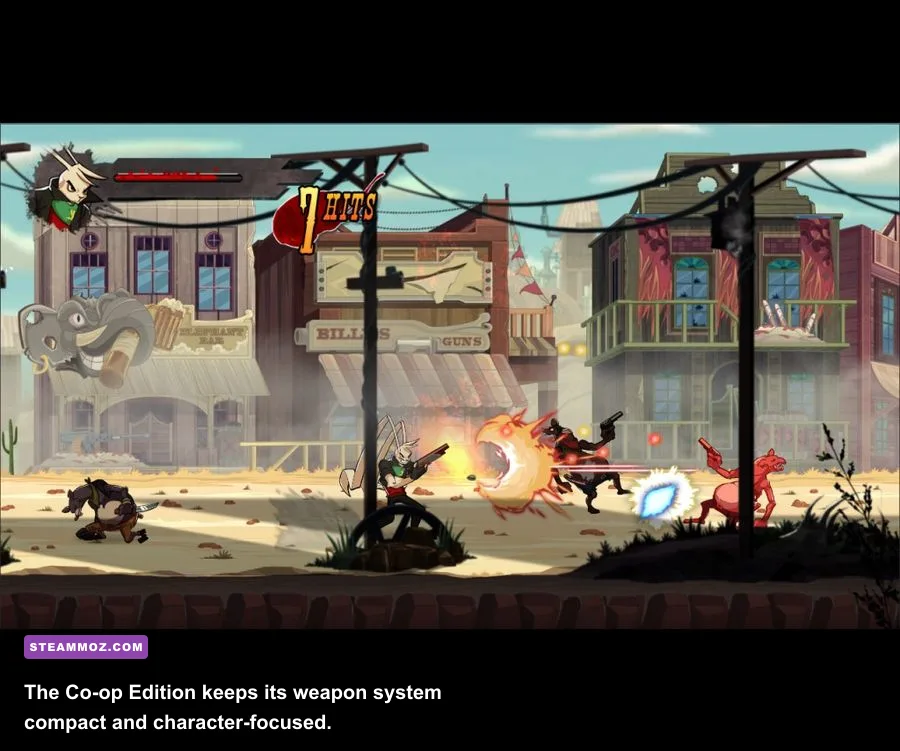
For solo play, run a Sword-first setup with the Firearm held in reserve. The basic rotation is simple: approach with movement, slash the nearest grounded threat, step away from the counterattack, and fire only when the next target is too far away or airborne. This rhythm avoids the most common beginner trap—using ranged attacks constantly, then having no safe answer when an enemy reaches melee distance.
For two players, divide responsibilities instead of duplicating them. One player should control the nearest ground threat with the Sword while the second watches the edges of the screen, interrupts fliers, and punishes enemies attempting to flank. Switch jobs whenever the frontline player is pushed toward a hazard. Co-op is at its best when one player creates an opening and the other converts it, not when both players mash at the same target.
| Play style | Primary tool | Support tool | Recommended priority |
|---|---|---|---|
| Solo beginner | Sword | Firearm | Survive first, then finish safely |
| Solo aggressive | Sword | Aerial attack | Chain approach attacks into grounded strings |
| Co-op controller | Sword | Throwable explosive | Hold groups and protect the partner |
| Co-op support | Firearm | Aerial attack | Interrupt fliers and cover approach angles |
| Boss specialist | Firearm | Sword | Probe safely, then punish recovery |
Before a boss, agree on who handles interruption and who commits to damage. Bosses punish both players for attacking thoughtlessly: one missed swing can trap Dusty in recovery while the second player accidentally pushes the boss out of position. Watch the telegraph, let the attack pass, and use the Sword during the recovery window. Save explosives for a phase change or a mistake, not for ordinary neutral.
How to get more value from every weapon
Three habits raise your performance immediately. First, fight near the center of the available platform whenever possible. Corners remove the retreat space that makes the Firearm effective and can turn a harmless enemy into a pinning attack. Second, prioritize enemies by threat rather than health. A flying attacker or ranged nuisance usually deserves the first firearm shot, even if a ground enemy has a larger health bar.
Third, stop chasing damage after a knockback. Dusty’s best players look for the next safe position, not one extra hit. If your sword sends an enemy toward the edge, let it travel, then reset your stance. That discipline is especially important in co-op, where screen movement and enemy knockback can make familiar patterns harder to read.
For more equipment-focused strategy, Steamoz’s Construction Simulator equipment ranking and Excubitors starter build guide offer useful comparisons. They’re not direct mechanical matches, but both reward choosing tools for a job instead of blindly chasing the highest-looking number.
Finally, confirm the game build and control setup through the official Steam listing before troubleshooting local issues. The Steam Community search is useful for controller and co-op reports, while the PD Design Studio website is the best place to check developer information.
Final ranking: Sword is S-Tier for dependable damage and crowd control; Firearm and Aerial attack are A-Tier because they solve spacing problems; explosives and movement attacks are B-Tier but can rescue a bad encounter. Master that division of labor and Dusty Revenge’s small arsenal stops feeling limited—it starts feeling deliberately tuned.