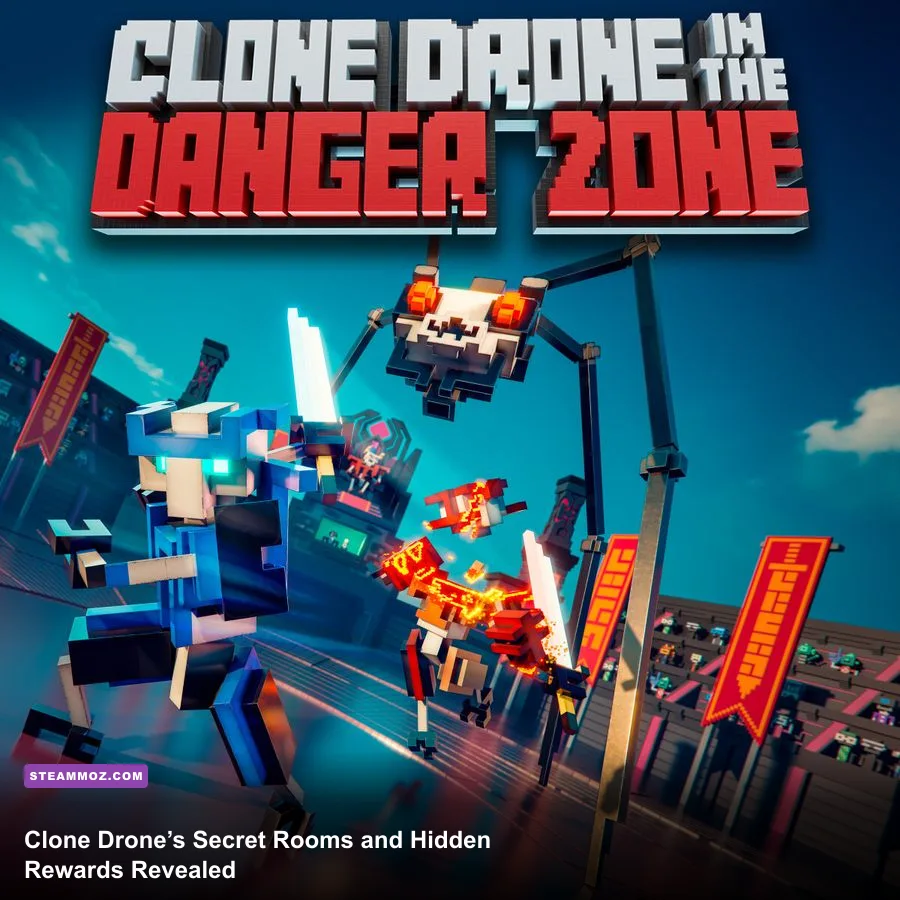
The most important thing to know about Clone Drone in the Danger Zone is that it doesn’t use a traditional collectible checklist. Its hidden rewards are tucked into optional campaign branches, dangerous side platforms, challenge encounters, achievements, and unlock menus. The reliable method is simple: sweep every arena edge before entering the exit portal, inspect suspicious walls for alternate routes, and spend early power cells on mobility or defense so exploration doesn’t ruin the main fight.
This guide covers the secret locations players commonly miss, what each detour actually gives you, and which “secrets” are really achievement or mode unlocks rather than physical pickups. The campaign has changed slightly across updates, and level labels can appear differently after patches, so the landmark-based directions below are more useful than pretending every platform has one permanent number.
How secrets work in Clone Drone
Most campaign arenas are built around a readable combat route: cross the platforms, defeat the wave, collect the visible upgrade, and walk through the glowing exit. The hidden content sits just outside that rhythm. Look for a low side ledge, a tunnel behind the spawn platform, a breakable-looking wall, or a route that seems to lead away from the exit. The game rewards curiosity, but it also expects you to survive the detour.
There are four reward types worth separating:
- Power cells: the orange upgrade currency used for abilities such as Sword, Bow, Kick, Shield, Hammer, Spear, Jetpack, and Clone.
- Optional combat rooms: side arenas that usually trade safety for an extra upgrade opportunity or a better position for the next wave.
- Achievements and mode unlocks: rewards triggered by special victories, unusual kills, or completing campaign objectives.
- Cosmetics: hats and robot customization items that change appearance without increasing combat stats.
A secret route is only valuable if you can return to the main arena alive. That sounds obvious, but the game’s dismemberment system makes a bad jump permanent. A clone with one leg missing can still win, yet it won’t reliably clear a side challenge involving archers or hammer bots. Save before committing to a risky branch when playing a mode that allows it, and don’t spend your last escape option just to investigate a suspicious corner.
| Secret clue | What it usually means | Best response | Main risk |
|---|---|---|---|
| Unusually wide side ledge | Alternate route or pickup platform | Use Kick or Jetpack to cross | Falling into lava |
| Wall behind the spawn point | Hidden corridor or arena bypass | Circle the room before attacking | Enemy wave starts behind you |
| Path away from the exit | Optional challenge branch | Clear ranged enemies first | Being trapped in a narrow lane |
| Unreachable orange glow | Mobility check or alternate platform | Return after buying movement | Wasting a clone on a blind jump |

🎮 Clone Drone in the Danger Zone
Looking to experience this game? Grab your digital key directly on our store for $6.99.
View on Steammoz Store →Campaign secret locations you should check

1. The area behind the starting platform. At the beginning of several campaign encounters, players sprint forward and never look back. Turn around immediately. Search the rear wall, the lower platform beneath the spawn point, and any narrow shelf hidden by the camera angle. This is the most common location for an overlooked side route. If you see an orange power cell separated from the main path, don’t jump for it until you’ve checked whether a safer staircase or rear tunnel exists.
2. The low ledges beside the main bridge. Bridge arenas often have a lower route running parallel to the obvious crossing. The lower path is rarely decorative. Drop down only after the first wave is dead, then use the camera to scan for a platform that curls behind the bridge support. Kick is excellent here because it can create space without requiring a perfect sword swing, while Jetpack makes the return trip far less dangerous.
3. The wall opposite the exit portal. The glowing exit naturally pulls your attention forward, especially after a difficult wave. Before leaving, walk the entire opposite wall. Check corners behind pillars and any section where the geometry creates a shadowed recess. Some hidden branches begin as a narrow opening that looks like background decoration until you move close enough to reveal the passage.
4. The platform above an archer wave. When archers spawn on raised islands, don’t immediately charge the nearest sword bot. Look for a higher route around the outer rim. A secret platform often lets you reach the archers from the side rather than crossing the full arena under fire. Shield is the safe answer, but Bow can also solve the problem if you already have an arrow upgrade and a clear line of sight.
5. The area beneath hammer or spear enemies. Heavy enemies frequently stand near a vertical drop that looks like a combat pit. After clearing them, inspect the pit’s edges before jumping down. The hidden route is usually not in the center; it’s tucked along a side wall or behind the landing platform. Hammer is useful for opening space, but it’s slow in tight corridors. Sword plus Deflect is safer if the lower room contains projectiles.
6. The final pre-boss arena. Before a major boss transition, the game often gives you a quiet moment to collect visible upgrades and prepare. Use it to search behind the final gate, around the side pillars, and beneath any platform that connects to the boss route. This is the last place where you can often improve your build without boss pressure. Don’t walk through the boss trigger until the arena has been completely swept.
These landmarks are more dependable than memorizing a single numbered stage because campaign layouts and progression labels can differ between the original campaign, replayed chapters, and community-focused modes. If a route appears blocked, that usually means you need a mobility upgrade rather than a missing button.
Hidden rewards and what they unlock

The reward behind a secret route is not always a flashy chest. In many cases, the real prize is an extra upgrade choice. That matters enormously because Clone Drone snowballs: one additional power cell can mean earlier Shield, a second Bow improvement, or the movement needed to reach another hidden branch later.
For a first campaign clear, prioritize upgrades that make secrets safer. Sword is dependable from the opening fight, but it doesn’t solve every exploration problem. Kick creates instant distance and can launch enemies off platforms. Shield gives you a controlled answer to arrows and fireballs. Jetpack changes which ledges are reachable, while Clone provides an emergency body when a risky room goes wrong.
| Upgrade | Secret-hunting value | Combat value | When to buy it |
|---|---|---|---|
| Kick | High; crosses gaps and clears ledges | High against exposed enemies | Early if arenas have lava gaps |
| Jetpack | Very high; reaches vertical branches | Medium until mastered | Before revisiting inaccessible platforms |
| Shield | Medium; protects approach routes | Very high against archers | Before ranged-heavy rooms |
| Bow | Medium; picks off guards from safety | High with arrow upgrades | After securing basic defense |
| Clone | High; gives risky detours a second attempt | High as an emergency reset | When exploring late campaign branches |
| Hammer | Low; poor for movement | High against shields and armor | For heavy enemy waves, not traversal |
Cosmetic rewards work differently. Hats and robot appearances don’t improve damage, armor, jump distance, or dismemberment resistance. They’re still worth collecting if you enjoy the game’s personality, but don’t confuse a cosmetic unlock with a combat upgrade. The game’s achievement system also tracks unusual accomplishments separately, so completing every visible campaign fight won’t automatically produce every reward.
Secret rooms, challenge fights, and boss detours
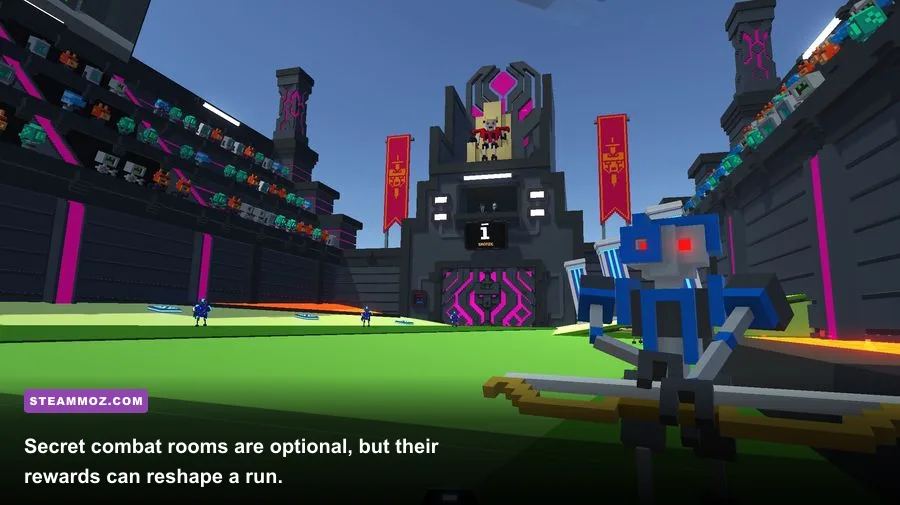
Optional rooms are dangerous because they compress the game’s worst threats into a smaller space. A narrow platform full of sword bots is manageable; the same platform with archers firing from behind them is a different problem entirely. Before entering, identify the room’s escape route. If there isn’t one, kill ranged enemies first and keep your back near a wall that cannot be destroyed.
The strongest general-purpose setup is Sword, Shield, and either Kick or Bow. Sword handles exposed limbs, Shield buys time against arrows, and Kick removes a bot from the fight by sending it over an edge. Hammer is excellent when the room is packed with armored enemies, but its recovery animation can get you killed if a faster bot reaches your flank. Spear gives reach, though it rewards patience more than frantic button presses.
Boss-adjacent secrets deserve extra caution. The Spidertron 5000 encounter, for example, is not a place to arrive missing a leg because you chased an optional platform. Watch the boss’s attack rhythm, stay mobile, and use the arena’s geometry instead of standing in the open. If a hidden route is near the boss trigger, clear the main arena first, collect the reward, and keep a Clone or Shield available for the return.
| Encounter type | Danger | Counter strategy | Best tool |
|---|---|---|---|
| Archers on raised platforms | Staggered arrows during jumps | Approach under Shield or attack from range | Shield or Bow |
| Hammer bots in a corridor | Large swings and broken footing | Attack legs, then retreat before the follow-through | Sword or Spear |
| Spear wall | Long reach blocks narrow exits | Force a miss, circle behind, and sever the weapon arm | Kick or Sword |
| Mixed secret wave | Ranged pressure hides melee flanks | Delete archers first and preserve the center lane | Shield plus Bow |
| Boss approach | Exploration damage carries forward | Heal your plan by saving Clone and avoiding greed | Clone or Jetpack |
How to sweep every arena without missing a reward
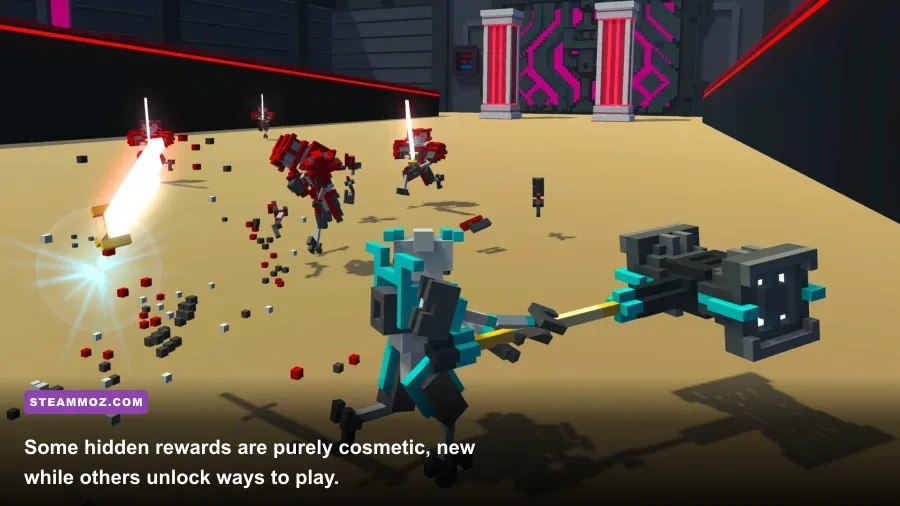
Use a fixed search pattern instead of wandering randomly. First, clear the enemies closest to the entrance. Second, rotate the camera through 360 degrees and inspect the floor below, the ceiling platforms, and the wall behind the spawn point. Third, trace the outer edge clockwise. Only after that should you take the central route toward the exit.
When you find a suspicious jump, mark it mentally and continue clearing the room. This prevents a hidden archer from shooting you while you stare at a ledge. Once the arena is safe, test the route with the cheapest movement option available. A normal jump is preferable to Jetpack fuel; Kick is better than a blind leap if the destination is an enemy platform; and Jetpack should be saved for the return if the ledge is one-way.
Camera control is a genuine weapon here. Pull the view back before jumping so you can see the landing surface, then look sideways for walls that hide a second platform. The game’s low-poly art style makes shadows and geometry unusually important. A platform that seems empty from the main path may conceal an entire branch when viewed from below.
Keep a simple checklist for each arena: rear wall, lower level, outer rim, upper platforms, exit wall, and boss trigger area. If you’ve checked all six and found nothing, move on rather than breaking the level apart looking for a secret that isn’t there. That last point saves time: not every orange glow is a hidden collectible, and not every blocked corner contains a reward.
Settings and progression tricks for secret hunting
Secrets are easier to find when the game runs consistently. Clone Drone is not especially demanding, but frame pacing matters during precision jumps and sword parries. On PC, use the official Steam store page for current system requirements and update information. If you’re playing on a weaker laptop, lower visual effects before reducing resolution; keeping the scene readable is more valuable than chasing a sharper image.
| Setting | Recommended value | Performance impact | Why it helps |
|---|---|---|---|
| Resolution | Native display resolution | High if reduced | Keeps small ledges visible |
| Shadows | Medium | Medium | Preserves useful geometry contrast |
| Effects | Medium or High | Medium | Keeps projectiles readable |
| V-sync | On if tearing appears | Small input trade-off | Stabilizes camera movement |
| Frame limit | Stable monitor refresh target | Low | Prevents uneven jump timing |
For reference, the official Steam community hub is useful for checking patch-specific behavior, while the developer’s D=0borogames site provides broader game information. Community videos can help identify a platform, but verify the reward in your own version before assuming an old route still works.
Finally, don’t rush the progression curve. Early power cells should make survival more consistent, not merely increase damage. That philosophy carries over to other demanding games too—our Dins’s Curse survival tips and Dragonkin performance guide follow the same principle. A reliable build opens more secrets than a flashy one-hit strategy.
The cleanest route to every hidden reward
Start each campaign stage by checking behind the spawn platform, then clear the nearest wave before exploring the lower ledges. Sweep the outer rim, inspect the wall opposite the exit, and search above and below any archer or heavy-enemy position. Buy Kick, Shield, Jetpack, or Clone when the level design demands mobility or insurance, and never enter a boss transition with damage you took for a cosmetic detour.
That’s the real secret to Clone Drone in the Danger Zone: exploration is part of the combat build. A hidden power cell can arrive one upgrade earlier than expected, and that timing can mean the difference between reaching a platform and losing a clone to lava. For more focused game guides, see Steamoz’s secret-location walkthrough and fast-progression guide. In the Danger Zone, look everywhere—but make every jump like you only get one clone.