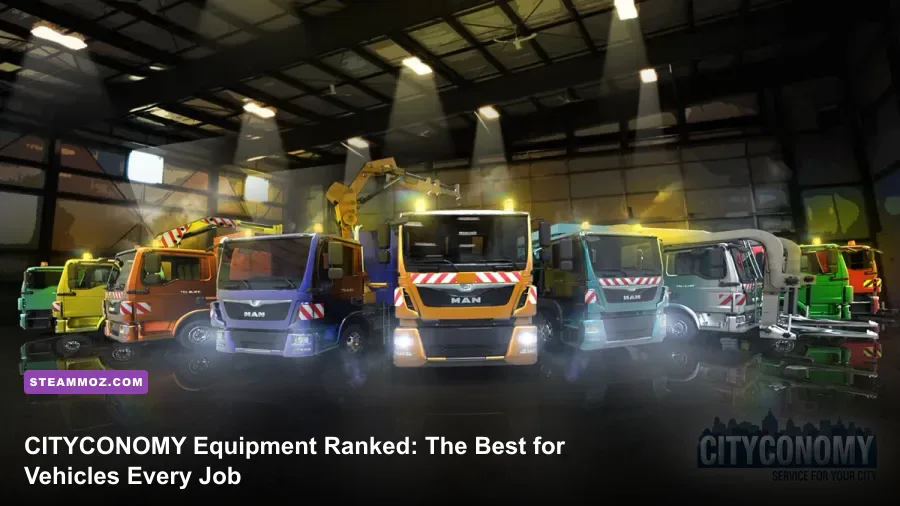
There is no weapon system in CITYCONOMY: Service for your City, so a conventional gun tier list would miss the point. The useful ranking is an equipment tier list: garbage trucks and service vehicles sit at the top because they unlock reliable contracts, while slower specialist equipment belongs in the garage until your routes and cash flow are under control. For most players, the best progression is garbage collection first, road maintenance second, and sewage or heavier specialist work only after you understand the city map.
CITYCONOMY is a first-person municipal work simulator rather than a combat game. You drive to jobs, operate service equipment, collect or repair what the contract asks for, and return to the relevant destination. That sounds modest, but the game’s economy makes vehicle choice surprisingly important. A badly chosen truck turns a short contract into a long, low-margin commute. The right vehicle lets you chain nearby jobs and build money without constantly fighting traffic, narrow streets, or awkward loading spots.
This ranking reflects practical value: contract availability, travel efficiency, handling, earning potential, and how forgiving each vehicle is when a route goes wrong. It also explains the biggest trap in searches for a “CITYCONOMY weapon tier list”: players are often using weapon-tier language for equipment, but there are no weapons, damage stats, or combat builds to optimize. Your real loadout is the vehicle, the job type, and the route you choose.
The CITYCONOMY equipment tier list
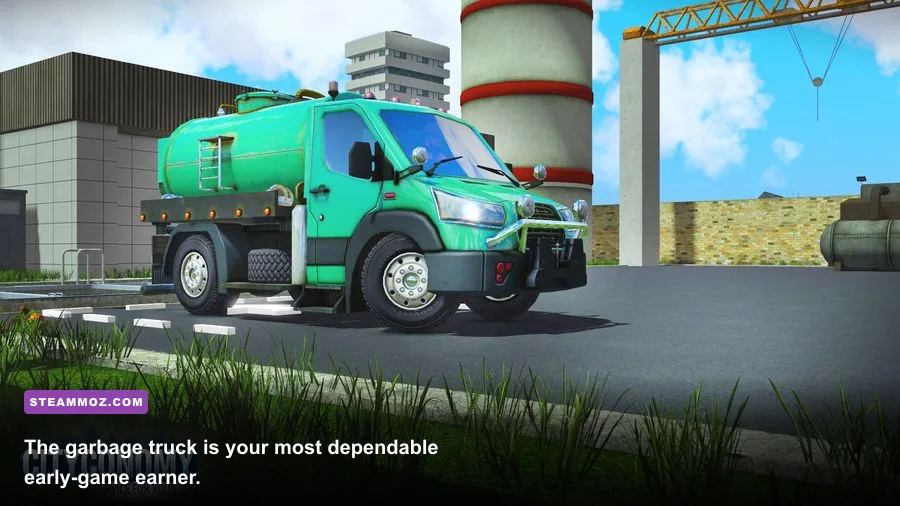
Think of the tiers as progression recommendations, not a strict arcade ranking. CITYCONOMY does not present every machine like a competitive weapon with a damage-per-second value. A vehicle earns its place by making ordinary service work faster and less frustrating.
| Tier | Equipment or role | Why it ranks here | Best use |
|---|---|---|---|
| S-Tier | Garbage collection truck | Reliable contracts, repeatable routes, strong early value | Building starting capital |
| S-Tier | Road-service vehicle | Flexible jobs and useful access to repair work | Mid-game contract chaining |
| A-Tier | Sewage service truck | Good specialist payouts, but longer routes and slower turnaround | Focused high-value contracts |
| A-Tier | Street-cleaning equipment | Simple objectives and steady city coverage | Learning the map and controls |
| B-Tier | Heavy construction equipment | Powerful for specific jobs, inefficient when driven empty | Dedicated construction sessions |
| B-Tier | Towing and recovery equipment | Useful contract niche, limited flexibility | Short trips near dense districts |
| C-Tier | Slow specialist vehicles | Long repositioning time and narrow job compatibility | Only when the contract is nearby |
The garbage truck earns the S-Tier recommendation because it teaches the core loop without demanding perfect driving. Its work is easy to understand: follow the route, stop at collection points, operate the relevant interaction, and deliver the load. That repeatability matters more than theoretical payout. Early on, your biggest enemy is dead time. A vehicle that lets you accept another nearby job immediately is more valuable than a specialist machine that pays well once every several minutes.
Road-service equipment is the other S-Tier pick, though it becomes more valuable after the opening hours. Road jobs force you to read the environment, line up accurately, and manage the vehicle in places where a wide truck can become a liability. Once you know the city’s major streets, these contracts fit neatly between collection jobs. The result is a better route economy rather than a single spectacular payout.

🎮 CITYCONOMY: Service for your City
Looking to experience this game? Grab your digital key directly on our store for $4.99.
View on Steammoz Store →Why CITYCONOMY has no weapon tier list

Let’s clear up the terminology before going further. CITYCONOMY has no weapons, character classes, enemy health bars, firearms, melee attacks, or damage scaling. You won’t find an assault rifle hidden behind a late-game unlock, and there is no skill tree that increases critical-hit chance. The game’s “equipment” means the vehicles and work tools used for municipal contracts.
That distinction changes how you should evaluate upgrades. In a combat game, the best item usually kills faster. Here, the best vehicle reduces wasted travel, handles its assigned job cleanly, and avoids expensive-looking mistakes such as taking a heavy truck through a cramped route. A vehicle can therefore be excellent for one contract and poor everywhere else.
The most important hidden stat is practical turnaround time. Count the drive to the job, the time spent positioning, the interaction sequence, and the return trip. A high-paying sewage contract is not automatically better than two nearby garbage jobs if the sewage route consumes twice as much time. You should also account for navigation errors. New players routinely lose money by accepting a contract on the far side of the map simply because its headline payout looks attractive.
There is also a control lesson here. Vehicle work is governed less by reflexes than by spatial awareness. Use a wide turn, brake before intersections, and avoid trying to reverse through tight spaces at full speed. If the game’s camera or vehicle handling feels awkward, reduce visual distractions and prioritize stable frame pacing over maximum draw distance. A smooth 60 frames per second is far more useful when you’re lining up a service interaction than a prettier skyline that causes stutter.
S-Tier equipment and the best progression path
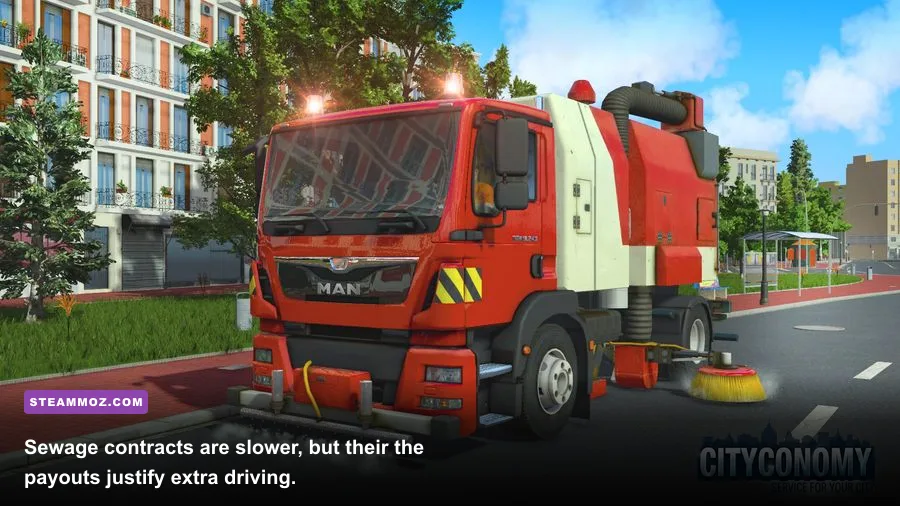
1. Garbage collection truck
The garbage truck should be your default starting investment. It has the best combination of availability, simplicity, and repeatability. Take jobs in the same district whenever possible, complete a compact loop, and return only when the route naturally ends. Don’t zigzag across the full map for one extra contract unless the payout clearly beats the travel time.
Its strongest skill is not a button or passive bonus; it’s route discipline. Before accepting work, look at the pickup locations and mentally group them by neighborhood. Complete the furthest stop first when the route has a natural line, then work back toward the depot or delivery point. This avoids driving an empty truck across the map after finishing the final pickup.
Garbage work also gives you the safest way to learn interaction timing. Stop completely, position the vehicle squarely, and wait for the interaction prompt rather than trying to activate equipment while still rolling. Rushing these actions creates small delays that compound across a full route.
2. Road-service vehicle
Road service is the best second step because it broadens your contract pool without forcing you into the slowest specialist work. It rewards players who can place the vehicle accurately and read the job area before committing. Approach from the side with the most room, leave enough space to turn around, and don’t block the entire lane if the game allows traffic to continue around you.
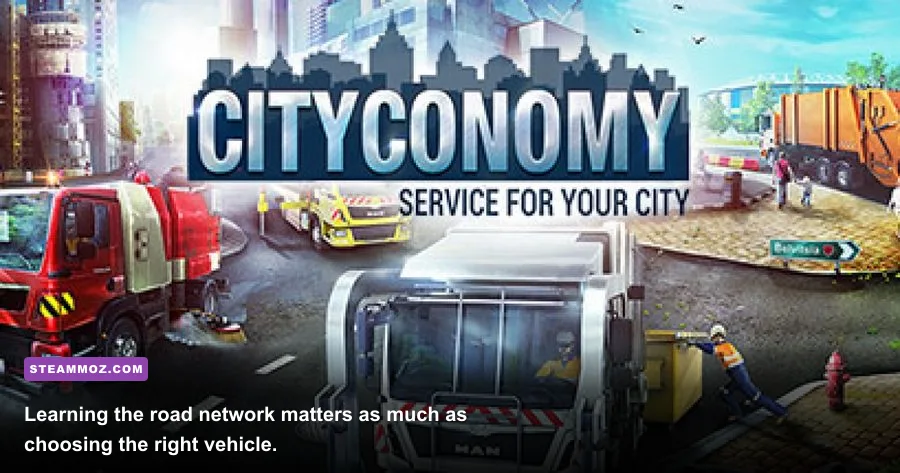
The road-service vehicle is especially effective when paired with garbage routes. Finish a collection contract, accept a nearby repair or maintenance job, and use the return journey to scout new districts. That turns travel into reconnaissance. You’ll learn where streets narrow, where junctions cause delays, and which areas are worth revisiting with a larger truck.
3. Street-cleaning equipment
Street cleaning lands between S and A Tier depending on your play style. It is less profitable as a pure money strategy than the strongest repeatable collection loops, but it is excellent for learning the city. The objective is usually clear, the vehicle’s job identity is obvious, and mistakes are easier to diagnose.
Use it when you want a calmer session or when the available contracts are scattered. It’s also a useful fallback if you’ve damaged your route plan and need a simple job close to your current position. Don’t treat it as filler, though. Efficient street cleaning still depends on avoiding empty return trips.
A-Tier specialist vehicles and when to buy them
Sewage service truck
The sewage truck is the clearest A-Tier example. Specialist jobs can pay well, but the vehicle is less forgiving because the work is often tied to specific sites and longer travel. It becomes worthwhile once you have enough money to absorb a slow contract and enough map knowledge to identify nearby demand.
Use sewage work as a focused route, not a random detour. Accept a contract, check whether another sewage-related job is close to the same district, and complete the cluster before returning. If there is no second job nearby, compare the total drive against a standard garbage contract. The higher headline reward doesn’t compensate for every long repositioning trip.
The biggest mistake is buying specialist equipment too early. An expensive vehicle sitting unused produces no income, while a familiar garbage truck can keep paying through several short contracts. Purchase specialist equipment when you can immediately identify at least two or three jobs it will serve, not merely because it has become available.
Heavy construction equipment
Construction equipment has a strong fantasy appeal but a narrower economic role. It feels substantial, and certain contracts clearly require it, yet driving a heavy machine to a distant job can erase the advantage of the payout. It belongs in A or B Tier depending on the route.
Keep construction sessions localized. Pick one district, complete every compatible contract there, and avoid hauling the equipment back and forth between opposite sides of the city. Plan the exit before starting a job, because heavy equipment is at its worst when you discover that the next objective requires a cramped turnaround.
Towing and recovery equipment
Towing is useful when the contract is close and underwhelming when it isn’t. Recovery work benefits from dense urban areas, where short trips create a reasonable contract rhythm. It is not the first purchase I’d recommend because its job pool is more limited than general service equipment.
Choose towing after you already have a dependable income vehicle. That way, you can ignore distant recovery jobs instead of feeling forced to accept every available contract. Selectivity is the difference between a profitable specialist and an expensive garage ornament.
| Vehicle role | Early-game value | Route difficulty | Upgrade priority | Verdict |
|---|---|---|---|---|
| Garbage collection | Very high | Low | First | Best starter equipment |
| Road service | High | Medium | Second | Best flexible follow-up |
| Street cleaning | Medium | Low | Optional | Great map-learning tool |
| Sewage service | Medium | Medium | After stable income | Strong specialist pick |
| Construction | Low to medium | High | Contract dependent | Buy for clustered jobs |
| Towing | Medium | Medium | Later | Useful niche option |
The best equipment strategy for a new save
Start by treating the first vehicle as a business, not a toy. Take the shortest profitable contracts, learn the depot locations, and build a mental map of the major arteries. The opening goal is not to own every vehicle; it is to remove unnecessary empty driving. A small, efficient route beats an impressive machine parked outside the garage.
Once your cash flow is stable, add road service. This gives you a second contract category and makes dead time easier to eliminate. Alternate between the two roles based on proximity. If garbage work is across town but a road job is two streets away, take the road job even if its payout looks smaller. The saved travel is real income.
Only then should you branch into sewage, construction, or towing. Keep one general-purpose option available so a bad contract refresh never traps you into a specialist route. This is the same logic that makes flexible gear valuable in other simulation games: you want options, not a garage full of equipment that only works under perfect conditions.
For performance, test the city while driving rather than judging settings from the menu. Lower shadows and foliage first if frame pacing is inconsistent, then reduce view distance only if the city remains heavy. Keep texture quality higher when your graphics memory allows it, because blurry vehicle and road surfaces make landmarks harder to read. Players troubleshooting broader simulation performance may also find useful context in our City of Gangsters low-FPS guide and Dragonkin settings breakdown.
CITYCONOMY rewards the same patience as other systems-driven games. Our Dins Curse town-saving tips cover a different genre, but the principle carries over: protect your early resources and don’t expand before the core loop is paying for itself. If you enjoy vehicle-heavy simulation, our Construction Simulator LR 1300 guide is another useful comparison for managing specialized machinery.
Final ranking and verdict
The final answer to the CITYCONOMY weapon-tier-list search is simple: there are no weapons, but there is a clear equipment hierarchy. The garbage collection truck is the best starting choice, road service is the strongest all-round follow-up, and sewage service is the best specialist purchase once your route planning improves. Street cleaning is a reliable learning tool, while construction and towing should be bought around real contract demand rather than curiosity.
That ranking won’t make every job effortless. CITYCONOMY’s challenge comes from driving, positioning, navigation, and time management rather than combat. If you choose contracts by distance, cluster jobs by district, and keep a flexible vehicle available, the economy becomes much less punishing. If you chase the biggest payout without accounting for travel, even the supposedly best equipment will feel slow.
For the official store listing and current compatibility details, check the CITYCONOMY Steam page. You can also compare the publisher’s broader simulation catalogue through the official astragon website. Just remember the central rule: in this city, route efficiency is your real damage stat.