Cataclismo Secret Locations and Hidden Rewards Worth Hunting
Cataclismo’s hidden rewards are tucked into the dead ends, ruined structures, cliffs, and side paths that sit just outside each campaign objective. The game doesn’t present them as a neat checklist of glowing collectible...
A well-built fortress makes every hidden cache run safer.
Cataclismo’s hidden rewards are tucked into the dead ends, ruined structures, cliffs, and side paths that sit just outside each campaign objective. The game doesn’t present them as a neat checklist of glowing collectibles. Instead, you’ll find optional resource caches, destructible obstacles, isolated buildings, rescue points, and reward triggers that only appear after scouting or clearing a route. This guide shows where to look, how to recognize every secret type, and when it’s actually safe to leave your walls.
That distinction matters. Cataclismo’s maps are built around timed night attacks, so a “secret hunt” can easily become a self-inflicted wipe if you send your entire army across the map. The best approach is to secure the objective area first, train a fast scout or hero, then sweep the perimeter in a predictable clockwise loop. Keep a builder, ranged unit, and enough food income at home while you search.
🎮 Get Cataclismo
Ready to dive in? Grab your copy today for just $14.99.
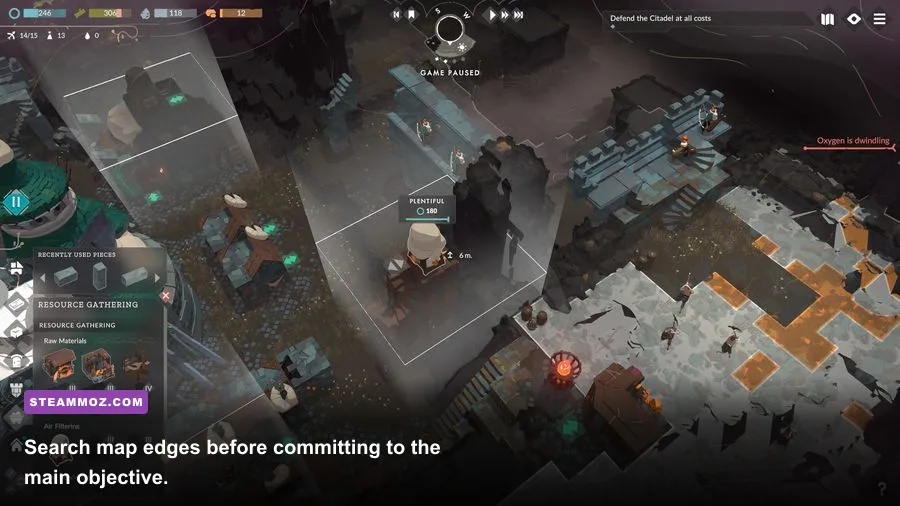
Search map edges before committing to the main objective.
How Cataclismo’s hidden rewards actually work
Most secret rewards in Cataclismo are environmental rather than traditional collectibles. A cache may sit behind a breakable wall, inside a ruined settlement, at the end of a narrow forest path, or on a plateau that looks inaccessible until you rotate the camera. Some locations are visible from the start but require a unit to walk close enough to reveal the interaction. Others are concealed by fog of war and only become obvious after a Scout, hero, or fast infantry unit checks the edge of the playable area.
There are four reward patterns worth memorizing. The first is the free resource pickup, usually wood, stone, iron, gold, or food. The second is the destructible cache, which is hidden behind debris or a damaged structure. The third is the side objective reward, typically connected to rescuing survivors or clearing a hostile pocket. The fourth is the route reward: a resource or tactical advantage positioned beyond the obvious road so that players who explore get a better opening for the next wave.
Resources collected from the map are not just bonus change. Early wood accelerates housing and wall construction, stone unlocks sturdier defensive pieces, iron supports advanced military infrastructure, and gold helps pay for elite units and upgrades. A cache found before a scheduled assault can effectively move your economy several minutes ahead.
Secret type
What reveals it
Typical reward
Best time to collect
Open resource cache
Unit proximity
Wood, stone, food
Before the first major night
Breakable obstacle
Attack command
Iron, gold, larger resource bundle
After securing a retreat route
Ruined structure
Scout or hero inspection
Resources or side objective
During daylight
Hostile side pocket
Enemy clear
Strategic space and reward trigger
After your main army is stable
Rescue location
Approach and clear nearby enemies
Survivor or mission bonus
Before committing to the final objective
Don’t confuse these with campaign progression rewards. Completing the main objective, finishing optional conditions, and earning a high mission rating can pay out separately. For broad performance advice, Steamoz’s PC settings guide is also useful: Cataclismo’s late waves can become CPU-heavy when dozens of enemies collide with a large wall.
Steammoz Store-50% OFF
🎮 Cataclismo
Looking to experience this game? Grab your digital key directly on our store for $14.99.
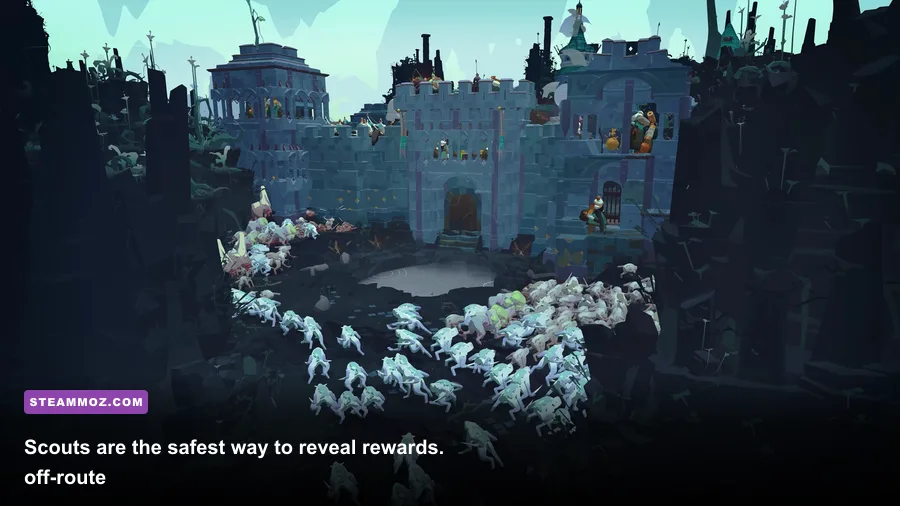
Scouts are the safest way to reveal off-route rewards.
The most reliable secret locations on every map
Although the exact layout can shift between campaign missions and difficulty settings, the hiding logic stays remarkably consistent. Start at your headquarters and identify the three map edges that are not part of the main objective route. One edge usually contains a long dead end, one hides a structure or blocked passage, and one offers a high-ground position or open resource pocket. Those are your first three sweeps.
Check behind the first visible ruin
The first ruined building near the starting area is often a deliberate tutorial for exploration. Walk around the back rather than approaching from the road. Look for a narrow gap between stone walls, a darker patch of terrain, or debris that can be attacked. If you find a cache here, take it immediately unless the next night wave is less than a minute away. Early resources have the highest value because they speed up the first housing, lumber, and wall cycle.
Follow the map boundary past the objective marker
Players naturally stop once they reach the highlighted objective. That’s exactly where Cataclismo likes to hide side rewards. Continue along the outer boundary after the marker, especially where the camera reveals a strip of forest or ruined road beyond the mission’s central approach. Send a single Scout first. If the path contains a hostile group, pull back and mark it for a daytime clear rather than triggering combat with workers nearby.
Search dead ends behind cliffs and elevated ground
Camera rotation is essential. A plateau can appear empty from the front while hiding a staircase or ramp behind it. Rotate to a top-down angle and inspect every elevation change. High-ground dead ends are particularly valuable because clearing them may create a secondary firing position. Even when the reward is modest, the location can become a forward tower site for archers, crossbows, or artillery.
Inspect the space behind your first wall line
Not every secret is outside the base. Some maps place a cache inside the initial defensive footprint, behind a building or beside an apparently useless rock formation. Before filling your entire starting area with houses, lumber camps, and wall segments, walk the interior with a fast unit. Building over a reward location can make it awkward or impossible to access later.
A practical sweep looks like this: starting base to left boundary, left boundary to far corner, far corner along the rear edge, then back through the center. Keep the search unit selected and watch for an interaction prompt, resource icon, or a change in terrain that doesn’t match the surrounding ground. If you’re unsure where a cache is, the secret-hunt route-planning principles in our older guide apply surprisingly well here: map the perimeter first, then investigate suspicious geometry.
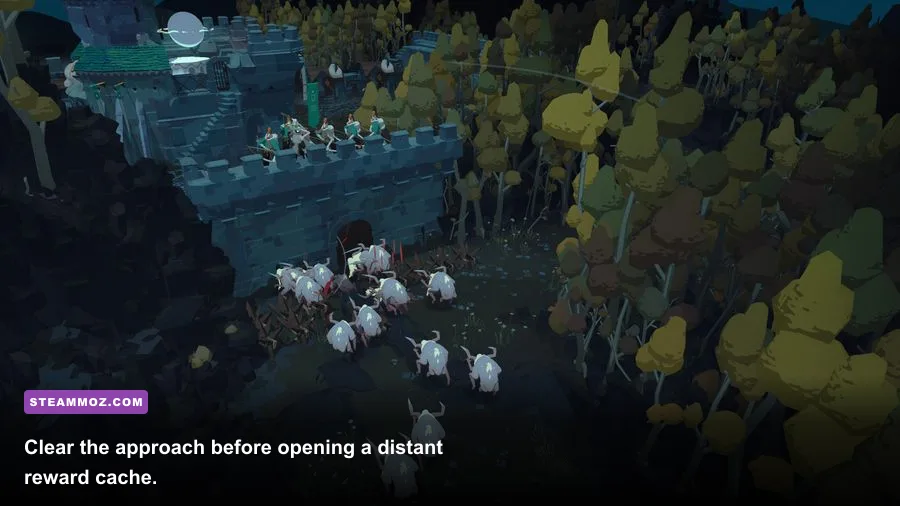
Clear the approach before opening a distant reward cache.
A step-by-step route for finding every cache safely
The safest secret-location route is not simply “send a Scout everywhere.” You need a rhythm that respects Cataclismo’s day-night structure. Daylight is your exploration window; night is your punishment for being greedy. Use the following sequence whenever a mission gives you breathing room.
1. Secure the first approach
Build a short, compact wall near the starting objective rather than spreading across the entire map. Add a gate and at least one elevated firing position. You don’t need a perfect fortress yet. You need a fallback point. Keep builders close enough to repair or extend the wall if the first wave arrives while your search party is away.
2. Train one dedicated search unit
A Scout is ideal because speed reduces the time spent outside the base. A hero works when a mission starts with limited unit access, but don’t use a valuable frontline character to duel every enemy pocket. Your search unit’s job is discovery, not conquest. If a cache is guarded, reveal it and return later with ranged support.
3. Sweep in four quarters
Divide the map into north, east, south, and west sections from the base. Finish one section before crossing to another. This prevents the classic mistake of finding three clues and forgetting the fourth because a night warning interrupts the run. Mark cleared areas mentally by destroying breakable debris and collecting visible resources.
4. Open obstacles only when the retreat line is clear
Breaking a wall or debris pile can reveal more than a reward. It can expose a spawn pocket, trigger enemies, or open a route that lets monsters approach from an unexpected direction. Leave one tile of movement around your search unit and make sure the path back to your own wall isn’t blocked by workers or newly placed buildings.
5. Return before the warning becomes urgent
As soon as the game signals an incoming night attack, stop searching. Don’t gamble on “one more corner.” The cache will still be there after the wave. A dead Scout, stranded hero, or damaged forward tower costs more than almost any hidden resource bundle is worth.
Search stage
Recommended unit
Maximum risk
Fallback action
Starting perimeter
Scout
Single weak enemy
Collect and return
Ruined buildings
Scout plus ranged unit
Small hostile pocket
Pull to tower range
Blocked passage
Hero with support
Ambush or spawn trigger
Mark and revisit by day
Far boundary
Scout and escort
Multiple enemy groups
Abort before night warning
Final objective area
Main army
Wave escalation
Complete objective first
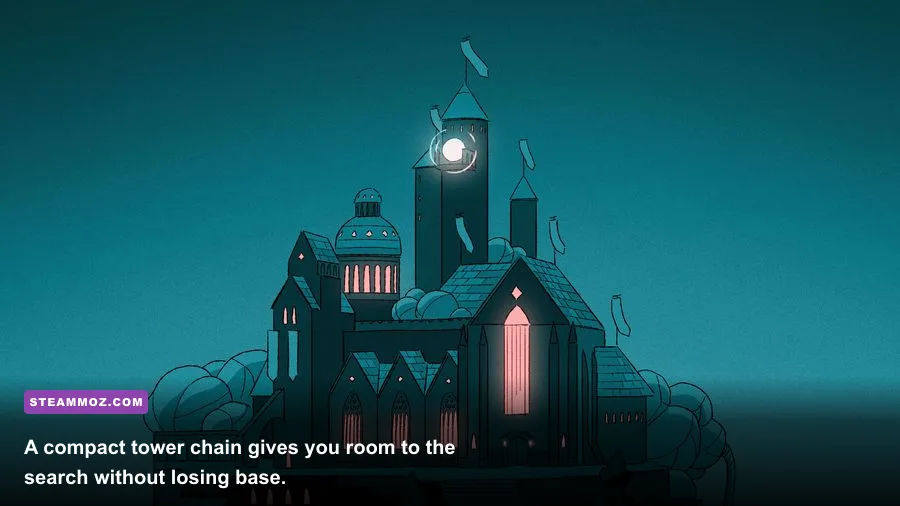
A compact tower chain gives you room to search without losing the base.
Hidden rewards that are easy to miss
The obvious wood piles and stone bundles are only part of the reward structure. Several of the most useful bonuses are disguised as ordinary scenery or sit in locations players visit only once.
Breakable rubble behind buildings
Attackable rubble doesn’t always use a dramatic visual effect. If a wall fragment looks more damaged than nearby scenery, select a military unit and issue an attack command. Workers may not interact with it, and a hero standing nearby won’t necessarily open it automatically. Clear the entire obstruction rather than stopping after the first piece; multi-piece rubble often hides the actual reward space behind it.
Isolated resource pockets
Some resources appear beyond the normal construction area. These are easy to miss because the camera stays centered on the base and objective. Before the second major defense, check every corner containing a lone tree cluster, exposed stone, or a small patch of farmland. Even if the location isn’t a formal secret, harvesting it can be the difference between adding a second tower and entering a wave underbuilt.
Rescue and clear-out triggers
When you see a civilian structure, barricaded settlement, or group of neutral figures, search the surrounding terrain before moving directly to the interaction. Enemies may be positioned just outside vision range. Clear the pocket, approach the structure, and then wait for the reward or objective update. Walking away too quickly can leave the interaction incomplete and make the location look bugged.
High-ground positions
A defensible hill is a reward even when it contains no resource icon. Building a small forward platform there can extend vision, give ranged units cleaner firing angles, and reduce the number of wall segments required at your main base. In Cataclismo, defensive geometry has economic value: every enemy forced into a narrow approach is an enemy your towers can hit more consistently.
Use the same discipline you would apply to a weapon ranking list. Steamoz’s gear-ranking guide is a reminder that not every reward has equal practical value. In Cataclismo, an early stone bundle is usually more important than a late wood cache, while a strategic high-ground position can outperform both.
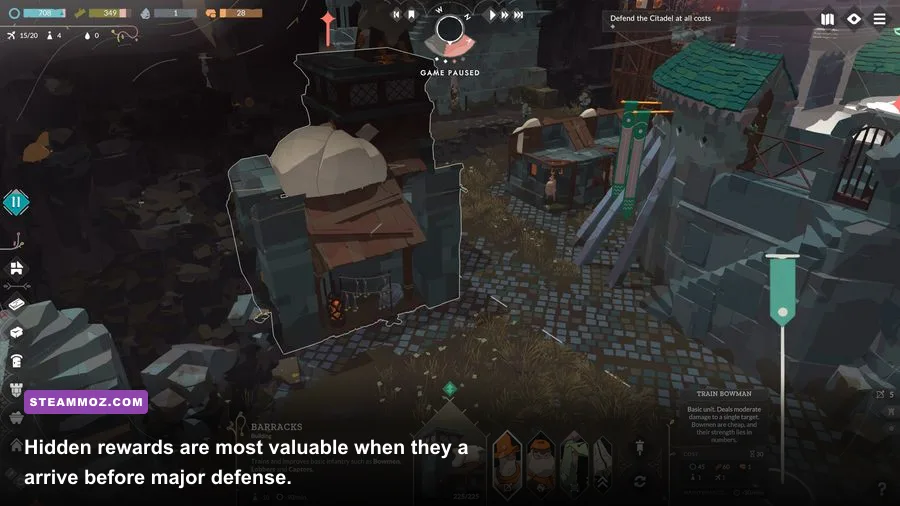
Hidden rewards are most valuable when they arrive before a major defense.
How to protect your base while hunting secrets
Exploration fails most often because the home fortress is treated as “finished” too early. It isn’t finished until it can survive without your hero standing on the wall. Build a compact core with overlapping firing lanes, then leave a clear interior route for repairs and reinforcements.
Keep your first wall line short enough that defenders can rotate quickly. Long, thin walls are tempting because they cover more terrain, but they also spread your units and create more repair points. A two-layer section at the likely attack lane is stronger than a single wall stretched across the whole map. Add gates only where your army genuinely needs to pass; open gaps become navigation problems during a panic retreat.
Ranged units should sit behind a protected line with enough height and spacing to avoid blocking one another. Melee units belong near gates and breach points, not scattered across the front. If a secret route opens behind your base, don’t immediately convert it into a second entrance. Close it with a cheap wall segment until you know whether enemies can use it.
Defensive concern
Useful response
Why it matters during exploration
Common mistake
Short wall length
Compact layered defense
Units rotate faster
Covering the whole map too early
Night warning
Recall Scout immediately
Prevents isolated losses
Searching one final corner
Open side path
Temporary wall or gate
Stops surprise approaches
Leaving every route open
Repair access
Clear interior walkway
Builders reach damage safely
Packing buildings against walls
Forward hill
Small tower platform
Extends vision and range
Overcommitting an entire base there
Performance can affect your secret hunt too. Large late-game battles may produce frame-time spikes when destructible walls, projectiles, and enemy bodies fill the screen. If the game stutters while you’re rotating the camera, lower shadows and effects before reducing texture quality. Stable frame pacing makes it easier to spot a narrow path or interaction prompt. Our PC performance checklist covers the same priority order for demanding action scenes.
What to do when a secret location seems missing
First, confirm that you’re searching the correct mission and difficulty. Cataclismo’s procedural and scenario-based content can alter enemy placement, available routes, and resource distribution. A location shown in a guide video may be tied to a particular campaign map, challenge, or patch. Don’t assume every visible ruin contains a reward in every mode.
Next, rotate the camera and approach from another angle. Some interaction zones are hidden behind a building model or sit lower than the terrain immediately around them. If an object looks suspicious but gives no prompt, attack nearby debris rather than the structure itself. A cache can be blocked by a single destructible tile.
Also check whether the reward is conditional. A rescue point may require nearby enemies to be defeated. A side objective may not update until you interact with the correct structure. If the map contains a scripted event, finish the current objective and revisit the area during the next daylight phase.
Finally, reload only after checking the basics. A restart can fix a genuinely stuck interaction, but it also resets your rhythm and may cost resources. Save before opening dangerous obstacles, especially on higher difficulties where a triggered enemy pocket can ruin an otherwise clean run.
The most efficient completion mindset is simple: treat every unexplored dead end as a possible resource cache, every isolated ruin as a potential objective, and every high-ground pocket as a tactical reward. Scout during daylight, keep your retreat route open, and never trade a trained hero for a handful of wood. For official patch notes and current mode details, check the Cataclismo Steam page and Digital Sun’s official site. The maps reward curiosity, but they reward disciplined curiosity even more.
🍪 We value your privacy. We use cookies to enhance your browsing experience, serve personalized ads (Google AdSense), and analyze our traffic. By clicking "Accept All", you consent to our use of cookies as described in our Privacy Policy.