
The fastest way to clear Aliens: Fireteam Elite - Into the Hive Edition's secrets is to search every side room before an objective trigger, because Hidden Caches use semi-random preset spots while Intel pickups stay fixed. This guide covers the cache-search route for all 12 base-game missions plus the three Pathogen missions, explains the reliable visual tells, and lists the story rewards you can permanently unlock. The big warning: you cannot force a cache to appear in one exact place, so a perfect route means checking every likely spawn pocket rather than blindly following a single video.
Into the Hive Edition bundles the base game with the Pathogen expansion and its progression content. It does not turn every secret into a traditional treasure chest. Aliens: Fireteam Elite splits optional discoveries into Hidden Caches, fixed Intel collectibles, and occasional objective-room rewards. If you're used to checking every corner in a loot shooter, the rhythm feels closer to a co-op version of the secret hunts covered in our Everspace 2 secret-locations guide: learn the landmarks, sweep before advancing, and don't let the squad activate the next encounter early.

How Hidden Caches actually work
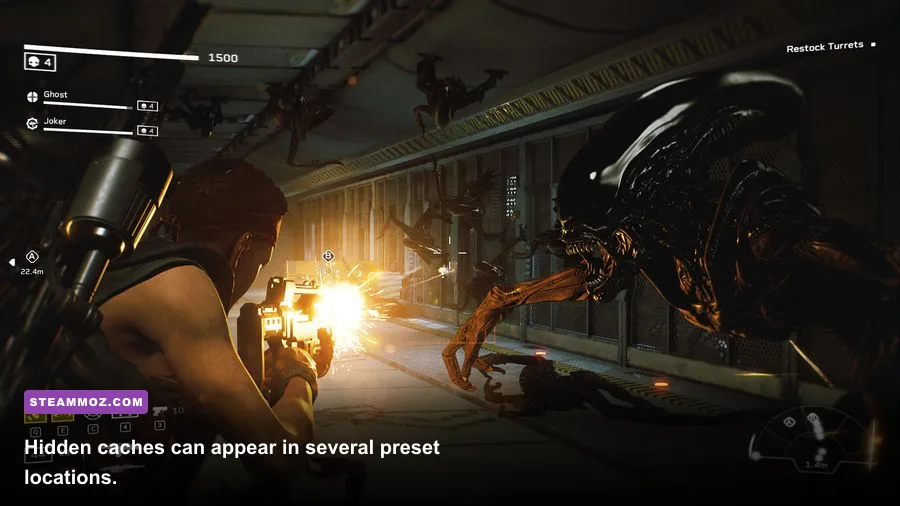
Each campaign mission has one Hidden Cache opportunity. The crate is not guaranteed to occupy the same room on every run; it selects from a group of authored locations inside that mission. That distinction matters. Guides claiming that every cache always sits beside one particular door are usually describing one spawn, not the whole system.
Look for a compact Weyland-Yutani-style supply container with a bright interaction prompt. It can sit behind cargo, beside a dead-end wall, under a stairwell, or in a room that looks deliberately too empty. The cache itself is quick to open, but the reward is rolled when you interact with it. Expect consumables, credits, Challenge Cards, weapons, attachments, decals, emotes, and class-related cosmetics rather than a guaranteed legendary weapon.
On higher difficulties, the cache does not become a better guaranteed drop. Difficulty changes combat rewards and the risk of reaching the crate, but the Hidden Cache reward pool remains random. Open it once, then finish the mission if you want the normal end-of-level reward as well. Abandoning the run after finding it is a poor trade unless you're farming a very specific spawn check.
| Secret type | Spawn behavior | Reward | Best search rule |
|---|---|---|---|
| Hidden Cache | One per mission, selected from preset locations | Random gear, consumables, cosmetics, cards, or currency | Sweep side rooms before objectives |
| Intel | Fixed location and collectible-specific | Lore entry and collection progress | Check desks, consoles, shelves, and bodies |
| Objective-room loot | Mission-specific, usually visible | Ammo, consumables, or interactable story detail | Search the room before activating the console |

🎮 Aliens: Fireteam Elite - Into the Hive Edition
Looking to experience this game? Grab your digital key directly on our store for $11.99.
View on Steammoz Store →Priority One and Giants in the Earth locations
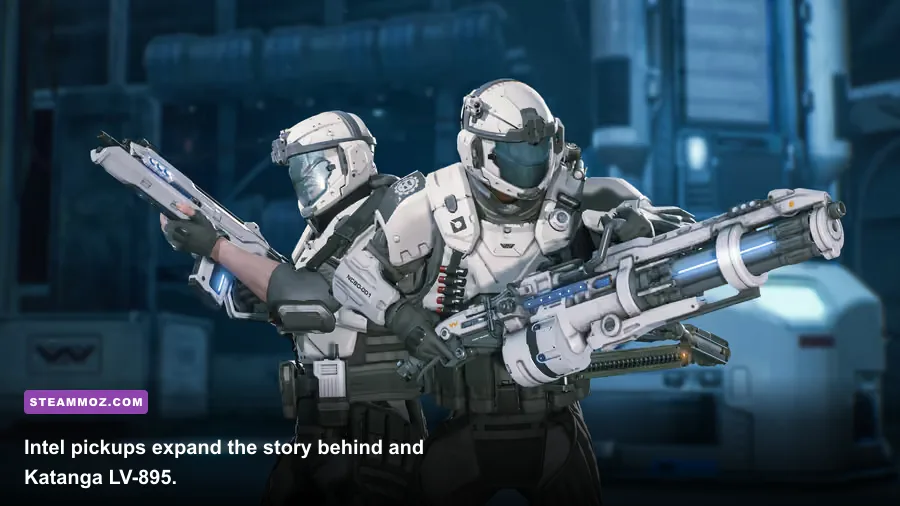
The opening campaign teaches the most important secret-hunting habit: don't sprint through a cleared corridor. In Priority One: Ingress, inspect the first industrial side rooms around the initial objective approach, then sweep the cargo-lined corridor before the elevator or major door interaction. The cache commonly uses a side alcove or storage room rather than the central route. Intel is easier to miss near consoles and workstations, especially when the squad pushes toward the first holdout.
In Priority One: Rescue, search around the early maintenance branches and the rooms surrounding the first survivor objective. Before triggering the rescue progression, check behind equipment banks and along the outer wall of the room. Later, when the mission funnels you toward the extraction route, inspect every dead-end loading bay. Those pockets are safe to search before the next swarm flag activates.
Priority One: Extract is more dangerous because the team is often tempted to run. Search the staging rooms before the first major defense, then check the outer edge of the final approach rather than the center of the arena. If a teammate starts the extraction interaction, stop searching: the resulting combat can lock off earlier spaces.
Giants in the Earth: Evacuate places its best search opportunities around the station's side offices and cargo passages. The cache can hide in the transition between open industrial space and a smaller room. Giants in the Earth: Harvester adds longer sightlines, so use the motion tracker and sweep behind large machinery before defending the objective. Giants in the Earth: Extraction has several tempting shortcuts; clear the side chambers before the lift or extraction trigger.
| Mission | Highest-value search zones | Lockout warning | Recommended class |
|---|---|---|---|
| Priority One: Ingress | Cargo side rooms, elevator approach, workstations | Advancing the first major door | Doc or Technician |
| Priority One: Rescue | Maintenance branches, survivor room perimeter, loading bays | Activating rescue progression | Recon |
| Priority One: Extract | Defense staging room, outer extraction route | Starting extraction | Gunner |
| Giants in the Earth: Evacuate | Offices, cargo transitions, dead-end rooms | Leaving the station section | Demolisher |
| Giants in the Earth: Harvester | Machinery bays and long side corridors | Beginning the harvester defense | Technician |
| Giants in the Earth: Extraction | Lift approach, side chambers, final route edges | Calling the lift or extraction | Recon |
Gift of Fire and The Only Way to Be Sure

Gift of Fire: Recon changes the visual language. The ruins are wider, darker, and full of natural cover, so don't only search human architecture. Check the base of broken walls, dead-end paths beside rock formations, and any small structure that the objective route skirts. Intel often appears as a readable object on a low surface; lower your camera and look for the pickup prompt rather than relying on the object model.
In Gift of Fire: Advance, scan the route before the first open-area defense. Side paths can be swallowed by the swarm once the encounter begins. After every completed holdout, search the newly opened perimeter before stepping through the next mission gate. Gift of Fire: Boarding returns to more recognizable corridors and rooms, but the same principle applies: check the edges of the boarding areas, especially around consoles and stacked containers.
The Only Way to Be Sure: Breach and Search reward slow teams. Breach's early chambers contain multiple believable false leads, so identify the objective door and search everything branching away from it before interacting. Search has more looping space; mark the route mentally by lights, bulkheads, and numbered doors. If you reach a major arena without finding the cache, backtrack before initiating the arena event.
The Only Way to Be Sure: Regicide is the campaign's nastiest secret run. The mission's pressure and Praetorian encounters punish casual exploration. Bring a class setup that can control space: Technician's sentry, Doc's Combat Stim, or Recon's PUPS can buy the seconds needed to open a crate. Never stand in a doorway while searching; Prowlers and Warriors can cross that gap faster than the interaction animation feels.
| Mission group | Search priority | Enemy risk | Counter |
|---|---|---|---|
| Gift of Fire | Ruined side paths, broken walls, small structures | Spitters and Prowlers in open ground | Recon PUPS or Technician sentry |
| Breach | Rooms branching away from objective doors | Bursters during corridor retreats | Stagger with rifle fire; avoid close kills |
| Search | Loops, numbered doors, post-holdout side rooms | Fast runners from blind corners | Keep one player watching the rear |
| Regicide | Early chambers and arena perimeter before events | Praetorian and Warrior pressure | Save crowd control and heavy weapons |
Pathogen DLC secret routes
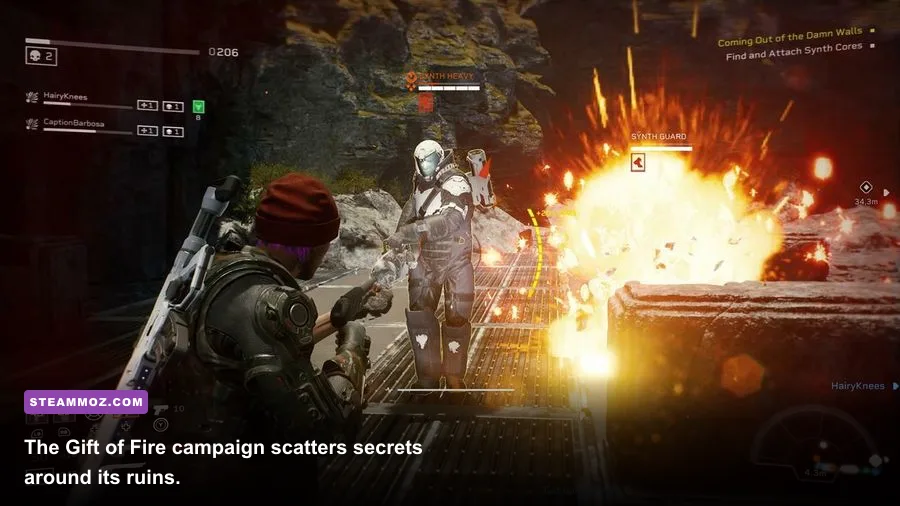
The Pathogen missions are included in Into the Hive Edition, and their outdoor layouts create the most frequent cache misses. Promise of a Flower has broad fungal terrain and raised ruin edges. Search around the perimeter of each objective space before climbing toward the central marker. A cache can blend into the orange-brown environment, so rely on the interaction prompt and the crate's clean rectangular silhouette.
Invasion mixes exterior ruins with tighter interior sections. Before the first serious defense, clear the side of the route opposite the mission marker. During the interior segment, check storage recesses and the backs of consoles. The Reaper is the boss-focused finale; search the approach and staging spaces before entering the final encounter zone. Once the Reaper sequence starts, exploration becomes a terrible idea because attacks and adds can pin the squad against the arena edge.
Pathogen also adds new enemy behavior. Prowlers can leap from concealment, Bursters punish melee kills, and the mutated Xenomorph pressure makes a solo cache hunt especially risky. Play on Standard or Casual while learning the spawns, then return on higher difficulty after you know the route. The campaign's XP and weapon progression are much more efficient when the squad survives than when everyone burns medkits chasing one random crate.
Intel, collectibles, and permanent rewards

Intel is the genuinely fixed secret layer. These pickups are usually placed on desks, medical stations, shelves, consoles, corpses, or beside mission-specific machinery. Collecting one unlocks a lore entry in the game's Intel database; it does not automatically award a weapon. The database is worth checking after every mission because it tells you which category and entry number you still need, preventing endless repeat runs through a fully cleared chapter.
Some cosmetic rewards are tied to Challenge Cards, class progression, campaign completion, and difficulty milestones rather than a particular cache. That is why a player can find every Hidden Cache and still have missing decals or emotes. Treat caches as randomized bonus rolls, Intel as fixed lore collection, and challenge rewards as a separate checklist.
For weapon progression, don't dismantle every duplicate immediately. Attachments can change handling more than their headline damage suggests. A rifle with stability and reload improvements is usually stronger for sustained weak-point fire than a tiny damage upgrade that makes the reticle bounce during a Warrior's exposed phase. If you're tuning the game on PC, our frame-focused settings guide covers the same practical rule: protect consistent frame delivery before chasing maximum effects.
| Collection goal | What counts | Reward type | Tracking method |
|---|---|---|---|
| Hidden Cache run | One crate found in the mission | Random gear, cards, cosmetics, or consumables | Repeat mission and record spawn pockets |
| Intel completion | Fixed readable pickups | Lore entries and collection progress | Review the Intel database after each chapter |
| Campaign rewards | Mission and difficulty completion | Weapons, attachments, cosmetics, currency | Check Armory and Endeavor reports |
| Challenge rewards | Card objectives and special conditions | Additional cosmetics or progression items | Read the card before launching |
The cleanest secret-hunting setup
Run a three-player squad with one dedicated navigator. The navigator stays slightly behind the point player, checks side rooms, and calls out objective triggers. Technician is excellent for solo searches because the sentry covers a doorway, while Recon's PUPS reveals enemies before a backtrack turns ugly. Doc supplies Combat Stim for long defenses, and Gunner's Overclock is the best panic button when a cache search accidentally starts a swarm.
Use the mission map's landmarks instead of memorizing left and right. “The room after the yellow pipes, before the elevator” survives small route differences; “take the second left” doesn't. Screenshot each successful crate location, then make a short checklist for the next run. After three or four attempts, you'll know the mission's entire spawn set.
For official references, compare your installed content with the Aliens: Fireteam Elite Steam page, check updates from Cold Iron Studios, and use the official Aliens: Fireteam Elite site for current game information. For broader co-op planning, our co-op tactics coverage has the same useful lesson: assign jobs before the action starts.
The practical checklist is simple. Search before every objective interaction, sweep the opposite side of each arena, inspect desks and consoles for Intel, and never assume a cache is missing just because it wasn't in the video you watched. Into the Hive Edition's secrets are designed around repeatable mission knowledge, not one rigid treasure map. Learn the landmarks, protect the player carrying the search, and the hidden rewards will stop feeling random—even when the crate itself still is.