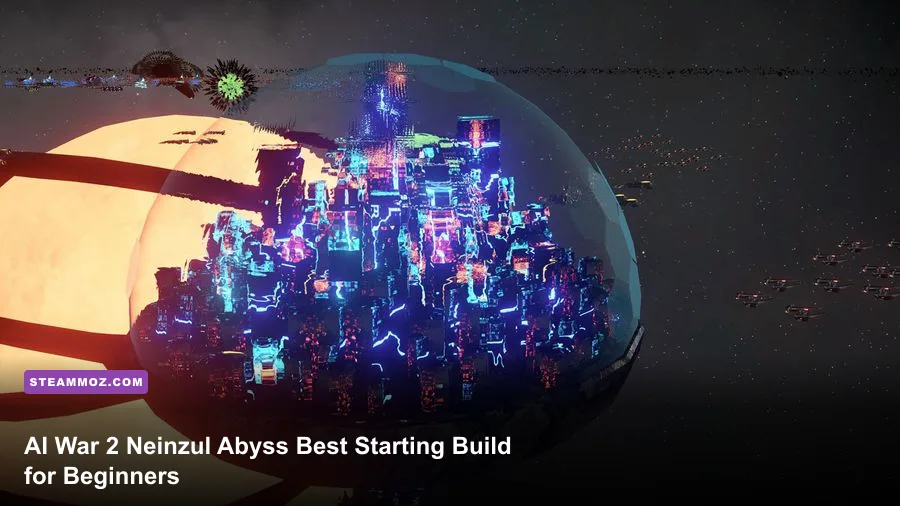
The safest beginner build for The Neinzul Abyss is a compact pressure fleet built around the Neinzul Command Station, durable frontline hulls, ranged damage, and one dedicated control group. Expand to one nearby low-threat world, keep your original base defended, and delay expensive specialist ships until you have a reliable way to answer the AI’s first counterattack. The Neinzul are powerful because they can turn sustained pressure into momentum, but beginners lose when they treat organic ships like disposable zerglings and expand faster than their fleet command and logistics can support.
This opening is designed for a normal AI War 2 campaign with standard faction settings. Exact hit points, damage values, ship availability, and fleet costs can change with difficulty, map generation, DLC configuration, and balance updates, so use the official Steam page and the Arcen Games wiki to verify a unit’s current tooltip in your build. The important part is the order: establish vision, secure a cheap foothold, add control, then scale damage.
The beginner Neinzul opening at a glance
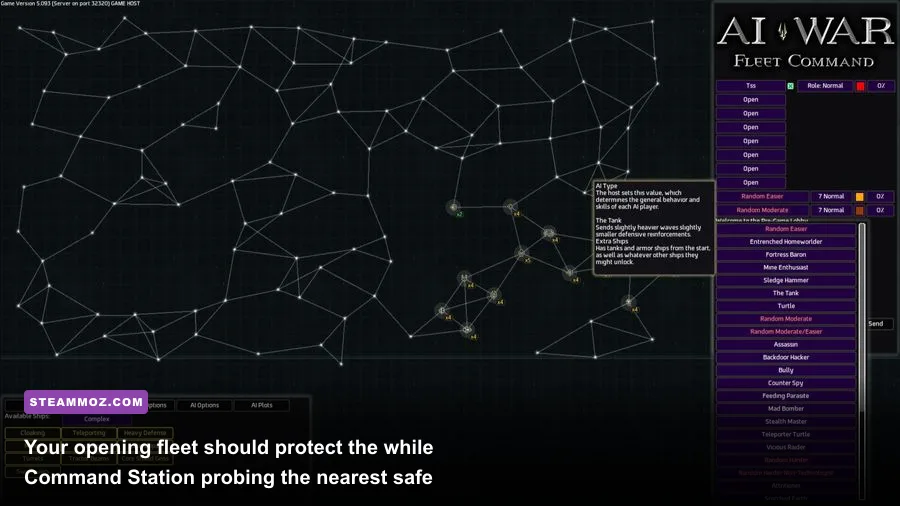
AI War 2 is not a conventional base-rushing RTS. You are fighting an AI empire that reacts to your activity, and every captured world changes the shape of the campaign. The Neinzul opening therefore values threat control over raw production. Your first objective is not to own half the map; it is to create a safe operating lane between your Command Station and one useful captured planet.
Start by splitting your available force into three jobs. The main group is your assault fleet. A small escort remains close to the Command Station. The third group, usually made from scouts or fast disposable ships, explores adjacent links and checks whether a planet is actually worth taking. Do not send every ship into the first battle. Losing your only scouting capability is often more damaging than losing a few combat hulls because you stop seeing reinforcements, warp gates, and dangerous AI defenses.
| Opening element | Recommended choice | Why beginners need it | When to add it |
|---|---|---|---|
| Base anchor | Neinzul Command Station | Protects your economy and gives the fleet a retreat point | Keep defended from the first minute |
| Recon | Fast Neinzul scout group | Reveals planet danger, routes, and AI reinforcements | Immediately, before committing to an invasion |
| Frontline | Durable Neinzul combat hulls | Absorbs fire while ranged ships work safely | First fleet purchase or reinforcement |
| Damage | Long-range or high-output Neinzul attackers | Shortens battles and reduces attrition | After the first safe foothold |
| Control | One dedicated slowing, disabling, or capture-support group | Stops dangerous defenders from reaching your damage dealers | Before attacking a fortified world |
Use the Command Station as a tactical anchor rather than a production object you forget. If a fight goes wrong, retreat through a known route, regroup, and return with a clearer answer. That discipline matters more than squeezing another few seconds out of the first invasion.
🎮 AI War 2: The Neinzul Abyss
Looking to experience this game? Grab your digital key directly on our store for $3.99.
View on Steammoz Store →Build the first fleet in the right order
Your first build should be deliberately boring. The Neinzul Abyss rewards a fleet that can survive several modest engagements, not a flashy army that wins one battle and then collapses. Begin with reconnaissance, then create a frontline, then add ranged damage. Only after that should you spend heavily on faction-specific specialists or premium ships.
Step one: establish vision
Send a scout along the shortest safe route and stop at the edge of the first candidate planet. Check the world’s defenses, nearby links, AI structures, and escape options. A planet with a modest defense score but no safe retreat route can be worse than a slightly stronger world connected directly to your Command Station.
Step two: form a two-layer combat group
Put your tougher Neinzul hulls in the first control group and keep ranged attackers behind them. This is not just tidy interface work. AI War 2’s battles become chaotic when every ship enters from a different angle, and your fragile damage dealers can be focused before the frontline has established contact. Give the frontline a simple move order, then bring the ranged group in once defenders are committed.
Step three: buy control before greed
A control tool that slows, disables, distracts, or redirects enemy ships is usually worth more than a second niche damage upgrade. It buys time for your ranged units and makes retreats less costly. If your version of the Neinzul roster offers multiple control options, favor the one that works from a safe distance and does not require the entire fleet to overextend.
| Priority | Fleet role | Beginner target | Common mistake |
|---|---|---|---|
| 1 | Scout | One fast group with a clear retreat route | Using scouts as frontline damage dealers |
| 2 | Tank | Enough durable hulls to hold enemy attention | Sending ranged ships in first |
| 3 | Ranged damage | A compact group that can focus one target | Splitting fire across the whole planet |
| 4 | Control | At least one tool for slowing or disabling priority targets | Waiting until the first major loss to add it |
| 5 | Specialist | Only the specialist needed for the next objective | Buying expensive ships because they look powerful |
Keep the fleet compact enough to retreat as one unit. A beginner-friendly Neinzul army is not the largest army on the map; it is the army you can select, move, and protect without losing track of half its ships.
Early expansion: take one planet, then breathe
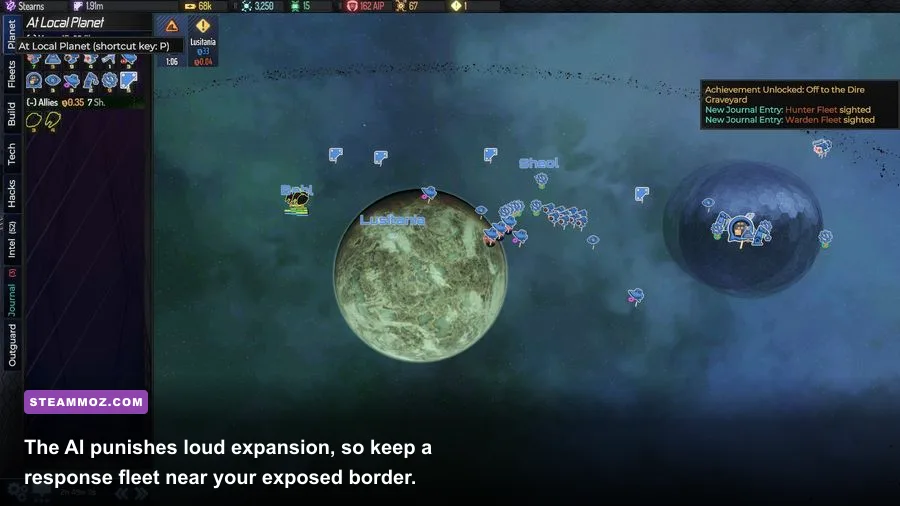
The first capture should improve your position, not merely increase your territory count. Look for a world that provides a defensible staging point, useful production, or a route toward a high-value target. Avoid grabbing a planet simply because its defenses are low if the capture exposes your Command Station to two unexplored approaches.
Before the invasion, park your assault force just outside the enemy’s effective range. Move scouts around the planet and identify the direction from which AI reinforcements can arrive. Then enter with the frontline first, focus one defensive cluster, and keep the ranged group on a short leash. If the battle takes longer than expected, leave before the fleet reaches critical losses. AI War 2 remembers pressure, and a failed attack that costs your entire opening fleet can turn a recoverable campaign into a slow-motion defeat.
After capturing the world, do not immediately launch another attack. Repair, replace losses, secure the planet’s local defenses, and reconnect your control groups. This pause also lets you observe the AI’s reaction. If an enemy force starts moving toward the new foothold, defend there rather than expanding again. The Neinzul build becomes stronger when the AI is forced to attack your prepared position.
What to build on the first captured world
Choose infrastructure that supports the next two fights. Production and fleet support are usually more valuable than a broad collection of luxury upgrades. If the map gives you access to a structure that improves scouting, hacking, reinforcement, or defensive response, that utility can be worth more than another small damage increase. The exact choice depends on the planet’s available structures, but the principle is consistent: solve the next bottleneck first.
New players often overbuild local defenses and leave the mobile fleet weak. A planet is not safe because it has a long list of structures; it is safe because you can respond before the AI reaches it. Keep a reserve near the border and use the Command Station as your fallback point.
Neinzul combat rotation and target priority
The basic combat rotation is simple: scout, mark the dangerous target, send the frontline, apply control, focus fire, then retreat before the formation breaks. The mistake is trying to execute all six steps while your ships are already under fire. Pause briefly, issue clean orders, and let the simulation resume once your fleet has a coherent plan.
Target priority
Destroy enemy control and high-damage ships before ordinary frontliners. A defender that disables your best attacker or prevents a retreat is more dangerous than a larger ship that only deals steady damage. Next, remove anything that can rapidly close distance with your ranged group. Leave low-threat, slow-moving targets for last unless they are blocking your escape route.
Focus fire matters because scattered damage creates long battles. Long battles are especially dangerous for a biological fleet that depends on maintaining formation and preserving specialist ships. Select one enemy group, eliminate it, and only then move to the next. If a target withdraws behind a defensive structure, do not chase automatically. Reset the formation and decide whether the structure is actually necessary to destroy.
Use movement as a weapon
Do not park the Neinzul frontline directly on top of your ranged ships. Give it a slightly forward position, then use short movement commands to keep enemy attention pointed away from the back line. If the enemy splits, let the control group slow the faster half while the damage fleet finishes the slower half. This is safer than trying to chase every target simultaneously.
| Enemy situation | Immediate response | Neinzul role | Abort condition |
|---|---|---|---|
| Defenders rush the back line | Pull ranged ships backward and turn the frontline | Frontline buys time; control blocks the rush | Two or more damage groups lose formation |
| Enemy control ship appears | Focus it before ordinary defenders | Scout identifies it; ranged fleet burns it down | Your fleet cannot reach it without crossing heavy fire |
| AI reinforcements arrive | Retreat toward the prepared route | Control slows the chase | Escape path is closed or frontline is collapsing |
| Planet defenses are split | Destroy one cluster completely | All damage groups focus the same target | New defenders arrive faster than you can remove them |
For more general lessons about surviving unusual factions and punishing overextension, Steamoz’s Dins’s Curse survival tips and Carrion combat guide are useful reminders that mobility and threat selection often matter more than raw numbers.
Research and upgrade priorities that actually matter
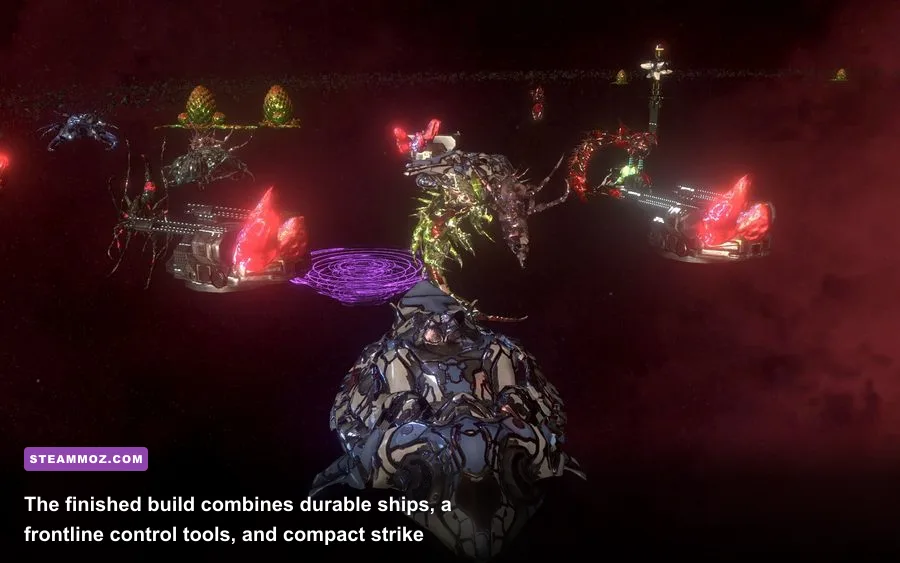
Upgrade in response to the map. There is no universal Neinzul technology path because AI War 2’s value comes from matching tools to the next target. Still, beginners can follow a dependable order: survivability for the frontline, effective range or damage for the main attackers, then control and specialist utility.
Do not stack every upgrade on one impressive ship. Losing that ship to a surprise counterattack can erase a large part of your campaign power. Spread essential improvements across the fleet, then create a specialist group only when you understand what it is supposed to accomplish. A ship that improves a narrow matchup is excellent when the matchup is next; it is dead weight when your real problem is not enough scouting or no safe retreat.
| Upgrade focus | Early priority | Best use | Why it can wait |
|---|---|---|---|
| Frontline durability | High | First invasions and holding captured worlds | Only delay it if the map offers exceptionally safe targets |
| Ranged damage or reach | High | Shortening battles and removing priority defenders | Do not buy it before you have protection |
| Control duration or reliability | Medium-high | Stopping rushes and securing retreats | Less urgent against slow, isolated defenders |
| Specialist utility | Medium | Hacking, scouting, reinforcement, or a specific counter | Value depends entirely on the next objective |
| Luxury scaling | Low early | Late-campaign fleet efficiency | It does not rescue a weak opening fleet |
Watch your economy and fleet limits before every purchase. AI War 2’s interface tells you when a choice consumes capacity, production, or another campaign resource; read those tooltips instead of memorizing a build order from a different difficulty. A build that feels cheap on a low-pressure map can become a crippling investment when the AI starts reacting faster.
How to handle the first AI counterattack
The first counterattack is where this beginner build proves itself. Keep one mobile reserve between the Command Station and your captured planet. If the AI moves toward the new world, do not abandon the planet’s defenses and chase the enemy across unexplored space. Fight in a location where your reinforcement route is short and your retreat path is already visible.
Let the enemy enter your prepared range. Use the frontline to absorb the first contact, apply control to the fastest or most dangerous attacker, and focus fire the ship that threatens your ranged group. If the AI splits its force, ignore the less dangerous half until the priority group is gone. The goal is not to wipe out every ship; it is to make the counterattack too expensive to continue.
If the counterattack overwhelms you, retreat early. Losing a planet is painful, but losing the Command Station and the entire starting fleet is usually fatal. Rebuild at the base, scout a different route, and return with the exact counter the failed fight revealed. That is the central Neinzul lesson: every defeat should tell you whether you lacked damage, durability, control, or information.
Midgame transition: from starter fleet to real pressure
Once you hold one or two planets safely, stop adding random ships and organize a proper army. Your main fleet should contain a durable core, a concentrated ranged group, control support, and scouts. Your second fleet can be smaller and defensive, assigned to patrol a border or escort a specialist operation. Avoid creating three mediocre fleets; two purposeful fleets are much easier to manage.
At this point, begin taking worlds for strategic reasons. A planet that opens a route to a high-value AI structure, protects a flank, or gives you a better launch position can be worth more than a richer but isolated world. Use the Neinzul’s pressure tools to keep the AI busy, but never confuse activity with progress. If an attack does not improve your next safe position, it may simply be feeding the enemy information and giving the AI another chance to counterattack.
Keep checking the official Arcen Games site and the AI War 2 Steam discussions when a patch changes ship tooltips or faction behavior. The Neinzul expansion has enough unusual interactions that an old community build order may no longer be optimal. Steamoz’s PC strategy-game performance guide is also worth checking if large late-game battles begin causing stutter, since smoother camera control makes fleet management noticeably easier.
The finished beginner build and the mistakes to avoid
By the time you reach the midgame, the starter build should have evolved into a balanced Neinzul pressure fleet rather than a swarm of identical attackers. Keep the Command Station protected, maintain scouting coverage, and make every invasion with a retreat route. The strongest beginner habit is asking one question before combat: “What happens if the AI arrives from the other side?” If you do not have an answer, scout first.
| Build area | Finished target | What it accomplishes | Red flag |
|---|---|---|---|
| Command Station | Permanent escort and a nearby fallback route | Prevents one surprise attack from ending the campaign | Every combat ship is away from home |
| Main fleet | Frontline, ranged damage, and control in separate groups | Wins fights without formation collapse | All ships are mixed into one uncontrollable blob |
| Scouting | Fast scouts ahead of every major invasion | Reveals reinforcements and safe exits | You discover defenders after committing |
| Expansion | One safe foothold before the next capture | Turns territory into reliable operational depth | Three new planets with no reserve fleet |
| Upgrades | Durability, damage, then matchup-specific utility | Improves the next battle instead of wasting resources | Luxury upgrades while the frontline is collapsing |
- Do not attack blind. A scout is cheaper than a failed invasion.
- Do not spend everything on offense. The Command Station needs a real escort.
- Do not chase retreating defenders forever. Preserve the fleet for the next objective.
- Do not split damage. Remove one dangerous target at a time.
- Do not copy exact numbers from another patch. Read the current ship and structure tooltips.
That is the best starting build for beginners in AI War 2: The Neinzul Abyss: scout aggressively, expand conservatively, fight with a protected frontline, and spend upgrades on the problem directly in front of you. The Neinzul become frightening once their first foothold is secure, but the campaign is won by the player who keeps a retreat route open and a reserve fleet alive—not by the player who captures the most territory in the first ten minutes.