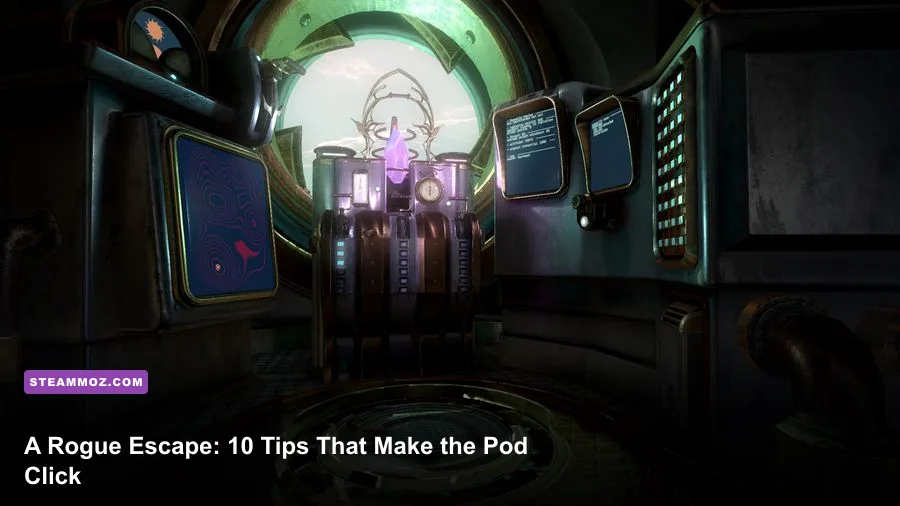
A Rogue Escape becomes dramatically easier when you stop treating the pod like a collection of random switches and start treating it like a real spacecraft. The winning routine is simple: inspect every panel, write down codes and symbols, restore systems in a sensible order, and test one change at a time. These 10 tips will help new players solve the cockpit puzzles faster without turning the game’s best discoveries into a walkthrough.
New Bone Studios built A Rogue Escape as a seated VR escape-room experience, so this isn't a game about combat, loot, or conventional character progression. Your progress comes from understanding the pod's interfaces. A dial may reveal a clue for a display on the opposite side of the cabin; a power change may activate a panel you couldn't use earlier. That interconnected design is the whole appeal—and the main reason button-mashing gets you nowhere.
1. Set Up Your VR Space Before Touching the Pod
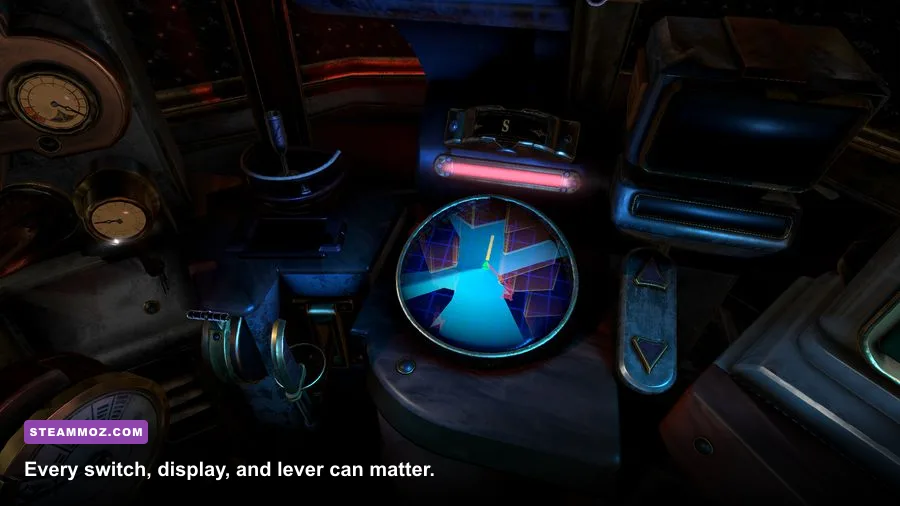
A Rogue Escape is designed around a seated cockpit, but “seated” doesn't mean your setup is irrelevant. Clear enough room for both controllers, place your chair so you can comfortably reach left and right, and recenter your view before starting. The pod surrounds you with controls, and a bad facing direction can make a perfectly readable panel feel awkward.
Use a stable chair rather than a rolling office chair. You’ll be leaning toward displays and reaching for switches, and unwanted movement makes small interactions less precise. If your headset supports room-scale boundary warnings, keep them visible while learning the layout; later, you can reduce distractions once you know where the controls are.
Also check comfort settings before beginning. A Rogue Escape has no reason to demand standing play, and a seated session makes it easier to maintain a consistent view of the cockpit. If the image looks soft, fix headset focus and supersampling before blaming the game. VR puzzle games punish eye strain because you spend so much time reading small markings.

🎮 A Rogue Escape
Looking to experience this game? Grab your digital key directly on our store for $3.99.
View on Steammoz Store →2. Perform a Complete Cockpit Survey
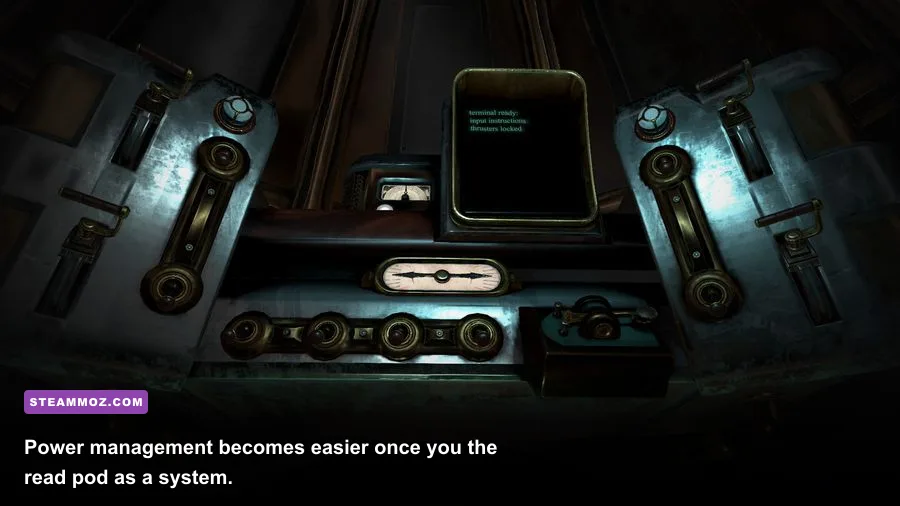
Your first job is not solving a puzzle. It’s building a map. Look slowly from left to right and identify every usable surface: primary displays, status indicators, switches, rotary controls, physical levers, storage or access panels, and any area that appears interactive. Don’t assume a dark screen is decorative. Some interfaces only become active after the pod receives power or another system is enabled.
Tip 3: Separate controls from clues
Make two mental categories. Controls change the pod; clues explain what a control should do. A symbol sequence, colored light pattern, or number string is usually more valuable than the button beside it. If you immediately start pulling levers, you’ll lose track of which change caused a display to update.
Use the headset’s view to inspect edges and corners. VR props often hide information in places a flat-screen game would present in a menu. Lean closer to read labels, but don’t rush past panels because they look inactive. The pod’s visual language is deliberately industrial: warning lights, segmented displays, and repeated symbols are often part of the same puzzle vocabulary.
For comparison, players coming from a stealth game may instinctively search for a route, while players coming from an RPG may search for an upgrade. Neither approach applies here. The useful habit is closer to the careful room scanning recommended in our Desperados III stealth guide: observe first, act second.
| What You See | Likely Function | First Action |
|---|---|---|
| Dark display | Inactive system interface | Check power and nearby switches |
| Repeated symbols | Sequence or matching clue | Record the order before experimenting |
| Rotary dial | Value, frequency, or alignment control | Turn slowly and watch every indicator |
| Large lever | System activation or confirmation | Use only after checking the connected panel |
3. Restore Power Before Chasing the Big Solution

When a system refuses to respond, the answer is usually not “try harder on that screen.” It’s often waiting for power, initialization, or a prerequisite elsewhere in the pod. Start with the energy path: locate the main power controls, identify which indicators change when you interact with them, and watch for displays that wake up.
The important trick is to treat each activation as a test. Flip one switch, pause, and scan the cockpit. If a display illuminates, note it. If a warning appears, note that too. Changing four controls at once may accidentally progress the puzzle, but you won’t understand why—and that makes the next failure much harder to diagnose.
Power puzzles are also where many first-time players waste time by repeatedly toggling the same control. Don’t assume a switch is binary just because it moves between two visible positions. A panel may require a particular order, a matching indicator state, or a separate confirmation action. Read the feedback before resetting anything.
Tip 4: Use a reset as a diagnostic tool
If the cockpit becomes visually noisy, restore the last known stable state if the game allows it, then repeat your actions more deliberately. A reset isn't a failure; it’s a way to establish cause and effect. The same logic helps in other systems-heavy games, including our Din’s Curse survival tips, where recognizing system feedback matters more than rushing forward.
4. Keep a Physical Puzzle Notebook
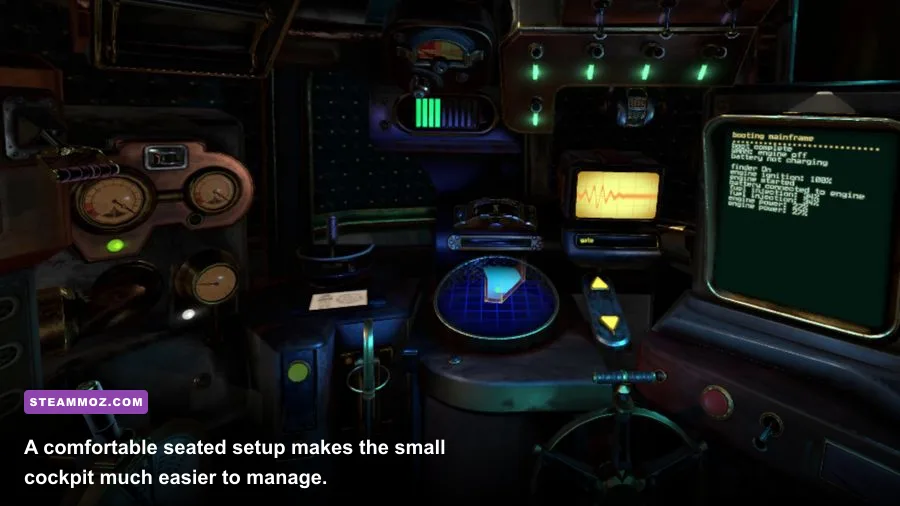
Do not rely on memory. A Rogue Escape gives you the kind of information that feels obvious for thirty seconds and then vanishes the moment another panel demands attention. Keep a sheet of paper nearby and divide it into four sections: symbols, numbers, panel locations, and system states.
Write codes exactly as shown. Preserve leading zeroes, arrows, colors, and orientation. If a symbol points left, don’t replace it with a vague note like “triangle.” Direction and order can be the entire solution. For a row of lights, sketch the row rather than describing it in prose. Your future self will thank you.
Record location as well. “Blue symbol near the right display” is much more useful than “blue symbol.” The pod is compact, but its circular layout can still make similar controls blur together. A simple note such as “left panel, below status screen” turns backtracking into a quick verification rather than another search.
Take screenshots only when they don’t interrupt your focus. In VR, a screenshot may capture the wrong angle or obscure the detail you were trying to preserve. A handwritten sketch is often faster, especially for sequences and dial positions.
5. Solve One System at a Time
The pod’s systems overlap, but that doesn't mean you should work on everything simultaneously. Pick the most obviously active subsystem and follow its clues until you reach a clear blocker. Then move to the next newly available system. This creates a clean progression trail and prevents the classic escape-room mistake of mixing three partial solutions into one confusing mess.
Use this practical priority order: power and basic activation first, status or life-support information second, navigation or route-related interfaces third, and final confirmation controls last. The exact sequence can vary during a playthrough, but this order keeps you focused on prerequisites before destinations.
If a panel contains a code input, don’t brute-force it. Even a short sequence has too many possible combinations to make random testing worthwhile, and failed inputs may change the interface state. Search for matching symbols, a mirrored arrangement, a nearby sequence, or a display that explains the order.
Tip 6: Think in dependencies
Whenever something changes, ask three questions: what became active, what warning disappeared, and what new information appeared? Those answers reveal the dependency chain. A newly lit display is rarely just decoration; it usually tells you which system deserves attention next.
7. Read Feedback Instead of Fighting the Interface
VR interaction can feel inconsistent if you approach every object with the same gesture. A button may require a direct press, a lever may need a firm grab and pull, and a dial may respond better to a controlled wrist movement than a sweeping arm motion. If an interaction doesn't register, reposition your hand and approach the control straight on.
Give each action a moment to register. Rapidly clicking a button can make it unclear whether the game ignored you or whether the resulting state simply takes a second to update. Watch indicator lights, screen changes, and audio cues. A Rogue Escape communicates through the pod itself rather than a large stream of objective text, so these small responses are your quest markers.
Adjust your physical position rather than twisting your neck for long stretches. If you repeatedly miss a panel on one side, recenter your view or move your chair slightly. Comfort isn't cosmetic here: eye level and reach distance directly affect how accurately you can read and operate the cockpit.
8. Don’t Reset the Pod Too Early
A confusing state is not automatically a broken state. Before resetting or restarting, inspect what actually changed. A warning light may indicate progress, an inactive display may be waiting for a separate input, and an unusual sound may confirm that a system is now online. Restarting immediately throws away useful information.
Instead, make a state log. Write down which controls are active, which displays are lit, and what warnings remain. Then test the smallest possible action. If the state worsens, reverse that action. If it improves, you have identified part of the chain.
This mindset is especially useful for new VR players because physical controls invite experimentation. Experimentation is good; unrecorded experimentation is what causes confusion. The same “observe, test, document” loop appears in narrative puzzle games such as Decay: The Mare, although A Rogue Escape makes the process much more tactile.
9. Tune Performance for Clearer Clues
A Rogue Escape is not a demanding action game, but stable VR frame delivery matters more than chasing a flashy desktop resolution. A stutter while you’re reading a segmented display can turn a clear clue into visual mush. Start with the headset’s recommended refresh rate, then lower resolution or supersampling if the image dips below a comfortable, consistent performance level.
| Setting | Recommended Starting Point | Performance Impact | Visual Result |
|---|---|---|---|
| Headset refresh rate | Native stable option | High if increased beyond hardware comfort | Smoother controller and head movement |
| Render resolution | Default or 100% | High when raised | Sharper small text and symbols |
| Shadow quality | Medium | Low to medium | Cleaner cockpit lighting without wasted GPU power |
| Anti-aliasing | Default | Medium | Less shimmer on thin panel edges |
| Background applications | Close overlays and browsers | Variable CPU and memory cost | Fewer frame-time spikes |
For official compatibility information, check the A Rogue Escape Steam listing rather than trusting an old forum post. You can also review New Bone Studios’ official site for developer updates. If you’re comparing VR performance habits with regular PC games, our Dragonkin graphics settings guide explains the same frame-time principle from a different angle.
10. Finish Every Puzzle With a Verification Pass
Once you believe you’ve solved the pod, don’t immediately assume the game is finished. Perform a final sweep. Check for an unacknowledged warning, a control that still has no status light, or a display that contains information you never used. Escape-room games often place confirmation behind one last deliberate interaction rather than treating the first successful input as the ending.
Retrace your notebook from top to bottom. Cross out clues as you identify their function, then compare your notes with the cockpit’s current state. If one symbol or number remains unexplained, investigate it before moving on. That leftover clue may be optional flavor, but it may also be the missing confirmation step.
| Situation | Most Likely Problem | Best Response | What Not to Do |
|---|---|---|---|
| Nothing reacts | Power or prerequisite is missing | Survey other panels and indicators | Spam the same button |
| A code fails | Wrong order, symbol, or state | Recheck the clue and preserve formatting | Brute-force combinations |
| A display changes unexpectedly | Your previous action triggered a dependency | Record the new state immediately | Reset without inspecting it |
| You feel uncomfortable | Poor seating, reach, or refresh stability | Recenter, adjust your chair, and lower load | Push through eye strain |
The Best Mindset for Your First Escape
A Rogue Escape rewards patience, but it never requires you to be slow for the sake of it. The fastest players are fast because they build a reliable information loop: scan the cockpit, identify a clue, change one variable, observe the result, and document the new state. Once that habit clicks, the pod stops feeling like a wall of buttons and starts feeling like a machine with a readable logic.
Keep your notebook open, resist random inputs, and treat every light or sound as feedback. If you get stuck, change your perspective—not the entire solution. Look at the panel you ignored, trace the power path again, and ask which system is waiting for permission to wake up. That approach preserves the mystery while removing the frustration, which is exactly where A Rogue Escape works best.