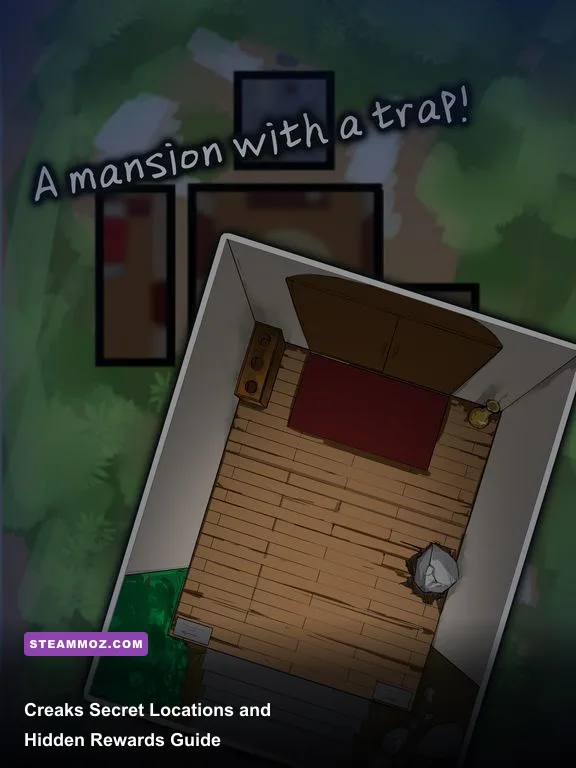
If you're hunting every Creaks secret location, focus on the optional side passages that branch away from the main elevator route. The hidden rewards are collectible paintings, and most are reached by activating lights, moving ladders, or solving a room in an order the story never demands. This guide follows the mansion from the first underground descent to the final areas, explains what each secret looks like, and flags the points where backtracking becomes impossible.
Creaks doesn't use a conventional map or collectible counter during play. That makes missed paintings particularly annoying: the game remembers them, but the room layout gives you very little help. Before starting, set the display to a comfortable brightness, keep the sound on for enemy movement, and use the pause menu's chapter select only after finishing the current section. Chapter select is useful for cleanup, but it can overwrite your mental route if you jump around too early.
How Creaks hides its secret rewards
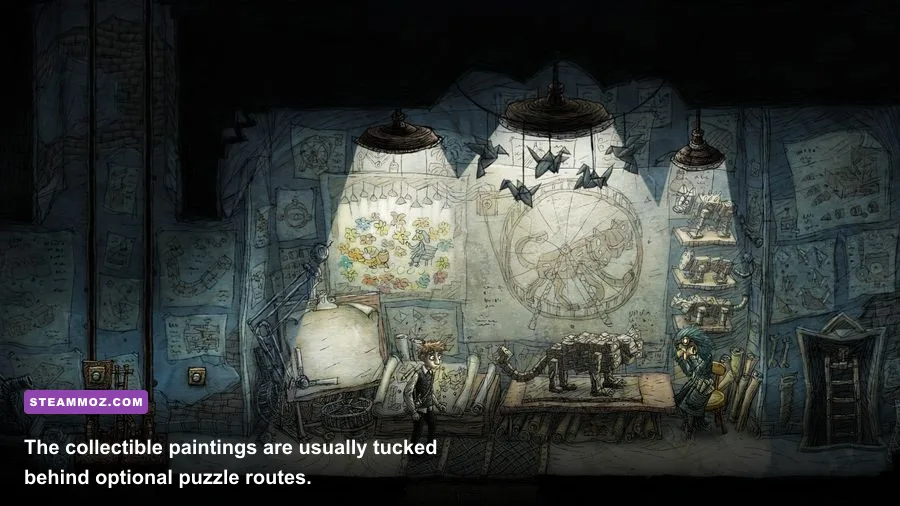
Every optional reward follows one of three patterns. First, a painting may sit in a dead-end corridor that looks decorative but is actually reachable through a lift or crawlspace. Second, the route may be visible immediately, but a light puzzle must be solved before the doorway becomes safe. Third, the room may require a temporary enemy placement: you lure a dog, bird, or armchair creature into a beam, then use the cleared space to reach a side platform.
There are no weapons, skill trees, or combat upgrades to collect. The practical reward is completion progress and access to the game's gallery, while the larger reward is seeing the strange paintings that flesh out the mansion's hidden history. Treat each painting as a route marker. If you reach a new elevator or a major vertical shaft without checking both sides of the room, you've probably walked past one.
| Secret type | Typical visual clue | Required action | Main danger |
|---|---|---|---|
| Dead-end painting | Empty wall, narrow ledge, or odd lamp | Inspect the side corridor before using the exit | Returning lift may move away |
| Light-gated room | Dark doorway beside a lamp switch | Reposition the light and cross quickly | Darkness revives nearby creatures |
| Platform secret | Unused ladder, pulley, or ceiling ledge | Trigger the mechanism from the opposite side | Falling resets the room |
| Enemy-routing secret | Creature blocking a side passage | Use a beam to convert or freeze the enemy | Patrol timing can close the route |

🎮 Crea
Looking to experience this game? Grab your digital key directly on our store for $14.99.
View on Steammoz Store →Early mansion secrets and the first underground rooms
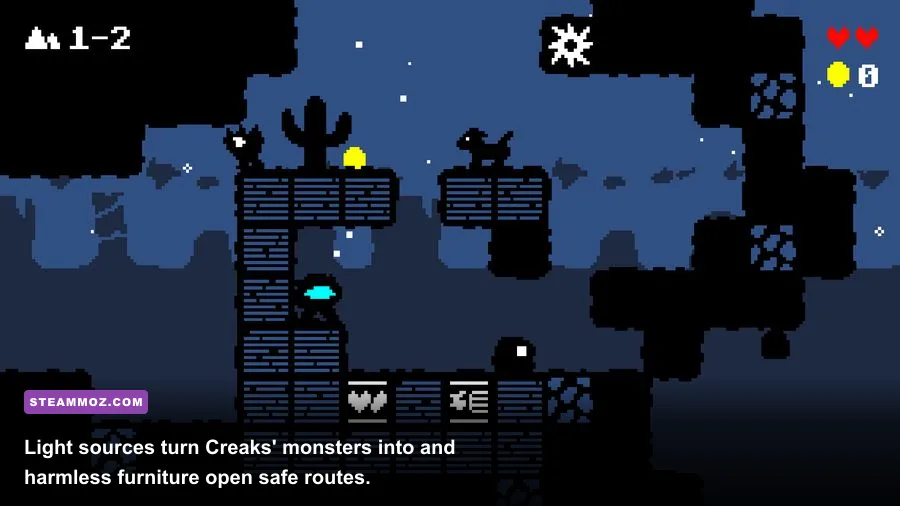
The opening sequence teaches the central trick, so don't sprint through it. After the first descent, search the initial corridor before following the obvious line of lamps. The first hidden painting is reached by checking the side of the opening rather than the central staircase. It is a deliberately gentle secret: no dangerous timing sequence, just a lesson that Creaks rewards looking behind the route that appears mandatory.
In the first rooms containing the dog-like Creaks, move the lamp so the beam covers the enemy's full body. A partial beam isn't enough; the creature can still move if its feet remain outside the lit area. Once it becomes furniture, walk past it and inspect the platform behind the mechanism. The important detail is the order: light the enemy first, then move the lift. If you move the lift before clearing the creature, the return path can become blocked.
Near the first major elevator hub, check both vertical sides before descending. One side continues the story, while the other contains a short ladder route leading to a painting. The ladder only becomes usable after operating the nearby lever from the lower floor. This is the first secret that looks inaccessible from the entrance, so remember the rule for later rooms: whenever a ladder ends at a blank wall, search for its matching switch on the floor above or below.
Another early reward sits beyond a pair of lamps that must be toggled in sequence. Keep the first beam active while crossing, then switch the second lamp only after the creature has passed. Players often turn both lamps off to reset the puzzle and accidentally return the enemy to its walking form. If the room starts feeling crowded, reset it deliberately, wait for the patrol to settle, and solve it with one safe zone at a time.
Midgame side rooms, lifts, and hidden paintings
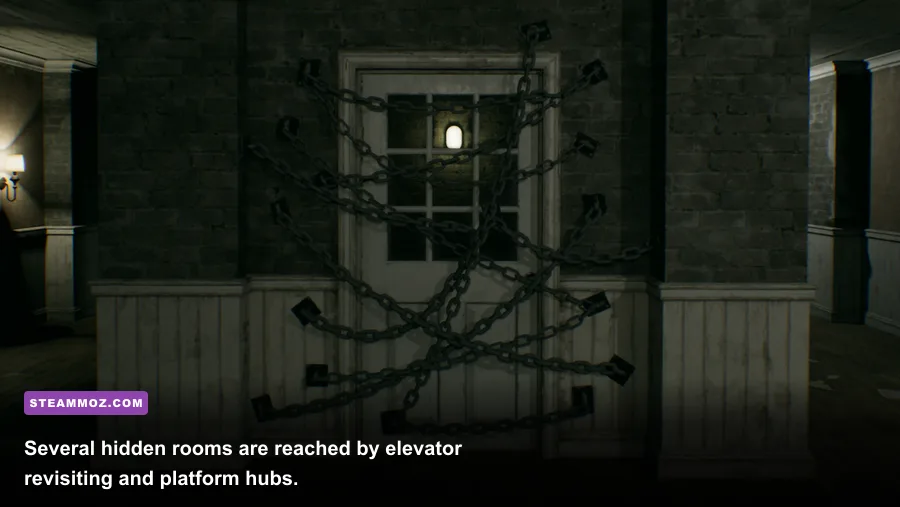
The middle section is where most missed Creaks secrets are found. The architecture gets taller, and the main path begins using the same elevator shafts repeatedly. At every new shaft, ride the platform once without leaving the room. Watch which ledges pass by the screen. A brief glimpse of a locked doorway or a painting frame is usually the game's way of telling you that the elevator is also a collectible route.
In the first large vertical chamber, take the lower branch before activating the upper exit. Use the movable lamp to immobilize the dog, then pull the floor lever and cross the newly aligned bridge. The painting is on the far side, beyond the route that looks like a dead end. Don't chase the enemy around the room; its path is predictable, and wasting movement makes the light puzzle harder because the lamp's safe coverage is limited.
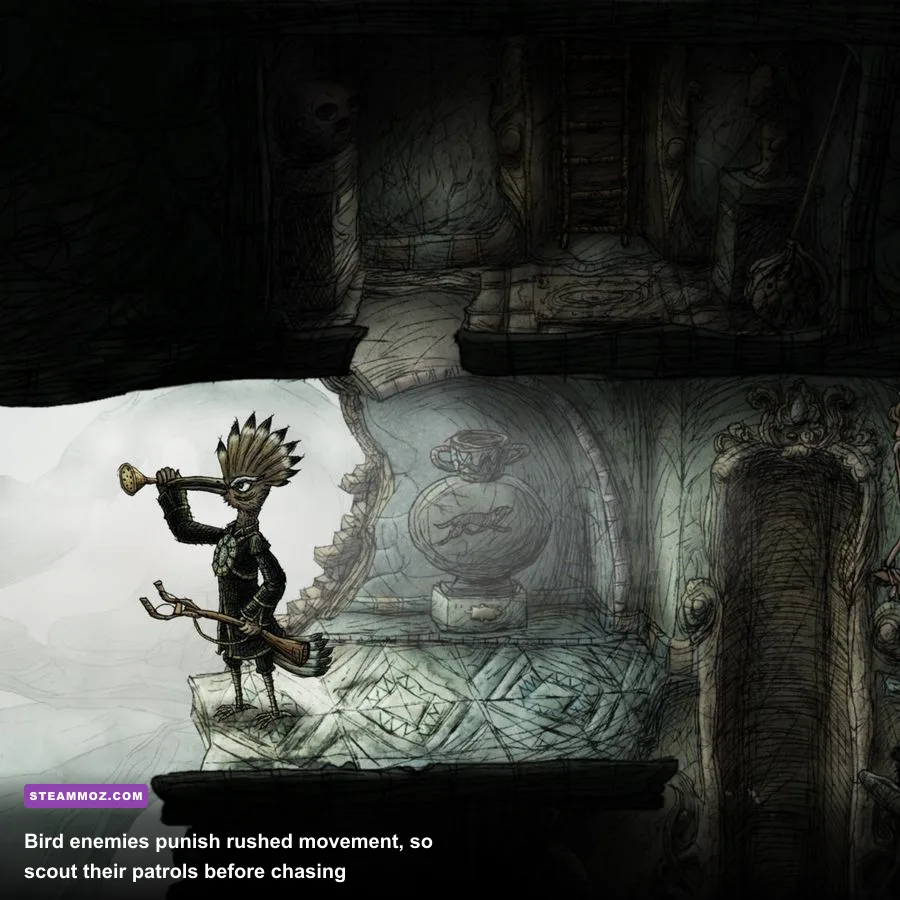
The next secret uses a bird-like enemy. These creatures are more dangerous than dogs because their patrol arc covers a wider horizontal space. Stand outside the light, wait for the bird to move away, and switch the lamp only when the beam will cover its landing point. Once frozen, climb the ladder and inspect the upper alcove before touching the central switch. The central switch is progress; the alcove is the reward.
There is also a painting behind a temporary bridge in the room with multiple levers. Activate the levers from left to right, but leave the final lamp untouched until you've crossed. That last lamp controls the enemy's safe state, not the bridge itself. This distinction matters: players who flip every switch immediately often create a route that is technically open but occupied by a roaming Creak.
| Room landmark | Secret route | Correct order | Why players miss it |
|---|---|---|---|
| First elevator hub | Lower side ladder | Use lower lever, return to ladder | The main descent looks like the only exit |
| Tall vertical chamber | Bottom bridge and far ledge | Freeze dog, align bridge, cross | Upper door draws attention first |
| Bird patrol room | Upper alcove | Wait for landing, activate lamp, climb | The alcove is off-screen from the entrance |
| Multi-lever chamber | Temporary bridge | Set bridge first, lamp last | Switches appear interchangeable |
Late-game secrets and the point of no return
Late in the mansion, the puzzles become less about discovering a hidden switch and more about preserving a route while several systems move at once. Before entering any large chamber with a one-way elevator, sweep the previous room again. Once the elevator takes you into the next sequence, the game may not let you return until chapter select.
The most important late secret is in the room where moving platforms connect several narrow balconies. Ride the platform to the highest balcony, but do not activate the obvious exit mechanism. Instead, wait for the platform to return and use the newly exposed lower ledge. The painting is tucked behind the machinery. It is easy to miss because the camera centers on the exit and the ledge is visible for only a moment during the platform cycle.
In the large room with several dog enemies, clear the route from right to left. The rightmost lamp creates the safe anchor; the middle lamp opens the bridge; the left lamp controls the return path. If you start on the left, you can reach the bridge but lose the safe route back. Freeze the first creature, move the lamp, cross, then restore the previous beam before handling the next enemy. Creaks rarely asks for speed here—it asks you not to destroy your own escape route.
Near the final story sequence, inspect every apparently decorative room before stepping through the last brightly lit doorway. The final hidden painting is not in the dramatic end chamber itself. It sits in the optional side room immediately before it, reached through a narrow passage opened by the nearby mechanism. If the story transition begins, use chapter select rather than replaying the whole game; the collectible will remain saved once collected.
Cleanup route and collectible checklist
For cleanup, replay chapters in order and use a simple three-question checklist in every room: did I inspect both sides of the entrance, did I ride every lift in both directions, and did I check every ledge after moving a lamp or bridge? Those checks catch nearly every hidden painting without relying on a separate map.
| Checkpoint | Search before progressing | Reward clue | Reset advice |
|---|---|---|---|
| New elevator | Ride it fully and inspect passing ledges | Frame, lamp, or isolated platform | Return it to the starting floor |
| New enemy type | Check the space behind its patrol | Side door opened by a light | Wait for a complete patrol cycle |
| Bridge puzzle | Inspect both ends before crossing | Optional balcony or lower walkway | Rebuild the bridge instead of rushing |
| Story doorway | Search the room immediately before it | Unlit side passage | Use chapter select if the transition fires |
For reference, the official Creaks Steam page confirms the game's exploration-focused structure, while Amanita Design's Creaks page is the best source for the original artwork and premise. If you're comparing this hunt with other secret-heavy adventures, Steamoz's Dragonkin hidden rewards guide and Everspace 2 secret locations guide use the same practical room-by-room approach.
The big takeaway is simple: Creaks hides rewards in the machinery, not in random corners. Elevators, lamps, ladders, and enemy patrols are all part of the secret-location language. Slow down at every transition, solve the room in a way that preserves your return path, and the mansion's hidden paintings will stop feeling invisible.