
The short version: Beyond the Ice Palace 2 does not use a conventional loot system with dozens of named swords, armor pieces, or rarity colors. Its best-equipment ranking is really a combat-tool ranking. The sword sits in S-Tier for dependable damage, the shield is effectively S-Tier for survival, ranged attacks are A-Tier for bosses and awkward terrain, and movement abilities can outperform every weapon once exploration becomes more demanding. If you build around flashy damage alone, the game will punish you; if you pair close-range pressure with reliable blocking and mobility, the frozen kingdom becomes far more manageable.
That distinction matters because plenty of searches describe a traditional “Beyond the Ice Palace 2 weapon tier list.” This isn’t a game where you farm a level-17 blade with a lucky critical modifier. Equipment progression is tied to what your character can do, where he can go, and how safely he can approach an enemy. The practical question is not “Which sword has the highest number?” but “Which tool solves the problem in front of me without costing a hit?”
This guide ranks the real combat options, explains their strongest use cases, and separates universal equipment from situational tools. For a broader look at retro action design, our Dungeon Siege retrospective and Desperados III review cover very different genres, but they share one lesson: systems that look simple usually reward precise decision-making.
The real Beyond the Ice Palace 2 equipment system

Before ranking anything, clear up the terminology. Beyond the Ice Palace 2 is built around a compact action-platforming moveset rather than a full RPG inventory. You improve your effective power by gaining access to combat and traversal options, then learning when each one is safe to use. The sword, shield, ranged attack, and movement abilities are therefore the meaningful pieces of equipment to evaluate.
The sword is your default answer to grounded enemies and most close-range punish windows. The shield is not a passive armor statistic; it is an active defensive option that lets you contest projectiles and certain frontal attacks. Ranged attacks reduce the need to stand beside hazards, while movement upgrades change the geometry of rooms by opening shortcuts, safer approaches, and escape routes.
There is no honest reason to invent attack values, upgrade percentages, or rarity tiers that the game does not display. The on-screen interface does not present a Diablo-style damage sheet, and weapon performance depends heavily on spacing, enemy animation, and the amount of time you can remain in a target’s hit zone. That makes a utility ranking more useful than fake precision.
| Combat tool | Tier | Primary job | Best situation |
|---|---|---|---|
| Sword | S-Tier | Consistent close-range damage | Grounded enemies and readable boss openings |
| Shield | S-Tier | Projectile control and frontal defense | Trap rooms, corridors, and ranged enemies |
| Ranged attack | A-Tier | Safe chip damage and target access | Elevated enemies and risky boss phases |
| Movement abilities | S-Tier utility | Positioning, evasion, and exploration | Hazard rooms and backtracking routes |
| Temporary pickups | B-Tier | Short-term advantage | Emergency damage or a difficult room |
The key takeaway is simple: the “best weapon” changes with the room, but the shield and movement options almost never become irrelevant. That is why a balanced loadout consistently beats a damage-only approach.

🎮 Beyond the Ice Palace 2
Looking to experience this game? Grab your digital key directly on our store for $13.39.
View on Steammoz Store →S-Tier weapons and equipment ranked
1. Sword — the S-Tier default
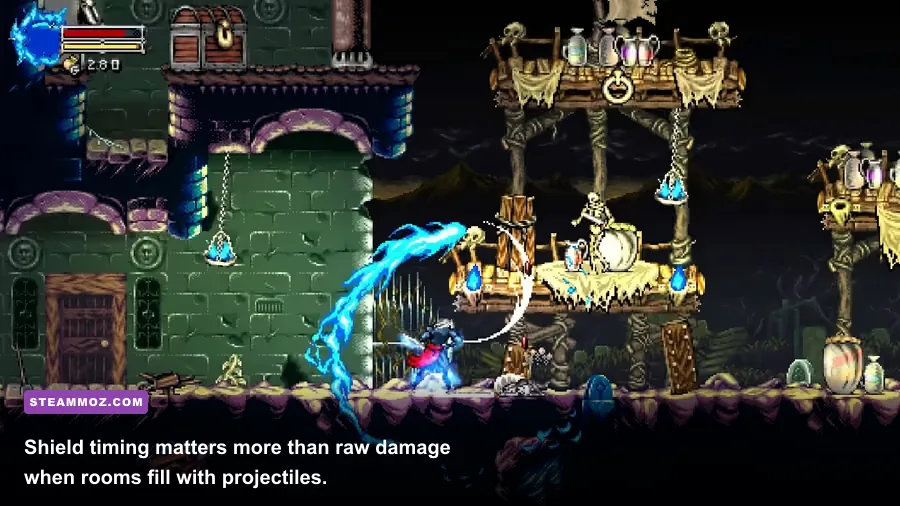
The sword earns the top damage ranking because it is available, predictable, and efficient whenever an enemy has to share your platform. Its biggest advantage is not a hidden multiplier. It is the speed of the decision it enables: get close, identify the attack tell, slash during recovery, then leave before the next contact window.
Use short attack strings rather than standing in front of a target and mashing. Many retro-styled enemies are designed around contact danger, and the sword’s apparent simplicity tempts players to overstay. Hit once or twice, watch the animation, and preserve enough room for a retreat. Against small enemies, a jump-in strike followed by immediate repositioning is safer than chasing a second hit from the floor.
The sword is especially strong against enemies with obvious recovery animations. It also remains your best tool when ammunition or a ranged opportunity is limited. Its weakness is reach: flying enemies, elevated targets, and bosses with dangerous contact zones can make every swing expensive.
2. Shield — S-Tier survival equipment
The shield is arguably more important than the sword, even though it does not feel as exciting. It gives you a way to turn incoming pressure into a timing test instead of a mandatory dodge. Against a projectile, face the threat early, raise the shield before the shot reaches you, and use the brief safety window to advance or reset your position.
Do not treat it as permission to hold the button forever. A shield-first approach can trap you against enemies that attack from above, behind, or through a staggered pattern. It also reduces your ability to react if you walk into a second threat while focused on the first. The strongest rhythm is block, move, attack—not block, freeze, and hope.
Shield value spikes in narrow corridors and rooms where the camera gives you little reaction time. It is also the best answer when a ranged enemy is positioned beyond a jump or on the opposite side of a hazard. In those moments, blocking one projectile while advancing is safer than attempting an elaborate jump that could put you into the next attack.
3. Movement abilities — S-Tier utility, not damage
Movement upgrades deserve an S-Tier label because they improve both combat and exploration. A new dash, jump extension, or equivalent traversal option can let you cross a gap, escape a corner, reach a recovery item, or attack from a completely different angle. Even when an ability adds no direct damage, it reduces the number of situations where you are forced to trade health.
Prioritize movement options whenever the game presents a choice between immediate offensive convenience and access to new routes. The payoff compounds. A better jump may reveal a shortcut, that shortcut may lead to a safer checkpoint, and the checkpoint may turn a difficult boss run into a focused attempt rather than a gauntlet.
| Rank | Equipment | Strength | Weakness | Recommended use |
|---|---|---|---|---|
| S | Sword | Reliable damage and no resource dependence | Short reach and contact risk | Ground combat and recovery windows |
| S | Shield | Blocks pressure and projectiles | Limited coverage and slower reactions | Corridors and ranged threats |
| S utility | Movement abilities | Changes routes and escape options | Requires execution and timing | Hazards, shortcuts, and boss repositioning |
| A | Ranged attack | Safe damage from distance | Lower pressure and possible resource limits | Flying targets and dangerous openings |
| B | Temporary pickups | Strong short-term assistance | Unreliable availability | Emergency use, not core planning |
A-Tier and B-Tier options for specific encounters

Ranged attacks — A-Tier, with excellent boss value
Ranged attacks rank below the sword only because they are more situational. Their value rises sharply whenever an enemy stands on a ledge, floats over a hazard, or punishes close contact. They let you test an enemy’s pattern from a safer distance and can finish a target without forcing a final melee exchange.
The mistake is using them as your only answer. Chip damage can feel safe, but slow pressure gives enemies more time to cycle their attacks. If the boss is grounded and clearly vulnerable after a lunge, the sword usually ends the phase faster. Save ranged attacks for situations where distance itself is the advantage.
Temporary pickups — B-Tier but worth understanding
Temporary offensive boosts and pickups are useful, but they should never dictate your route or strategy. Their availability depends on the stage, and they do not replace learning enemy telegraphs. A temporary advantage is best spent on a room that threatens to drain healing resources or on a boss phase where maintaining distance is unusually difficult.
Think of these items as momentum tools. Pick them up when they are on your path, use them to accelerate a dangerous section, and do not restart a run simply because you missed one. The permanent kit is strong enough to clear the game without perfect pickup routing.
Why damage-only rankings fail
Pure damage rankings ignore the cost of contact. A weapon that theoretically kills faster can still be inferior if it forces you to stand inside an enemy’s attack range. In this game, a missed slash is not just lost damage; it can create knockback, corner pressure, and a second unavoidable threat. Defensive consistency is real DPS because staying alive keeps your attack cycle running.
Best equipment combinations by situation
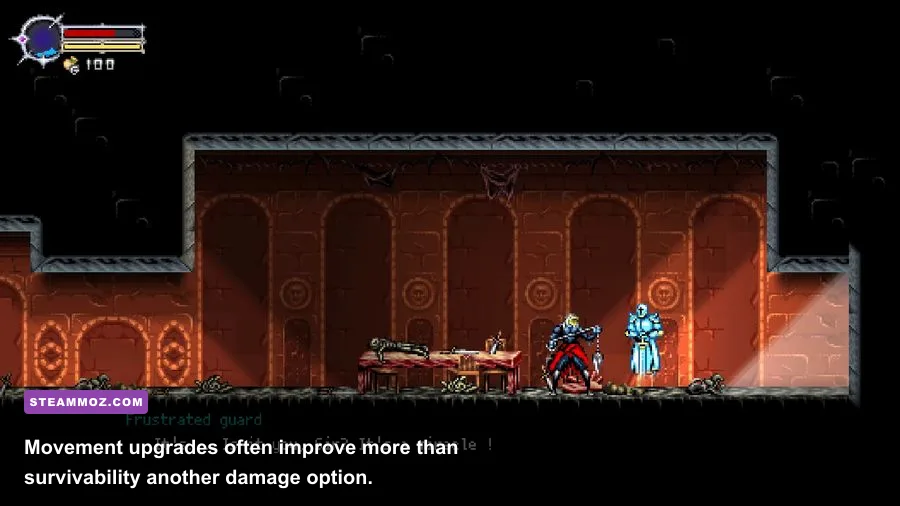
There is no single rotation that fits every section. The best setup changes according to enemy placement and room shape, but the following combinations cover nearly every practical situation.
For normal rooms: sword plus shield
Use the shield to approach ranged threats, then switch to the sword once you have reached striking distance. Against a melee enemy, bait the attack rather than charging first. Back away until the attack begins, let it miss, and punish the recovery. This turns the shield into a positioning tool instead of a purely defensive button.
For flying or elevated enemies: ranged attack plus movement
Do not jump repeatedly beneath an airborne target unless the room gives you a safe landing. Fire from a stable platform, move only when the enemy commits, and use your mobility option to avoid being cornered. If the target descends, switch to the sword and finish the encounter quickly.
For projectile-heavy rooms: shield plus controlled advance
Face the first projectile, block it, and move during the gap before the next shot. Avoid retreating indefinitely; many rooms become harder when you give enemies more distance and let multiple projectiles overlap. Advance in small, deliberate steps and look for the source of the attack rather than reacting only to the projectile.
For boss encounters: sword for punish windows, ranged attacks for reset windows
Learn which attacks end with the boss exposed. Use the sword when the opening is generous, but take the ranged option when the boss’s recovery occurs across a hazard or at the far side of the arena. The shield is your insurance against mistakes, not a substitute for learning the pattern.
| Encounter type | Primary tool | Support tool | Execution plan |
|---|---|---|---|
| Grounded melee enemy | Sword | Shield | Bait the attack, punish recovery, retreat immediately |
| Projectile enemy | Shield | Sword or ranged attack | Block while closing distance, then attack the source |
| Flying enemy | Ranged attack | Movement ability | Fire from stable ground and reposition after each attack |
| Hazard corridor | Shield | Movement ability | Advance between projectile cycles and avoid panic jumps |
| Boss recovery window | Sword | Ranged attack | Use melee up close; use ranged damage when the arena is unsafe |
Players who enjoy route planning should also read our Dins Curse survival tips and Decay: The Mare progression guide. Neither game uses the exact same combat model, but both reward conserving resources instead of burning everything during the first difficult room.
Upgrade priority and mistakes to avoid

Your first priority should be any upgrade that expands movement or gives you a safer way to approach threats. Next, improve your ability to control projectiles and then focus on learning the sword’s practical range. This order may feel less aggressive than chasing damage, but it gives you more options in every later area.
Do not ignore backtracking. A traversal ability can turn an earlier dead end into a route toward health, a shortcut, or a useful pickup. Mark suspicious ledges and blocked passages mentally, then revisit them after major progression milestones. The game’s map design often rewards remembering a location more than clearing it immediately.
Another common mistake is treating every enemy as a target that must be killed before you move. Sometimes the best equipment decision is to shield through a projectile, dash past a grounded enemy, and preserve health for the next checkpoint. Combat is valuable when it removes danger; it is wasteful when it creates a worse position than simply moving on.
Finally, do not confuse a clean tier list with a fixed order of button presses. The sword is S-Tier because it is dependable, not because it should always be active. The shield is S-Tier because it saves failed reactions, not because blocking is always optimal. Ranged attacks are A-Tier because distance solves problems melee cannot. Movement is the quiet winner because it reduces the number of bad choices the game can force on you.
For the latest platform availability and patch information, check the official Steam listing, the PQube website, and the game’s official publisher channel. Version differences can affect performance and controls, but they do not change the central ranking: sword and shield are the dependable core, ranged attacks are the specialist answer, and mobility is the upgrade path that makes the entire kit stronger.
Final ranking: Sword — S-Tier damage; Shield — S-Tier defense; Movement abilities — S-Tier utility; Ranged attacks — A-Tier specialist; Temporary pickups — B-Tier support. Master those priorities and Beyond the Ice Palace 2 stops feeling like a harsh old-school gauntlet and starts feeling like a fair, readable test of timing.
For more focused starter advice, our DeltaZeal build guide is another useful example of how the right early priorities can matter more than chasing the flashiest option.