
Advent Rising’s hidden rewards are concentrated in off-route rooms, raised platforms, maintenance corridors, and sealed-looking alcoves rather than traditional collectible trails. Search the areas listed below before triggering the next objective, because several doors close permanently after a mission transition. The most valuable finds are weapon ammunition and upgrades, health or energy refills, and optional story material; there is no modern-style checklist that marks every secret for you.
This guide follows the original Xbox and PC campaign layout. Mission names can appear slightly differently between releases, but the landmarks, enemy encounters, and reward types remain consistent. If you’re replaying the game today, the official Steam listing is the best place to confirm the PC version you own.

How Advent Rising’s secrets actually work
Advent Rising doesn’t treat secrets like a separate collectible category. Most hidden rooms are practical caches tucked into combat arenas. You’ll find ammo for weapons such as the Seeker Rifle, Scattergun, and Rocket Launcher, while later areas also hide refills that let Gideon use psychic abilities more aggressively. Some discoveries are simply environmental bonuses, including concept material and story context, rather than permanent stat upgrades.
The key rule is simple: clear the room, then explore its edges. Gideon’s double jump and later movement powers make vertical searches worthwhile, but the game often places a secret behind a low wall that looks like scenery. Watch for three visual clues:
- Unusually bright blue or green item glows behind ordinary cover.
- Doorways that sit outside the objective arrow’s direct route.
- Crates, railings, or broken walkways that create a suspiciously convenient jump.
Don’t rush through a mission after the objective text changes. Advent Rising frequently uses an invisible transition trigger; crossing it can lock the previous arena and its hidden cache. This is especially important on higher difficulties, where optional ammunition can determine whether you survive the next boss sequence.
| Secret type | Typical reward | Why it matters |
|---|---|---|
| Weapon cache | Ammo or replacement weapon | Supports heavy weapons during elite encounters |
| Power cache | Energy or health refill | Enables longer psychic-power combos |
| Side chamber | Story or bonus material | Fills in the world beyond the main objective |
| Vertical alcove | Rare ammo and defensive supplies | Often rewards use of double jump or teleport |
🎮 Advent Rising
Looking to experience this game? Grab your digital key directly on our store for $2.49.
View on Steammoz Store →The Arrival and The Lost City secrets
The Arrival: evacuation route cache
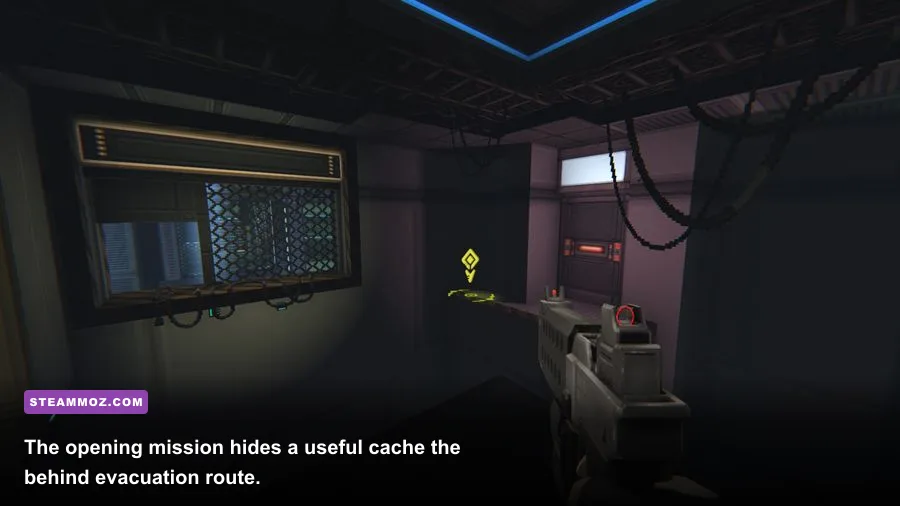
After Gideon reaches the first large exterior combat space, follow the normal route until the game sends you toward the evacuation point. Before entering the next courtyard, turn back toward the damaged structure on the right. A short side passage ends at a waist-high obstruction. Jump over it instead of continuing along the objective path.
The room contains a weapon and ammunition cache. On the first playthrough, take the Seeker Rifle ammunition if you’re comfortable with precision shots; it is more valuable than another close-range pickup because the rifle lets you remove distant targets before they swarm Gideon. On harder difficulties, the same room also gives you a useful recovery window after the opening firefight.
There’s a second missable pickup near the evacuation platform. Move along the outer edge rather than stepping directly onto the mission marker. The glow is partially hidden by wreckage. Grab it before activating the escape sequence, since the platform transition closes the area.
The Lost City: broken plaza and upper balcony
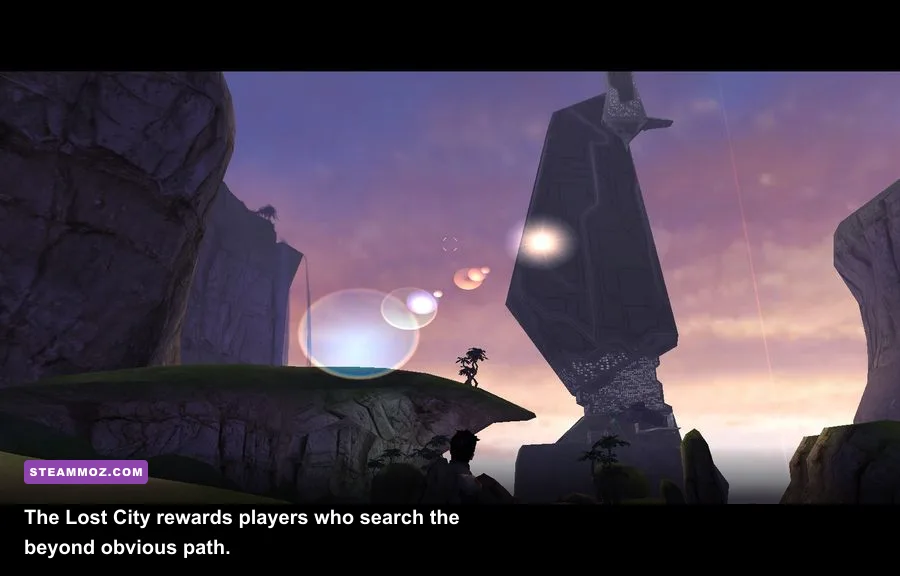
In The Lost City, search the first broad plaza after the initial wave of enemies. The intended route leads through the middle, but the left side has a damaged stair structure that appears decorative. Climb the lower section, jump across the broken gap, and check the balcony behind the wall.
This is one of the game’s most useful early secrets because the reward appears before a longer combat stretch. Save the pickup until after the plaza is clear, then use the ammunition against armored enemies rather than spending it on basic targets. If you’ve unlocked Force, the best rhythm is Force to stagger a group, weapon fire on the exposed target, then a quick retreat behind the balcony wall.
Farther into the city, look for a narrow alley beside the objective building. The entrance is easy to miss because it sits behind a group of destructible cover pieces. The alley ends in a small chamber containing a refill and bonus material. This room doesn’t radically change your build, but it confirms the game’s recurring design language: if an arena has a dead-end route that looks deliberately framed, investigate it.
The Search, The Escape, and the Refinery
The Search: the concealed service corridor
The Search includes a particularly easy-to-miss side route after Gideon moves through the first interior facility. When the objective points toward the main doors, check the opposite wall for a service entrance partially hidden by equipment. Walk behind the machinery and follow the corridor to its end.
The reward is primarily ammunition and a safe position from which to reset your health and energy management. This matters because The Search begins introducing denser enemy groups, and wasting psychic energy on every minor target leaves you exposed when the larger units arrive. Use Mind Control only when it removes a dangerous enemy from the formation; otherwise, conserve energy for defensive movement and crowd control.
The Escape: overlook above the combat arena
During The Escape, you’ll enter an arena where the obvious exit opens after several enemy waves. Don’t leave immediately. Circle the outer wall and look for a raised overlook above the main floor. Depending on the version, you can reach it with a double jump from the side platform or by using a movement power once it becomes available.
The overlook contains a high-value ammo pickup. It’s tempting to spend it immediately, but save heavy ammunition for the next scripted sequence. The reward is best treated as a boss-preparation cache rather than a wave-clear tool. Advent Rising’s heavy weapons have excellent burst damage but limited reserves, so a secret that looks small can effectively add an entire phase of ammunition to the following encounter.
The Refinery: pipes, catwalks, and the dead-end room
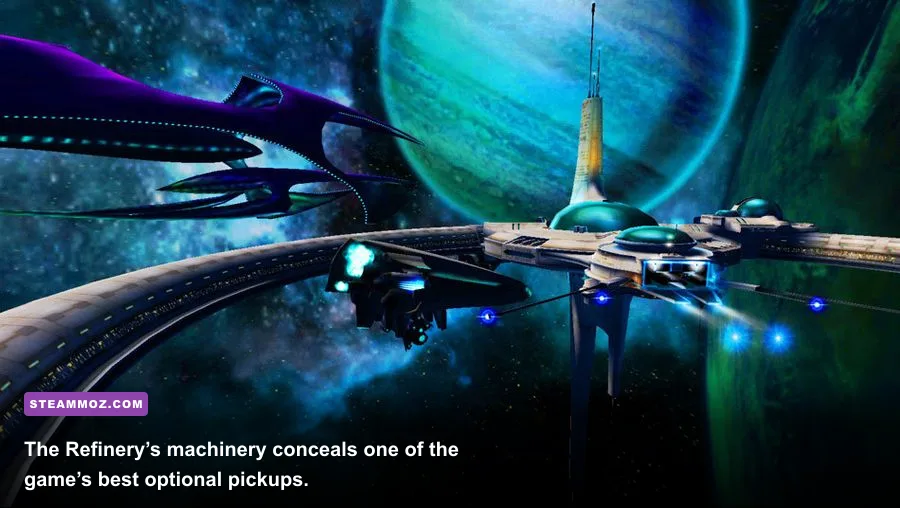
The Refinery is the level where vertical searching pays off most. After the first major catwalk fight, walk beneath the main route and inspect the pipe-lined lower section. A narrow passage leads to a dead-end room containing a weapon pickup and additional ammunition.
Use the catwalks as a scouting advantage before jumping down. The Refinery’s enemies can surround Gideon quickly, and dropping into the lower area while the room is active turns a secret hunt into an unnecessary ambush. Clear the upper platform first, then descend, collect the reward, and return through the same route.
| Mission area | Landmark | Access method | Reward priority |
|---|---|---|---|
| The Arrival | Damaged structure near evacuation route | Jump over low obstruction | Seeker Rifle ammunition |
| The Lost City | Broken plaza balcony | Climb and jump across gap | Early combat supplies |
| The Search | Equipment-lined service wall | Walk behind machinery | Energy and ammunition |
| The Escape | Raised arena overlook | Double jump or movement power | Heavy-weapon ammunition |
| The Refinery | Lower pipe corridor | Drop below catwalk after clearing enemies | Weapon pickup and ammo |
Bridge, Mine, and late-Novus hidden rooms
The Bridge: side platform behind the main route
On The Bridge, the secret is tucked behind the main crossing rather than below it. Once the first bridge section is secure, move toward the outer railing and check the side platform concealed by structural supports. You’ll need to jump around the edge instead of following the central objective line.
The reward is a compact ammunition cache. It’s not glamorous, but it’s perfectly placed for players who are struggling with the bridge’s open sightlines. Pick off distant enemies first, then use the bridge supports as cover. The most common mistake is sprinting across the exposed center and burning health that the secret was meant to preserve.
The Mine: the shaft beneath the lift
The Mine hides its reward below a lift area. After the lift sequence, search the lower perimeter before taking the next exit. A shadowed shaft beside the machinery leads to a small chamber. The entrance can look like a fall hazard, so approach the edge carefully and use your movement options rather than dropping blindly.
This chamber is worth checking on every difficulty. Mines tend to combine cramped geometry with enemies that punish panic firing, making extra ammunition and energy more useful than they first appear. Use Shield while repositioning, then switch to Force when enemies bunch near the lift. The room itself is safe once cleared, giving you a chance to refill before the next scripted fight.
Novus interiors: check every objective room twice
Late-Novus interiors hide several smaller bonuses around the room where the objective is completed. Before interacting with consoles, doors, or mission markers, walk behind the central structure and inspect the corners. These are not always full secret rooms; some are recessed alcoves with a single glowing pickup.
That distinction matters. Advent Rising’s most easily missed rewards are often not behind locked doors at all. They’re placed in plain sight but outside the camera’s normal angle. Rotate the camera after every major battle, especially in rooms with pillars, pipes, or raised platforms.
The Shrine, final missions, and reward priority
The Shrine: hidden chamber near the approach
Near the approach to The Shrine, the main path curves toward a large entrance. Before crossing the threshold, inspect the side wall and the broken approach structure. A narrow route leads behind the façade to a concealed chamber containing a late-game supply pickup and bonus material.
This is one of the best secrets to revisit if you’re preparing for the final missions. The reward supports psychic-heavy play, and by this point Gideon’s powers are strong enough to chain crowd control, movement, and direct damage. A reliable sequence is Shield while entering danger, Force to stagger the nearest cluster, then weapon fire on exposed elites. Save Teleport for escaping a corner rather than using it as casual movement.
The Siege and final approach
In The Siege and the final approach, secrets become less elaborate. Look behind defensive emplacements, beside destroyed vehicles, and along the outer wall of each arena before advancing the objective. Most rewards are ammunition refills rather than permanent unlocks, but the timing is excellent: these caches appear before long enemy waves and final encounters.
Don’t expect a secret ending or a hidden character for collecting every room. Advent Rising’s optional rewards are designed to improve the current campaign run, not to trigger a separate completion route. That’s why this guide prioritizes caches that affect survival over purely atmospheric side areas.
| Priority | Reward | Best use | Skip when |
|---|---|---|---|
| S | Heavy-weapon ammunition | Bosses and armored waves | Never skip if the arena is cleared |
| A | Energy refill | Force, Shield, and Mind Control chains | Only when energy is completely full |
| A | Health recovery | Higher difficulties and open arenas | When a safer refill is nearby |
| B | Standard weapon ammunition | Cleaning up distant enemies | When reserve ammo is already capped |
| C | Bonus story material | Completionists and lore fans | Never, if you’re exploring for the full experience |
Best replay route for finding every secret
For a clean second run, use a three-pass method. First, play normally and learn each arena’s enemy triggers. Second, replay the mission and search every side before crossing an objective marker. Third, return to any locked-looking route only after testing movement abilities, because some platforms are designed around powers acquired later in the campaign.
Keep your weapons balanced. The Seeker Rifle handles distant targets, the Scattergun is excellent in tight interiors, and heavy weapons should be reserved for elites or scripted waves. Psychic abilities are not just combat tools during exploration: double jump and movement powers frequently reveal the vertical angle needed to reach a cache.
If you enjoy this kind of older action-RPG scavenging, Steamoz’s Dungeon Siege retrospective and Disciples: Liberation secret-locations guide are good follow-ups. The same rule applies in both games: clear the danger first, then search the space the objective marker ignores.
Finally, remember the most important Advent Rising secret-hunting habit: stop trusting the camera. If a wall, balcony, pipe stack, or broken vehicle creates even a small pocket of space, check it before leaving. The game’s hidden rewards are rarely signposted, but they’re consistently placed for players willing to move off the critical path.
For release information and platform details, consult the official Xbox games archive and the official GOG catalog. Just don’t mistake modern storefront availability for a built-in collectible tracker: Advent Rising still expects you to remember where you’ve been and search like a player from the Xbox era.